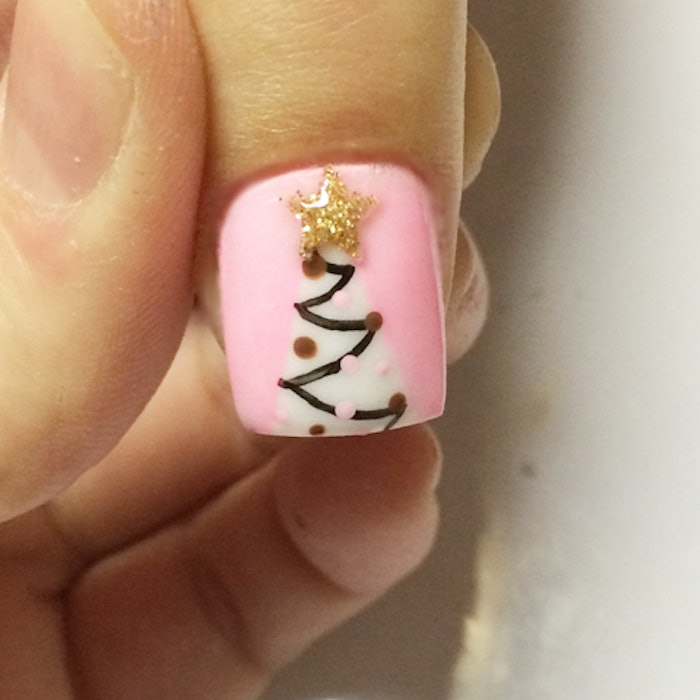
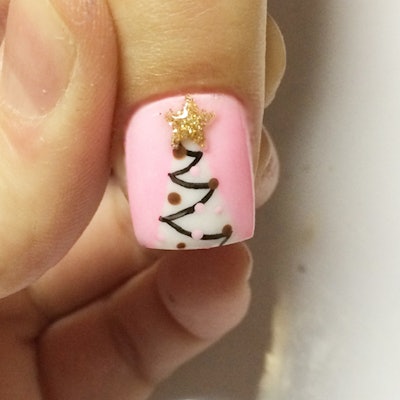
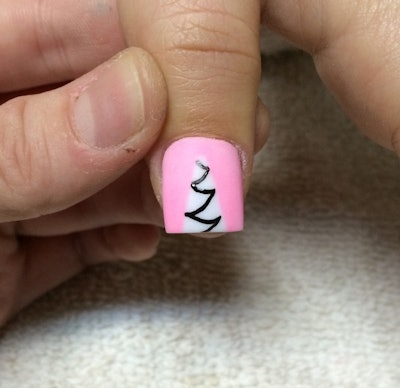
With all the gel, gel polish, and hybrid gel-lacquers now out there, it’s sometimes easy to forget about the power of colored acrylic for nail art! Follow this tutorial from Stephanie Rochester, a Californian nail artist as she shares how to design the perfect pink trees.
- Premium Extreme White Acrylic
- Glam and Glits Orchid pigment mixed with a little white acrylic to get the baby pink
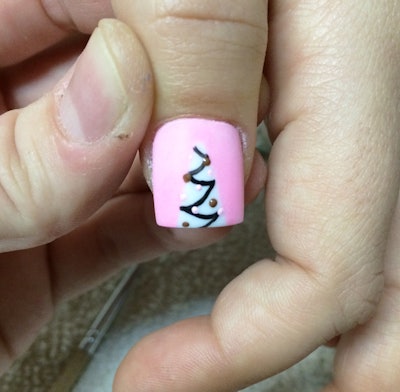
- Acrylic paints in brown and baby pink for the ornaments
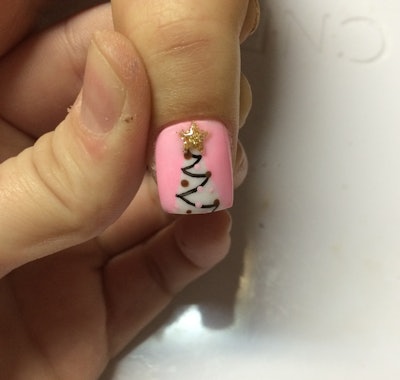
- Gold glitter from Martha Stewart collection glitters mixed with clear acrylic
- Cacee UV Gel Top Coat
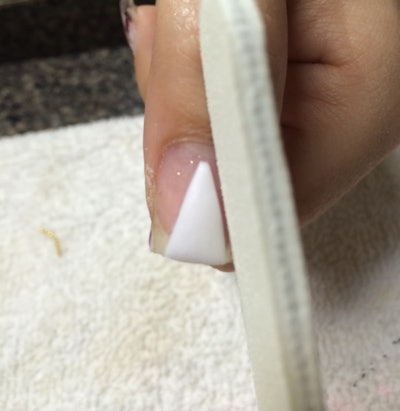
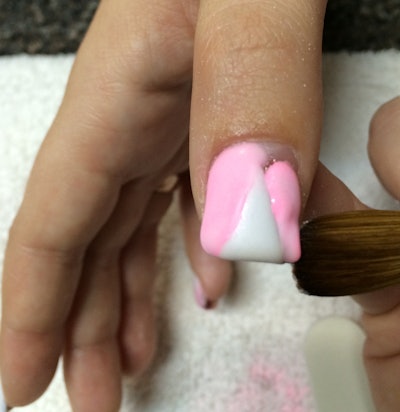
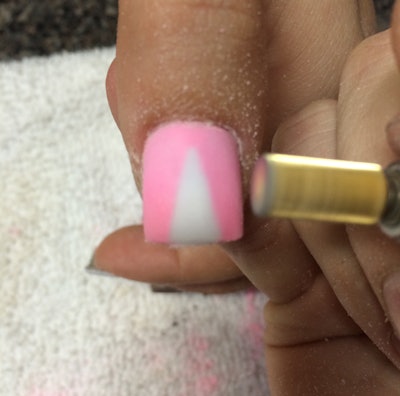
1. First, lay acrylic down in a tree shape. Let it dry and file the edges into a clean point.
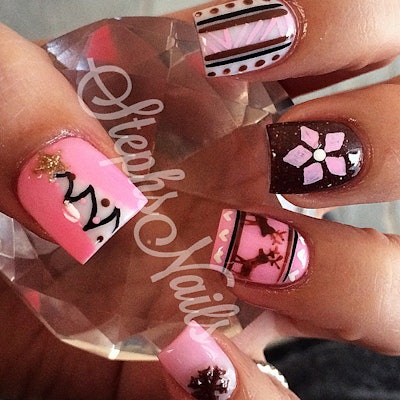
Follow Stephanie on Instagram: @_stephsnails_
[Courtesy: Stephanie Rochester]
See more winter nail tutorials:
