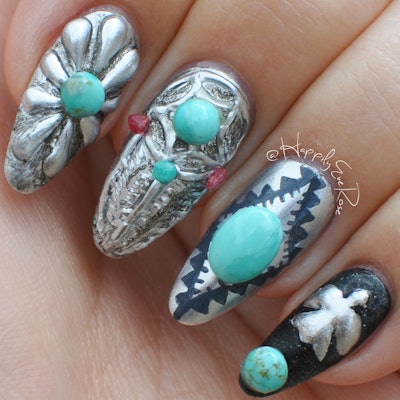
Try these beautiful nails inspired by stones! Shares Rose of @happilyeverose, “There is a large native influence where I live (Albuquerque), so when I received these turquoise stones I just had to pay tribute (through nails) to the beautiful native culture of jewelry making.”
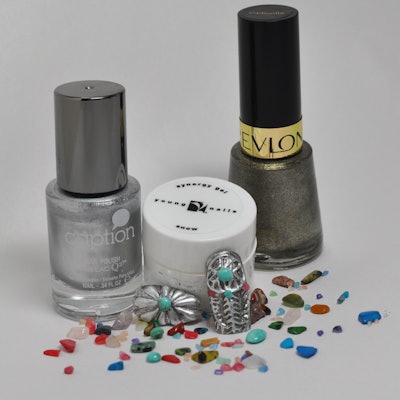
Supplies used:
+ Caption Polish Rewind. Repeat
+ Revlon Carbonite
+ Young Nails Synergy Gel in Snow & Build
+ Athena Rocks 3x3mm Round Turquoise Stones & Mixed Semiprecious Stone Chips
Steps:
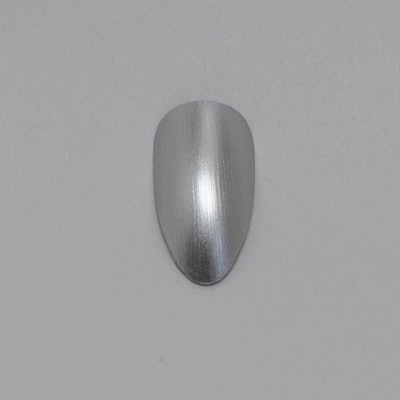
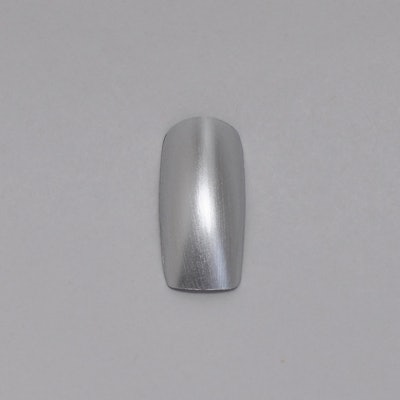
1. Prep the nail. Apply base coat. Apply 1 coat of Caption Polish Rewind. Repeat and allow to dry.
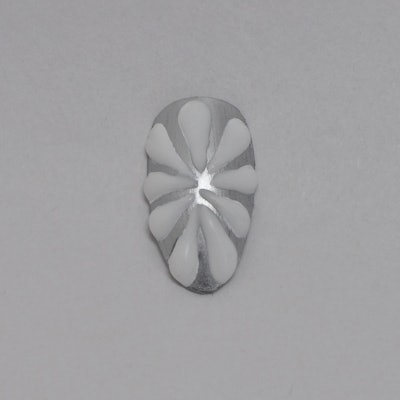
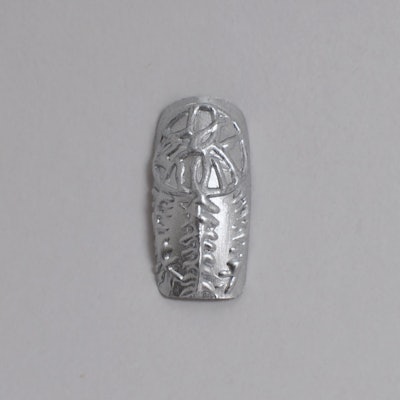
2. Build the 3-D effect of the “jewelry” using builder gel. As you work your way through the design, freeze the nail for a few seconds in a LED/UV lamp to cure the gel so it wont run. When finished with the entire 3-D design, cure in LED/UV lamp. Wipe with alcohol.
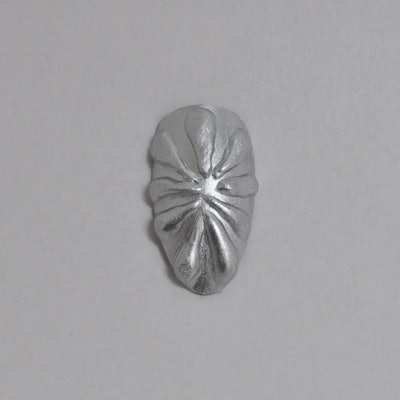
3. Apply thin coat of Rewind. Repeat making sure to cover the 3-D pieces.
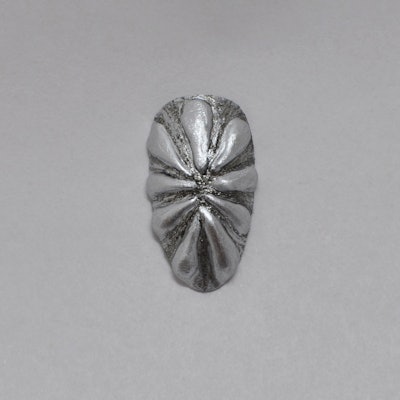
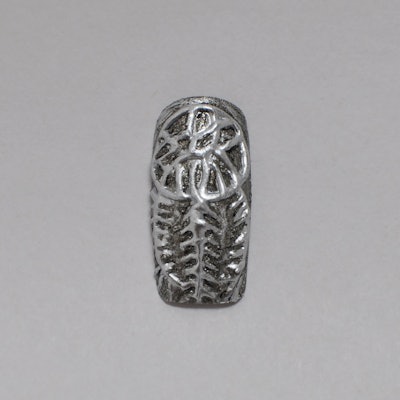
4. Apply Revlon Polish in Carbonite around the 3-D areas, to create a shadowed and tarnished look to make it appear like worn silver jewelry.
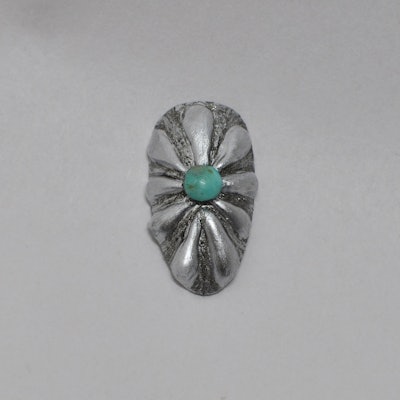
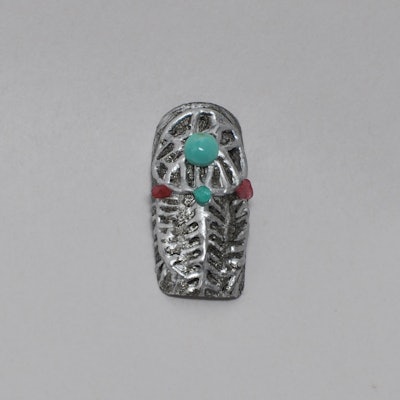
5. Using a small brush, apply a thin coat of topcoat, being mindful to not allow the topcoat to flood the areas between the 3-D work. Apply stones using a generous amount of clear builder gel & cure in LED/UV Lamp.
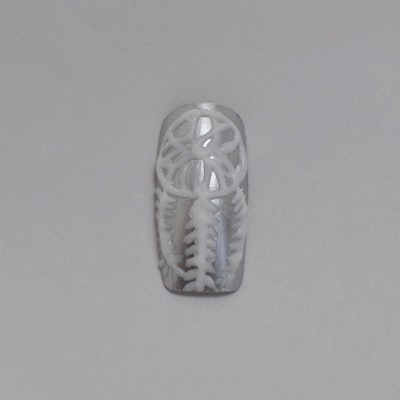
You can do the same steps again, but with a different design:
Find Rose online:
Instagram: @happilyeverose
Youtube: youtube.com/user/happilyeverose
Facebook: facebook.com/nailsbyhappilyeverose
Images: Rose Davis


