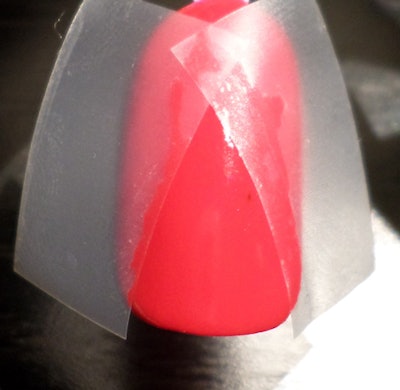
Give your clients a sweet surprise – a peppermint mani! Click through to see nail tech Amy Morphey show you how to create these gel polish stripes and snowflakes.

Supplies needed:
- manicure tools
- dehydration (I use cnd scrub fresh)
- NSI Cleanse
- orange wood stick
- striping brush
- red gel polish (Bluesky 40521 )
- green glitter gel polish (Bluesky XSJ23)
- top and base coat gel polish
- nail art pens (optional as you can use the gel polish)
- UV or LED curing lamp
Step 1: Fully manicure and dehydrate the nail plate. Apply one coat of Bluesky base coat and cure for 10 seconds.

Step 2: Apply a thin, even coat of red and cure for 2 minutes.

Step 3: Apply a second even coat of red and cure for 2 minutes.

Step 4: Apply top coat and cure for 2 minutes.

Step 5: Remove tacky dispersion layer with NSI Cleanse.

Step 6: With your striping brush or nail art pens create diagonal pin stripes across the nail.

Step 7: It is actually easier to gently move the client’s nail rather than the brush.

Step 8: Repeat to create a fuller candy stripe. If you are using nail art pens allow to completely dry. If you have used a gel polish, cure for two minutes.

Step 9: Decant your green gel polish — Bluesky XSJ23.

Step 10: With your striping brush, place a green stripe after every third white stripe and cure for 2 minutes.

Step 11: Repeat a second coat of green and cure for 2 minutes.

Step 12: Apply a top coat and cure for 2 minutes. Remove the tacky dispersion layer. Done!
You can also add a snowflake on the accent nail. One good plate for this is Bundle Monster H01.
Check out more of Amy’s designs on Facebook: facebook.com/AmysTipsAndToes
Also see these other holiday tutorials!
[Courtesy of Amy Sarah Morphey]


