It's a not-so-scary Halloween with this Mickey Mouse nail art.
Fie Pedersen (@fiepedersen.dk) created the art using products from Magpie Beauty. You can follow the step-by-step tutorial below to recreate the look for your clients this spooky season.
 Monster Mickey step-by-step
How-To:
- Apply one layer of orange gel polish and cure. Apply another layer, but skip curing just yet.
- Sprinkle orange glitter on the wet gel polish, then cure. Finish with a matte top coat.
- Paint a cross in the center of the nail using black gel paint. Connect the ends of the cross, then fill in the circle with black gel paint. Repeat the same process for the ears, then cure.
- Apply white gel paint using a large dotting tool to create Mickey's oval eyes. Move the gel up and down with the tool until you achieve your desired effect.
- Make two dots for the nose in white gel paint, then drag out the dots using a nail art brush to create points.
- Paint on a smile with white gel paint. Don't cure just yet.
- Paint small vertical lines on the mouth for a monster effect, then cure.
- Apply top coat to the entire nail or just the design to finish.
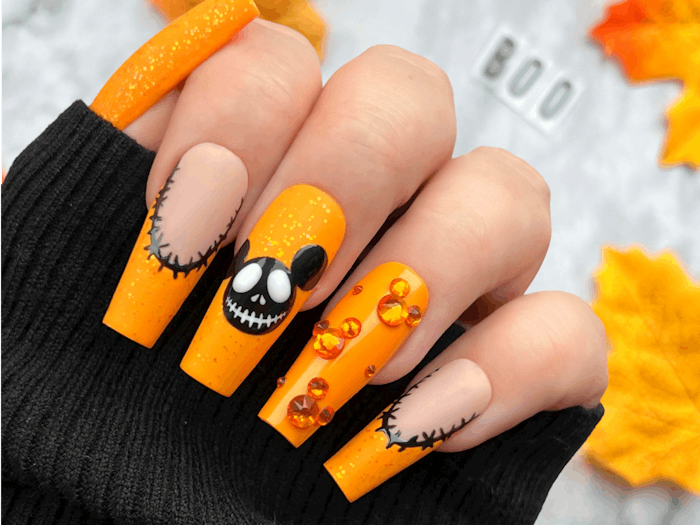
 The finished nail set featuring, Mickey Mouse nail art inspired by Tim Burton's The Nightmare Before Christmas.Courtesy of Fie Pedersen
About the Artist:
Denmark-based nail artist Fie Pedersen has been a licensed nail technician since 2016. She advises aspiring nail techs to not compare themselves to others! Check out more of Pedersen's work on Instagram.


