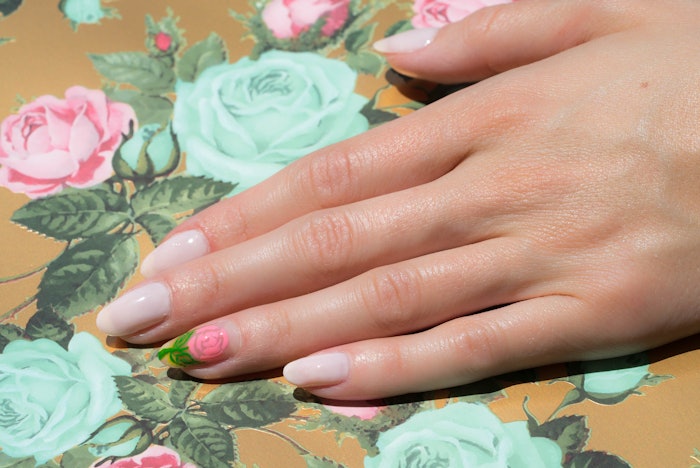
With spring and Easter right around the corner, it's time to wash away the winter blues with bright, pastel manis!
Below, Bellacures Nail Salon is sharing three trendy, abstract nail tutorials, so you can add a pop of color to your client's spring nail appointments!
Butterfly Nail Art
Late '90s and Y2K aesthetics are making a resurgence, and butterflies are a defining emblem of that era! Quick, easy and oh-so- fun, follow these steps to get your fingertips fluttering into the season with this butterfly nail art tutorial.
 Butterfly nail artCourtesy of Bellacures
- Start with nail prep. Gently push back and show some love to your client's cuticles. File the nails into a chic square with softly rounded edges – think of it as prepping a tiny canvas for your art.
- Continue by applying two coats of pinky coral polish, letting each coat dry completely. It’s the perfect backdrop for the butterfly nail design.
- With a thin brush and purple polish, paint the butterfly. Take it slow – every stroke is a part of its wings taking flight.
- Swipe on a top coat for that glassy finish. Finish with a drop of cuticle oil for that nourished, fresh-from-the-salon sheen.
And voilà! Your client's nails are now a fluttery ode to spring, ready to dazzle and shine. With these tips, your client's butterfly nails will not just be a style statement—they’ll be a conversation starter. Here’s to a season of beauty, playfulness and whimsical touches!
Reverse French
A fresh and unique take on the evergreen French manicure, reverse French nail art is a perfect way to add a touch of elegance to your client's spring nail look!
 Reverse French manicureCourtesy of Bellacures
- Begin with nail prep, giving love to the cuticles by gently pushing them back and getting rid of any excess. Then, shape the nails into an almond shape. This sleek silhouette not only looks chic but also gives the fingers a lovely, elongated look. For client's with shorter nails, Gel-X or Gel builder enhancements can be used to add length without the wait or worry of breaks.
- Apply two coats of lilac polish, letting each coat dry completely. This color is a perfect choice to embrace the vibrancy of spring.
- With a thin brush, pick medium to dark grey polish. Start at the bottom of the nail bed, sweeping up to the edge of the nail to create that elegant swooping effect. This technique adds a modern twist and depth to spring nails.
- Finish the look with a glossy top coat and cuticle oil to give the nails a durable, shiny finish and keep nails hydrated and healthy.
Flowers and Dots
Maximalism is making a comeback this year, allowing plenty of opportunities for exploration and creativity with nail art! This tutorial alternates between blossoming flowers and polka dots!
 Flowers and Dots nail artCourtesy of Bellacures
- Start with nail prep by giving your cuticles some love by gently pushing them back and getting rid of any excess for a clean nail bed. File the nails into a square shape with softly rounded edges for a modern, yet soft look. This shape is versatile and looks great with any design!
- Apply two coats of clear polish as the base, letting each coat dry thoroughly.
- Grab a dotting tool, and dip into green polish. Dot the middle, thumb and pinky fingers to bring a fun, springy vibes to the manicure.
- With a thin brush and color of your choice, paint a flower on both the index and ring fingers. Layer another shade of polish over the first to add depth to the flowers to make them pop and come to life. Add three small dots in the center of the each flower to finish the design. Embrace the small details!
- Seal the look with top coat for lasting shine and protection. Finish with cuticle oil to hydrate and add salon-fresh glow to the manicure.
You can stay up-to-date with Bellacures by visiting the salon's website (https://www.bellacures.com) and Instagram (@bellacures).


