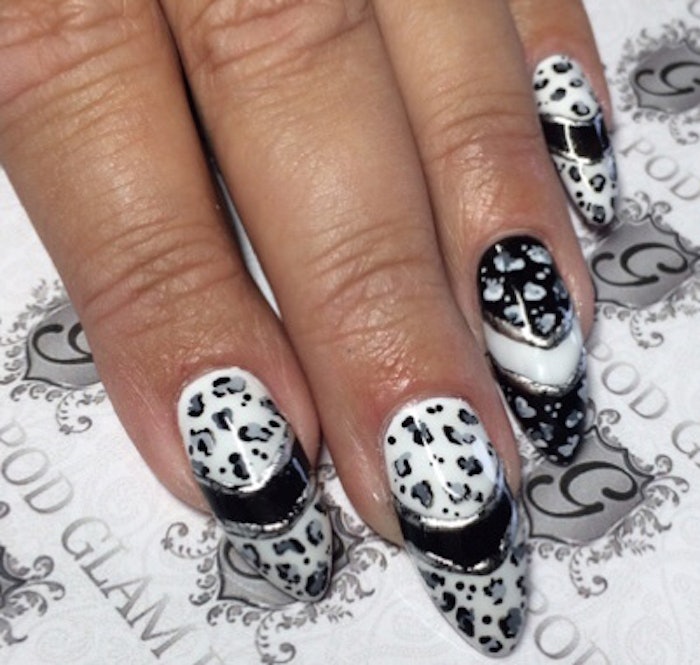
Nail artist Sue Rangeley (@glampod) explains how to go above and beyond traditional animal print with a chic black and white snow leopard design! Rangeley began with basic black and white shades in CND Shellac (Black Pool and Cream Puff), then drew on spots with acrylic paints, as they dry more quickly. Also, Rangeley used the new CND Shellac Express5 Top Coat to ensure a shorter removal time when her client returns.
Products used to create this design:
+ CND Shellac in Cream puff and Black Pool
+ CND Shellac Express5 Top Coat
+ Nail Perfect Foil Design Gel
+ Crystal Nail One Move paints in black and white
+ Lecentè silver foil
+ Lecentè brushes D1, D2, G1 and a Dotting tool

1. Prep natural nail as required for selected branded product. Apply 1 layer of base coat and cure. Skip this step if applying to nail enhancements.
2. Apply white gel or Shellac and using G1 gel brush cut out a negative space. Cure for 1 minute in an LED lamp or 2 minutes in a UV lamp; repeat this step to get good color coverage.
3. Apply black to the negative space area and cure for 1 minute in an LED lamp or 2 minutes in a UV lamp.
4. Apply top coat and cure for 1 min in LED/2 mins UV lamp. Remove tacky layer and gently buff surface to remove the shiny layer.
5. Apply Foil Design Gel with a fine liner brush to the outline of middle section and cure for 1 minute in an LED lamp or 2 minutes in a UV lamp. Firmly press the silver foil into the tacky layer.
6. Mix black and white acrylic paints to create 2 different shades of grey. With a D1 brush or a dotting tool, draw on small irregular circular shapes or “C”s. Allow them to dry, then outline the shapes with black and add small dots in between to create a spotted leopard design. Apply top coat and cure for 1 minute in an LED lamp or 2 minutes in a UV lamp. Remove tacky layer.
Images: Sue Rangeley


