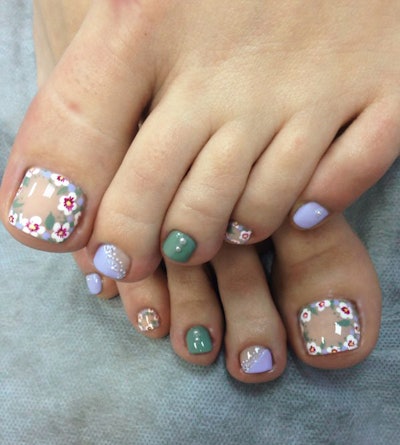
Learn the secret to this blossoming flowers design and put a spring in your client’s step. Click through to see Oxana of @oxygennails show you how step by step.
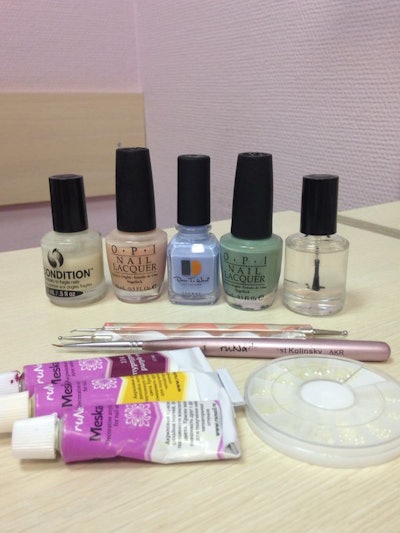
Products you’ve need for this design:
Base coat (I used Recondition Seche Vite)
Nude nailpolish (OPI It’s a girl!)
Mint nailpolish (OPI Thanks a Windmillion)
Blue one (Lechat Dare to wear Angel from above)
white, yellow and purple acrylic paints
fine (detailed) brush
dotting tool
pearl studs
Seche Vite top coat
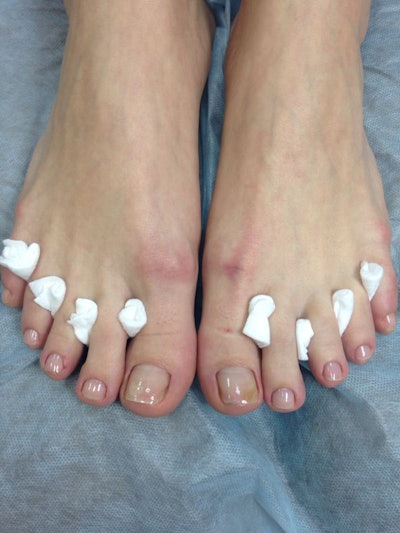
Step 1. Put a base coat on your toenails.
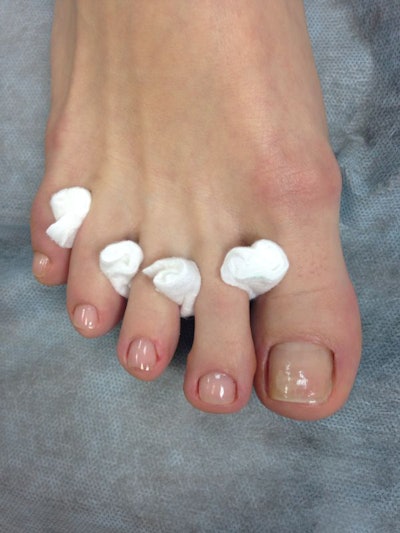
Step 2. Add two coats of nude polish on your second, big and your ring toenails, mint polish on your middle toe nail and blue on your pinkie.
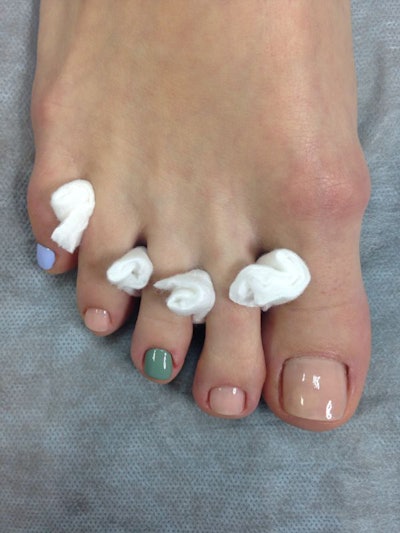
Step 3. Add blue polish diagonally on the half of your second toe (you can use tape for that or just draw it with a nail polish brush.
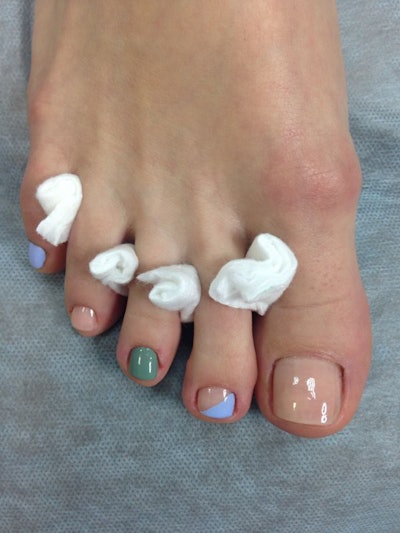
Step 4. Let’s do the lace toenail first. With a fine brush and blue nail polish, draw three thin semicircles on the line between the blue and nude polish.
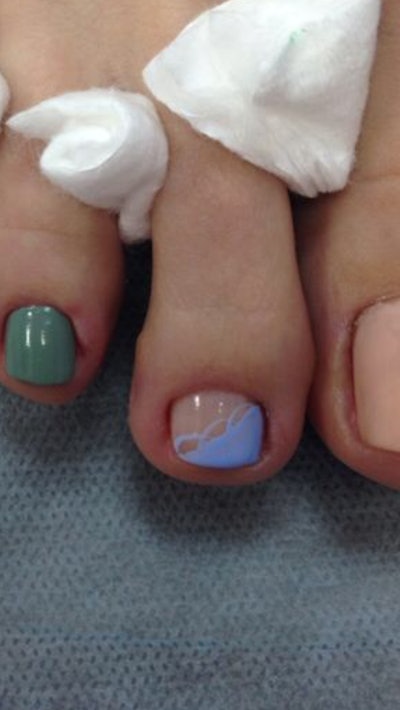
Put dots in the middle of each semicircle and make three thin lines inside of each circle.
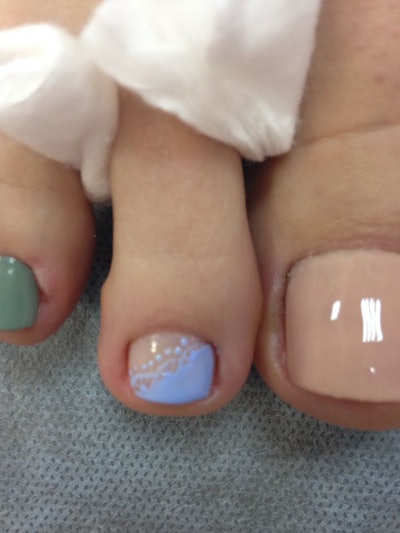
Put some dots on the top of each semicircle repeating their shapes.
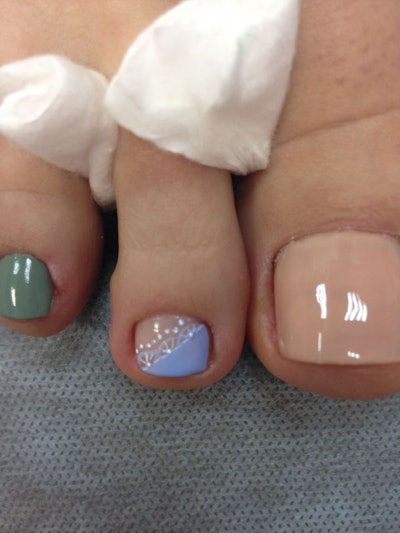
Do the same with white acrylic paint.
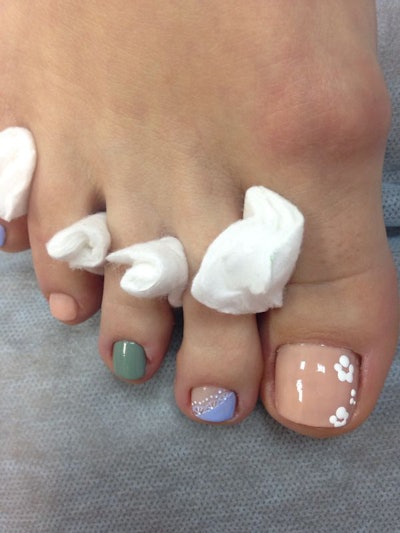
Step 5. Put several white dots on the perimeter of the big and ring toenails, repeating the shape of the blossoms.
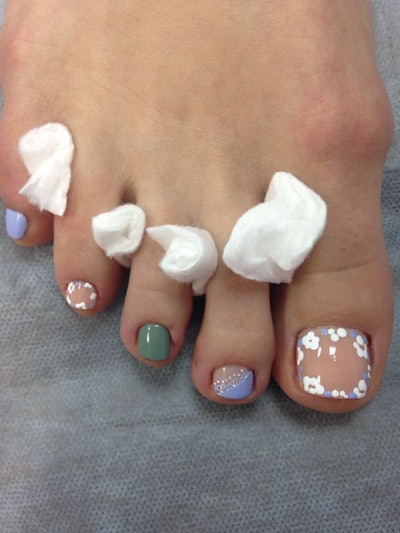
Step 6. Add some blue dots on the perimeter.
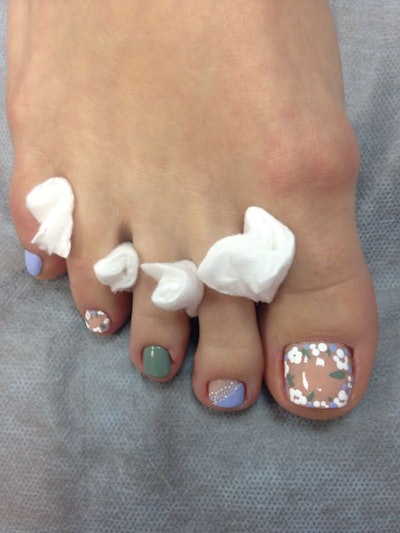
Step 7. Add several green leaves pointing to the center of your toenail.
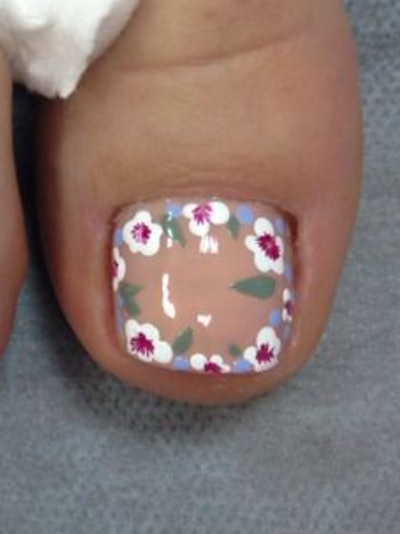
Step 8. Add stamens, drawing several thin lines from the center of each flower to the sides. The lines don’t have to be perfect.
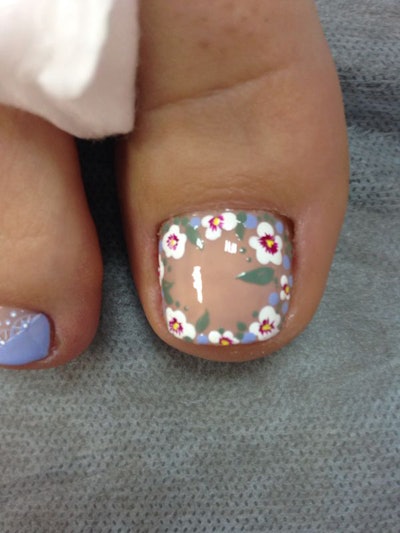
Step 9. Add the center of the flowers (pistils) with yellow paint, in the form of several very small dots. Add some green dots all over the empty places over the perimeter.
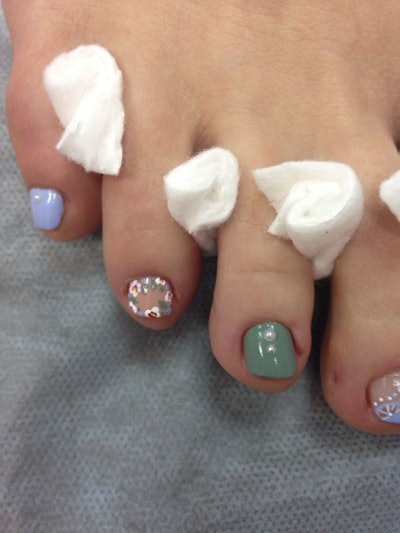
Add several pearl studs (put a small drop of clear nailpolish on the place where the stud should be, place it thee and press it onto the toe nail.

Add a top coat and you’re finished!
See more of Oxana’s work on Instagram @oxygennails.
[Courtesy of Oxana]


