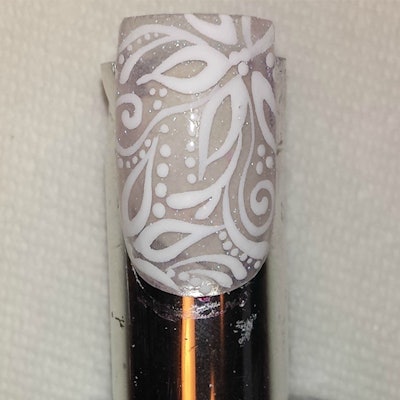
Jen of Regina, Saskatchewan put together this floral pattern we’d like to try for ourselves! Click through for the tutorial.
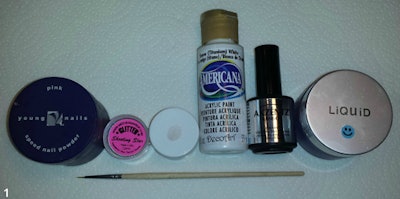
Supplies needed:
- Young Nails Pink Speed Powder Mixed with a tiny bit of Medusa Makeup pigment in Shooting Star ( to make the acrylic color for the overlay of the natural nail)
- Young Nails Monomer and Primer (not shown)
- Americana Acrylic Paint
- Akzentz Shine On top coat
- Fine detailer brush for the art ( I cut it to have thinner bristles)
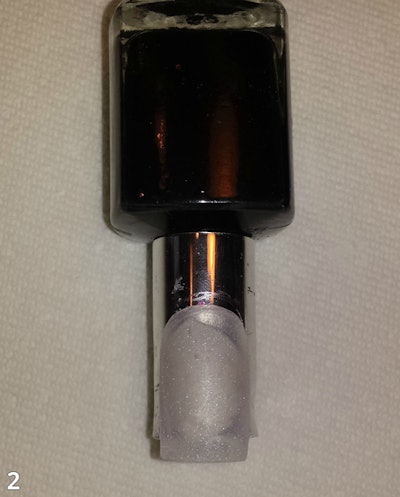
Step 1: Sculpt your nail using your preferred product, file, shape and buff the nail, then wipe any dust away.
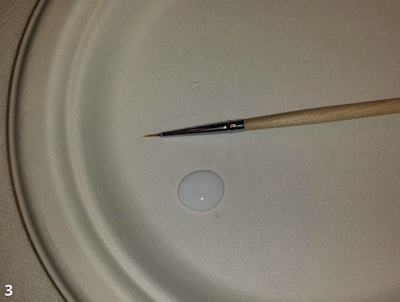
Step 2: Get your brush and the paint ready. Soften your brush in some water.
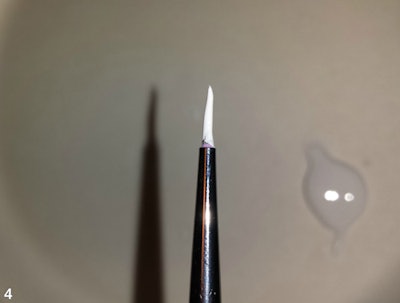
Step 3: Load your brush quite liberally with the paint.
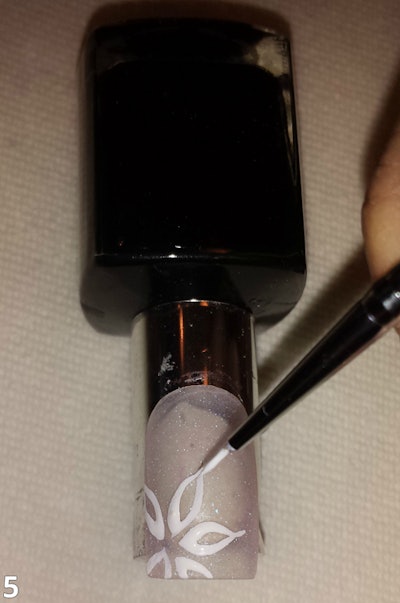
Step 4: Begin at the base of the petal and apply pressure to the brush. Pull the brush towards the tip of the pedal.
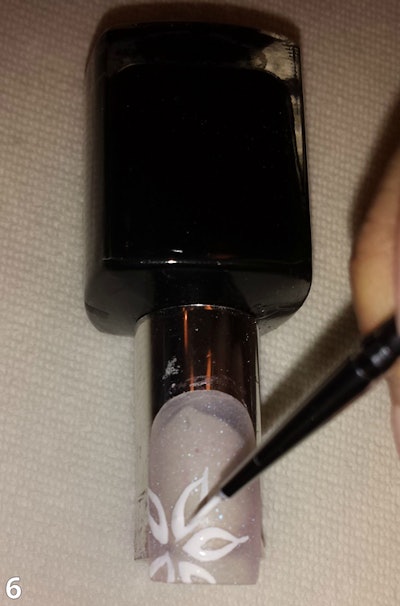
Step 5: As you pull the brush towards the tip, lift the brush slightly applying the least amount of pressure to come to a fine point. Repeat on the other side, joining the two tips to create an outline of a petal.
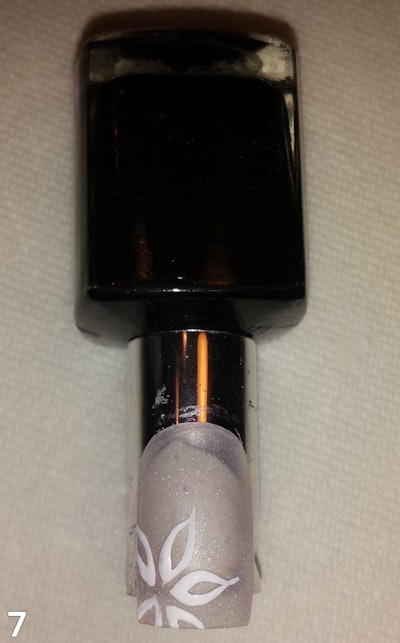
Step 6: Repeat steps 6 and 7 adding more petal outlines, creating a flower. I like to do them so they are slightly off of the the nail giving a partial flower effect.
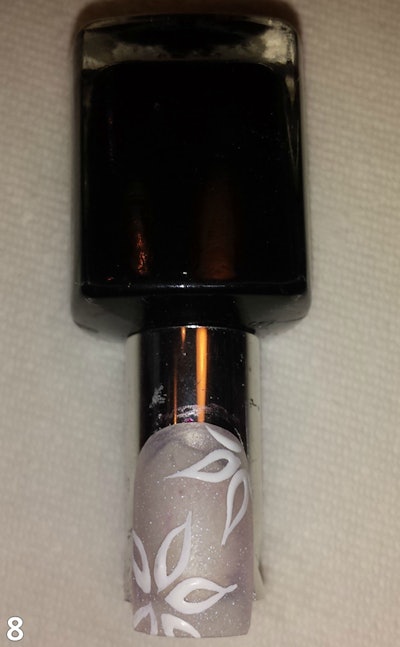
Step 7: Repeat step 7 in the opposite corner with less petals.
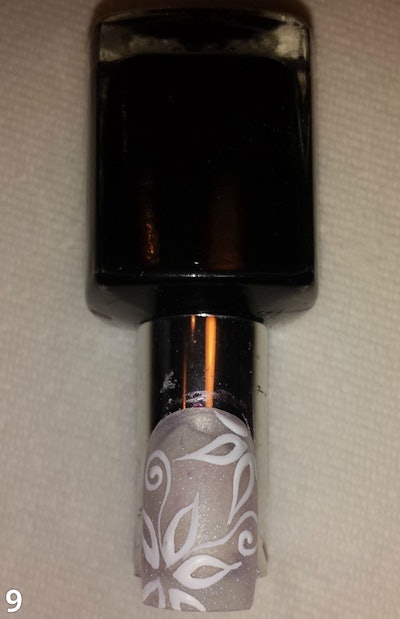
Step 8: Add swirls to different areas of the nail. Depending on how big the nail is, you will want to get at least 2 on the nail.
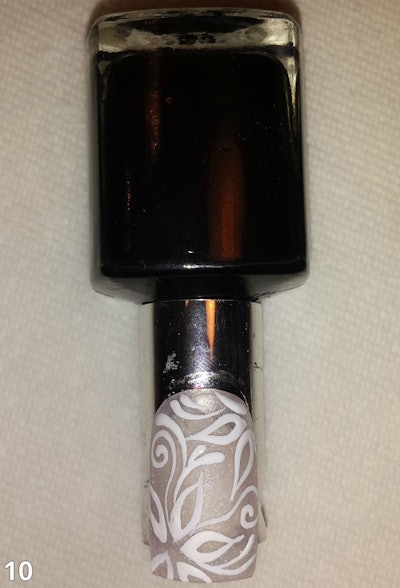
Step 9: Add elongated “tear drop” shapes, filling in more space and leaving room for some dots.
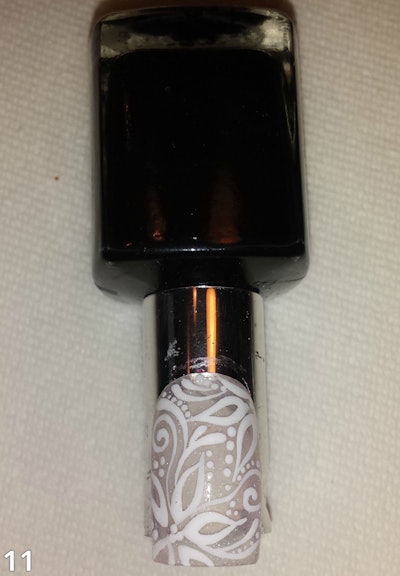
Step 10: Add dots filling in the gaps. You do not want to leave a lot of space open; use the dots to fill in gaps to achieve a lace effect. I used the tip of my brush loaded with paint to do the dots but you can certainly use a dotting tool.
For more, see Jen’s Facebook page.
[Courtesy of Jennifer G. of Regina, Saskatchewan]


