Mix mediums: gel polish and acrylic paints to easily create detailed nail art — once you’ve cured your polish, you can fix and perfect your acrylic designs without having to redo the whole nail. Click through for tips on how to. »

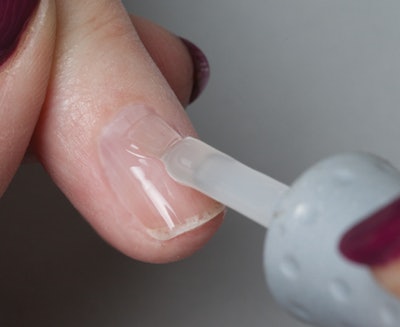
Step 1: Prep nails. Apply base gel and cure according to the manufacturer’s instructions.

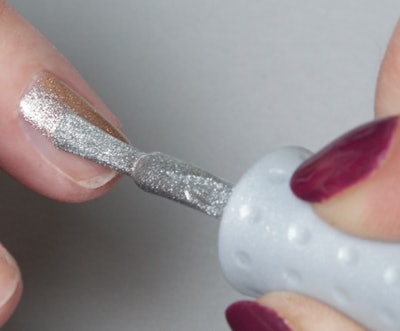
Step 2: Choose a gold metallic soak-off gel color and polish half of the nail vertically. Choose a silver metallic color and polish the other half of the nail. Cure.

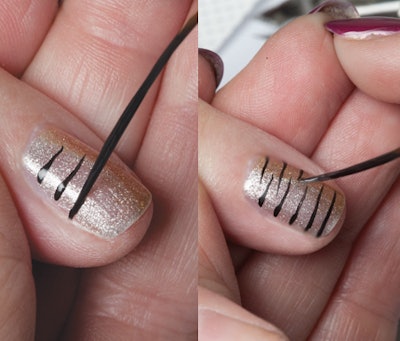
Step 3: Pour a small amount of black water-based acrylic paint onto an artist palette. [Note: Do not dip your brush back and forth into the paint jar. It will contaminate your paint with gel residue.] Use a striping brush and apply tiger stripes to both sides of each nail. Apply more pressure and lift the brush where you want the line to be thinner. Allow the paint to dry for a few minutes.

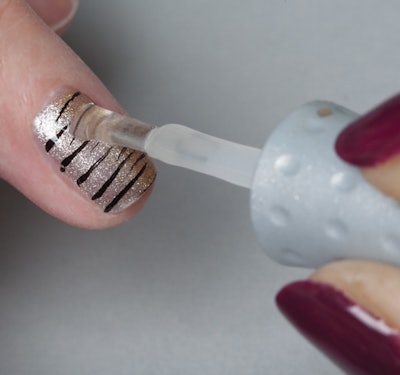
Step 4: Apply soak-off gel top coat. Do not drag the brush over your painted design. Rather, “float” the top coat over the design (to keep it from smudging) while still keeping it fairly thin. Cure according to the manufacturer’s instructions.
Tip: You can always use resin to apply Swarovski crystals or embellishments after the top coat cures and the sticky layer is removed. Highlight your tiger stripes or animal print with a little white paint, combine different nail art techniques and most of all, have fun!
This article originally appeared in Nailpro Dec. ’12.


