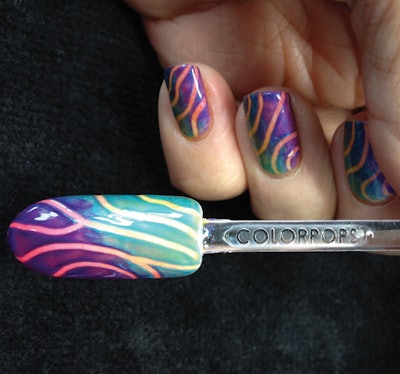
Give nails a unique effect by letting base colors peek through to the surface! See how Tanya Sisson from Nail Girl Salon used CND Shellac to create this design.
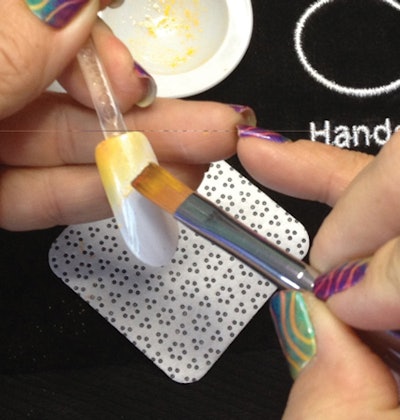
Step 1: Set up your station by pouring small amounts of pigment into an artist palette (you can find these at a craft store).
Step 2: Prep nails. Apply the base gel and cure according to the manufacturer’s instructions. Then apply a thin coat of soft white soak-off gel and cure.
Step 3: Using a dry brush, press yellow pigment and pearlescent pigment into the brush, then dust onto the nail around the cuticle area.

Step 4: Either use orange pigment or mix yellow and pink pigment together to make an orange hue. Blend it into the existing yellow/pearlescent color.

Step 5: Continue blending the orange mix toward the free edge. Then add red pigment to the free edge. Wipe your brush and gently brush the nail to ensure there is no loose pigment remaining.
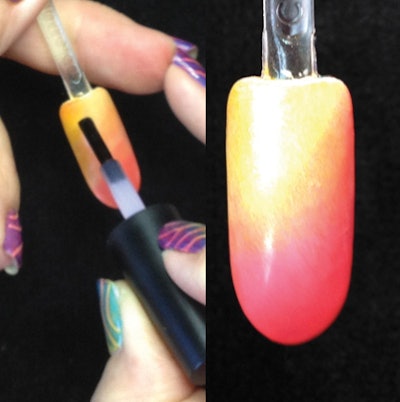
Step 6: Seal in the pigment with either a sheer pink soak-off gel polish or soak-off top coat, making sure to cover the entire design and edges. Cure according to the manufacturer’s instructions.
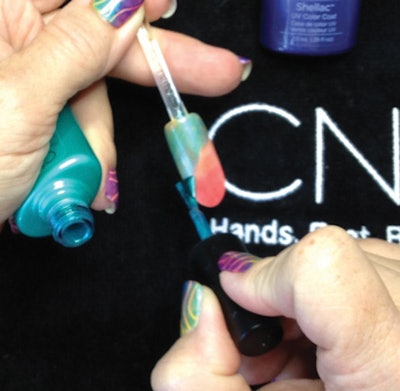
Step 7: Apply turquoise soak-off gel over the yellow/orange area. Apply a strip of color, then wipe off your brush and go back in to feather the color toward the center of the nail. This creates a “splotchy” effect. Do not cure.
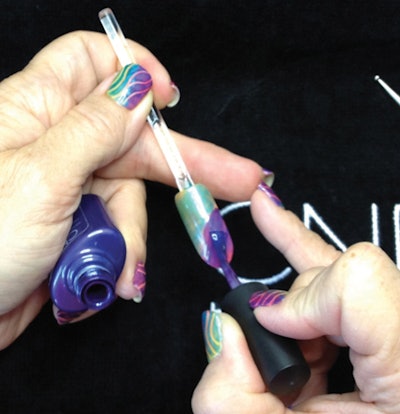
Step 8: Apply purple soak-off gel polish over the rest of the nail. Again, wipe your brush clean and feather the color towards the center of the nail.
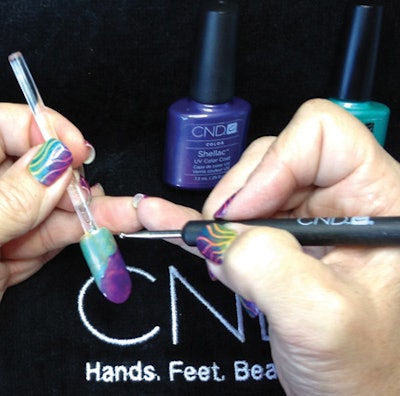
Step 9: Use a stylus and create markings. Wipe off the excess gel after each line. Once your design is complete, cure the nails according to the manufacturer’s instructions.

Step 10: Apply soak-off gel top coat over the design; be sure to enclose all of the color, edges, corners and free edges of the nail. Cure.
[Courtesy of Tanya Sisson from Nail Girl Salon in Aloha, OR]


