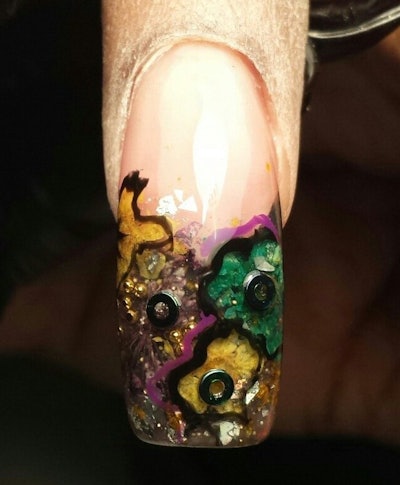
Flowers are a widely requested design all year long! Click through to see the tutorial for these tips by nail tech Rena Smith. »
Supplies needed:
Buffers and files
Nail forms
Acrylic liquid
Clear acrylic powder
Black acrylic powder
Purple glitter acrylic powder
Dried flowers
Gold microbeads
Black acrylic paint
Purple acrylic paint
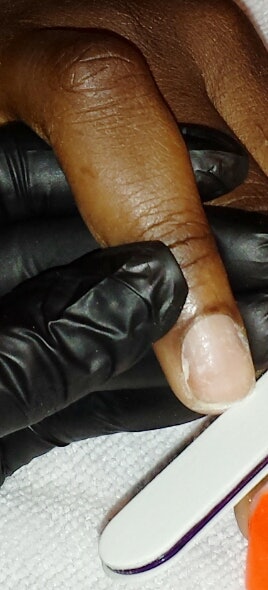
Step 1: After properly sanitizing the hands, shape the free edge of the nail and buff the nail lightly.
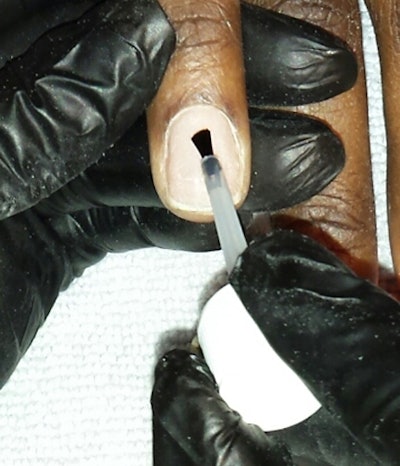
Step 2: Clean the nail plate with a nail cleanser and apply primer.
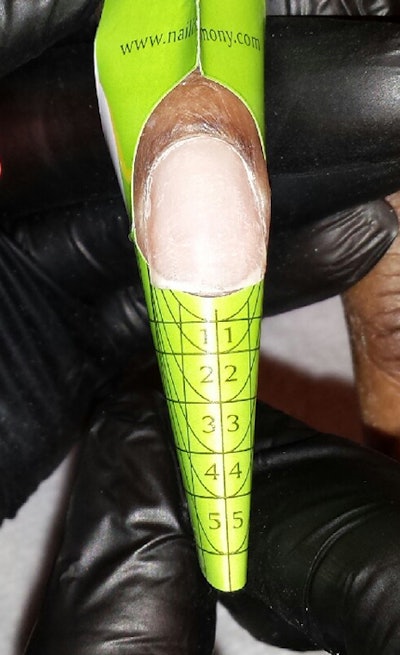
Step 3: Apply nail form.
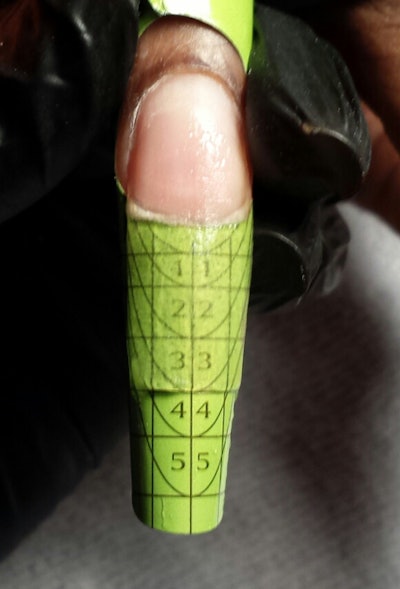
Step 4: Extend the nail with clear acrylic, keeping it thin. This will provide extra support.
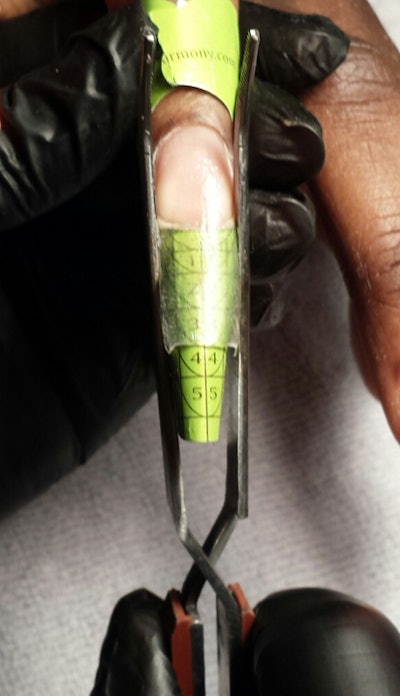
Step 5: Pinch the c-curve with a reverse tweezer.
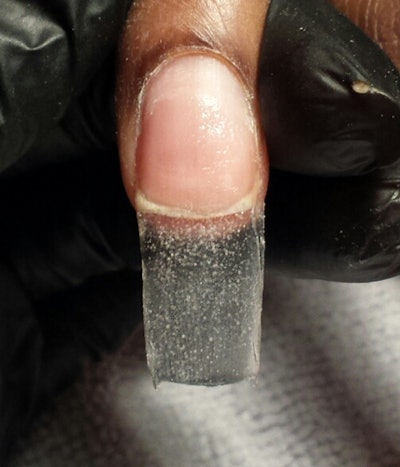
Step 6: Remove the nail form.
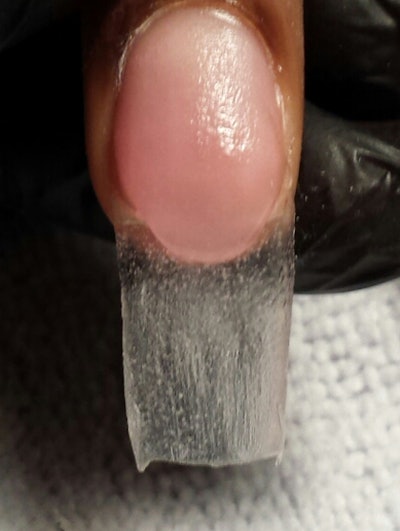
Step 7: Using the reverse method, apply pink acrylic to the nail bed.
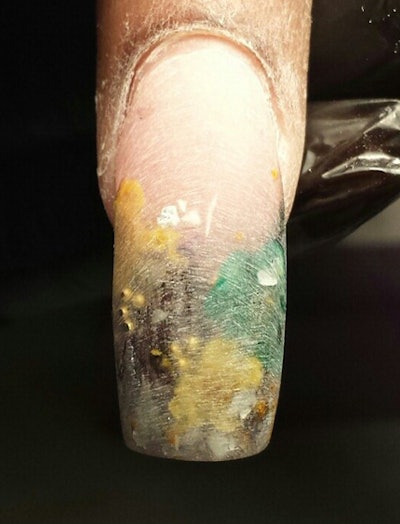
Step 8: Apply black acrylic, purple glitter acrylic randomly to the build the free edge (not shown). Then place the dried flowers, gold micro beads, and mylar randomly. No two designs will be the same. Then cap with clear acrylic.
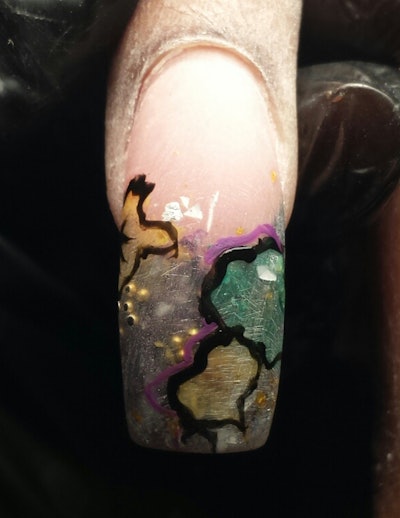
Step 9: Using black acrylic paint and purple acrylic paint (optional), outline the flowers randomly.

Step 10: Polish the nail with a clear gel overlay and cure for 2 mins in a UV light.
See more of Rena’s work in her gallery here.
[Courtesy of Rena Smith]


