Spring into action with three nail art tutorials from the nail salon Bellacures.
A new season means new trending nail looks. This year, there is an emphasis on French tips.
Bellacures' Marketing Specialist Rianna Basurto shares how you can create three spring nail looks that feature French tips using products from OPI.
Green French Tip with White Outline
Colors Used: OPI That’s Hula-rious and Alpine Snow
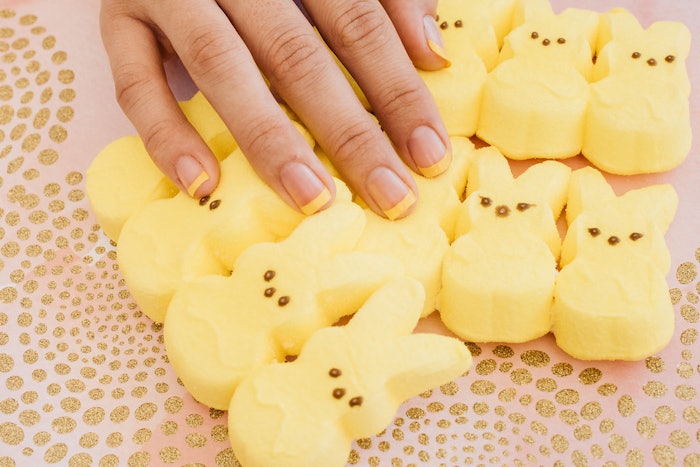
For your clients who are looking for something understated, with a hint of spring hues, this is undoubtedly the look for them.
 Sage green French tip with white outline.Courtesy of Bellacures
- Start with cuticle care on the nails.
- Begin shaping the nails into a squared shape with slightly rounded edges.
- Next, take a clear base coat of your choice, and evenly polish each of the nail beds.
- Once the base coat is dry, begin applying the pastel green color to the tips of the nails with a small thin brush. Slow and steady brush strokes right across the top of the nail are best for the most precise application.
- Once you have outlined the top of the nail, make sure to go back in with a second coat to ensure the nail tips are as bright as possible. Allow a moment for this to dry.
- With a clean brush, begin outlining the bottom of the green polish with a thin white line for an added pop of detail.
- Now that the mani has been completed to perfection, apply a clear top coat to the full nail for maximum shine.
- Finish off with some cuticle oil.
Skittle Blue Half French Mani Design
Colors Used: OPI Closer Than You Might Belém and Can’t Find My Czechbook
If pastels are not your client's vibe, and they're looking for something a little more vibrant, this is just the mani for them!
 A blue manicure with French tip detail.Courtesy of Bellacures
- To achieve this look, clean up the cuticles, and shape the nails into an oval or rounded shape to help elongate the appearance of the fingers,
- After shaping and cuticle care is complete, begin by coating each nail aside from your index and ring finger with two coats of blue polish. For this look, Bellacures opted for a bright blue and turquoise polish, switching the colors interchangeably between each finger.
- Now that you've finished your base color, you can move onto the design. First, begin by taking a sheer nude polish that suits your client's skin tone, and place two coats of this on the unpainted fingers, allowing time to dry.
- Next, while still using these colors interchangeably, take the blue polish on a thin brush, and draw a curved line about 1/4th of the way from the top of the nail bed. To get this as even as possible, start on one end and drag gently to the other side in swift motion.
- Once you’ve completed the outline, fill in the tip with the same polish color, making sure to do at least two coats of this to fill in any gaps.
- Top off the look by applying a quick top coat for maximum shine and to minimize the likelihood of chipping.
- Finish off with some cuticle oil, and you are done!
Skittle Pastel Mani with French Detail
Colors Used: OPI You're Such a Budapest, The Pass is Always Greener, No Tan Lines, Suzi Nails New Orleans and Alpine Snow
This skittled polish application, with French detail, is perfect for those who love a spirited pastel moment.
 A skittle mani with a French tip detail.Courtesy of Bellacures
- After completing cuticle care for the nails, shape the nails into an almond shape.
- Begin by evenly applying two coats of an array of your chosen pastel polishes on each nail, aside from the ring finger.
- Next, take the ring finger, and apply one coat of a sheer nude polish to the entirety of the nail bed.
- Once this coat has dried, take a thin brush with your chosen pink polish, and apply a thin outline in a smooth stroke 1/4th of the way down the nail, and carefully fill in the tip with two coats of polish.
- Finish off with a top coat, and cuticle oil for optimal shine.


