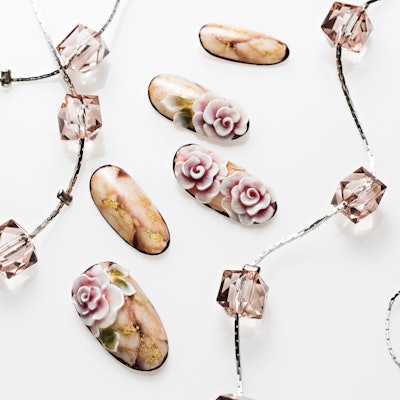
When creating three-dimensional designs—particularly roses—on nails, artists typically reach for acrylic to do the sculpting. But with the development of innovative gel products, similar results can now be achieved with 3-D gels. Nail artist Tiara uses this medium, combined with gel polish and paint, to create a delicate rose on top of a marbled background.
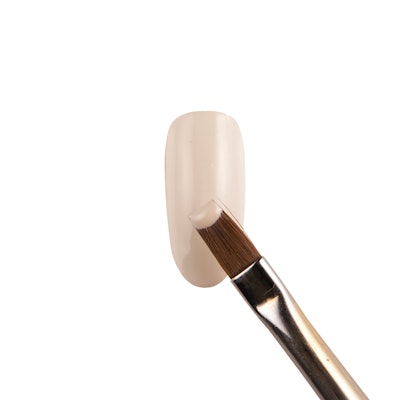
1. Apply one coat of nude gel polish to a prepped nail, and cure.
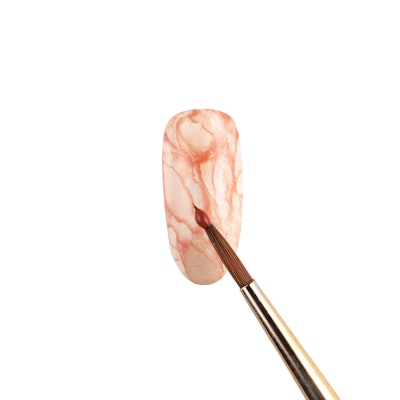
2. Apply a second coat of nude gel polish to the nail. Then mix red-orange gel polish with gel cleanser, and use a brush to create a marble texture, then cure.
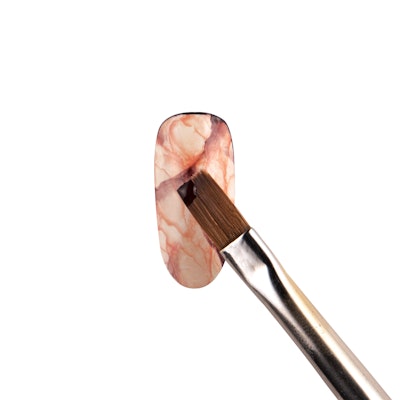
3. Using the edge of a gel brush, add dark brown gel polish to the nail, feathering out the lines to enhance the marble texture. Cure.
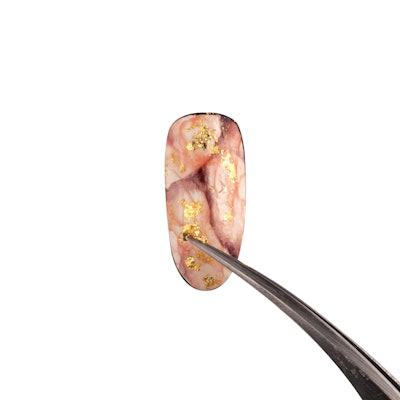
4. Encase the design with a thin layer of sculpture gel, adding gold flakes to the nail before curing. Then apply top gel and cure.
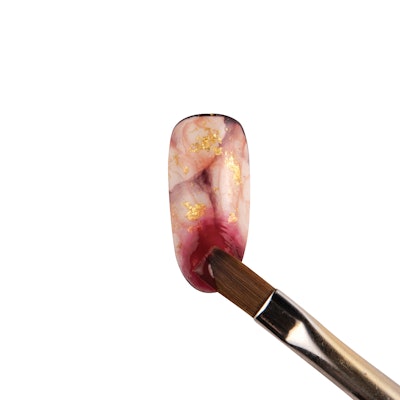
5. Create a circle at the tip of the nail with dark red gel polish. Cure.
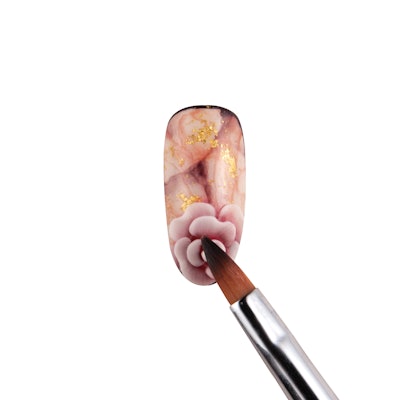
6. Then, use white 3-D gel to create rose petals. Begin at the outside of the circle and work toward the center.
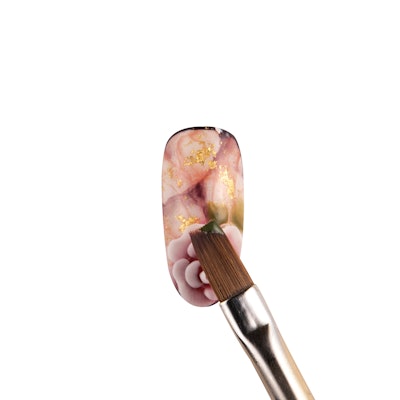
7. Create leaves with olive green gel polish around the flower petals.
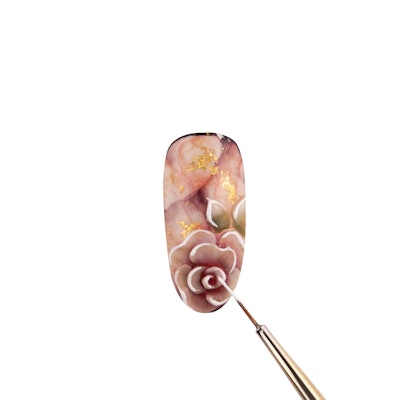
8. Use a detail brush to outline the petals and leaves with white gel paint. Cure.
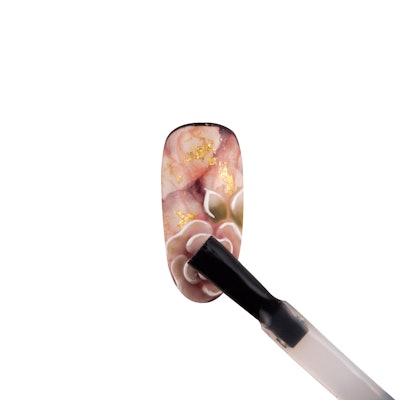
9. Finish with matte gel top coat over the flower and leaf only.
What do you think of this hand-painted petal tutorial? Let us know in the comments below!

[Images: As seen in NAILHOLIC; Photos: Taeheon Kwon, Hyuntak Lee; Editor: Sun Hyun]
This article was fist published in the February 2018 of NAILPRO

