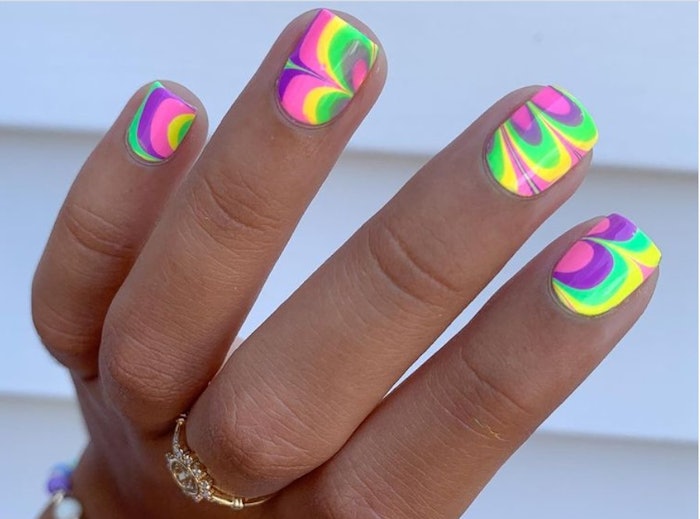
Nails by @samrosenails on Instagram
The water marbling nail design is an evergreen nail look that never goes out of style.
The look combines the intricacy of luxe, swirled marble with the softness of watercolor.
Nail pro Betina Goldstein explains how to achieve the look:
- Start with a tray full of water.
- Take the first nail polish color, and drop a bead of color into the liquid.
- Let the shade bleed outward before dropping another shade into the center.
- Once this has bled out, add another color, then repeat until you are satisfied with the pattern.
- Next, take a cocktail stick, and drag it through the colors to create a swirled design.
- Rotate the nail in the paint to pick the pattern up.
- Clean the excess on your finger, and apply a top coat once it is touch dry.
Note: You only have one shot because double dips do not work.
If the method above does not work for you, nail pro Michelle Humphries has an alternative:
- Paint three stripes of clear polish onto a palette or old dish.
- Add three stripes of the first polish color in between the clear polish stripes, then the second shade and finally the third shade on top.
- Using a cocktail stick, swirl the colors together.
- Add a top coat of clear polish to the naked nail. While it is still tacky, take an old eyeshadow brush, and scoop the marbled pattern onto your brush.
- Apply it to the wet top coat, and allow it to blend.
- Once it is touch dry, add a top coat.
This piece was posted by Nailpro in May 2021.


