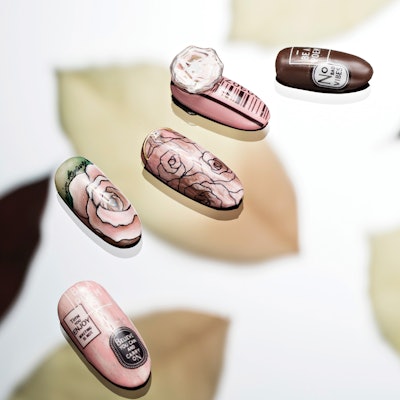
The key to capturing a realistic hand-painted design is shading. Here, nail artist Kyongha Kim uses subtly different hues of pink and green gel paint to give the illusion of a three-dimensional flower and leaf. Then, to create the precise line work, she uses a Sakura Pigma Micon pen (you can find them in any office supply store), which allows you to create highly pigmented detailed designs.
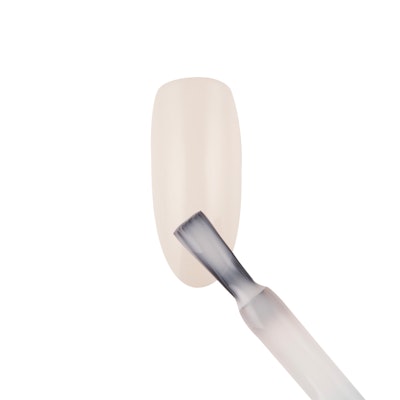
1. Apply one coat of off-white gel polish to a prepped nail, and cure.
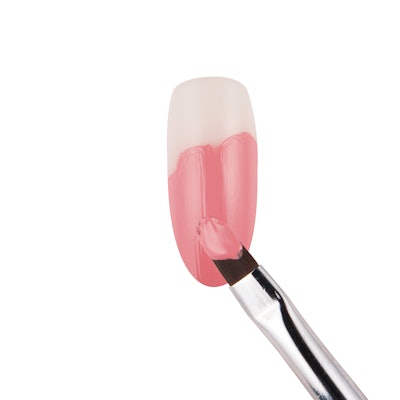
2. Paint the shape of a flower over ¾ of the nail with rose gel polish, then cure.
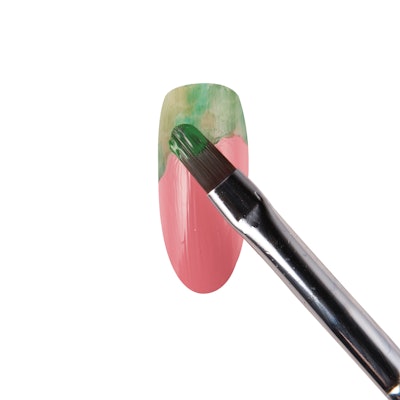
3. Create a marble effect at the base of the nail with light and dark green gel polish to make a leaf, and cure. Apply clear gel over the entire nail, then cure.
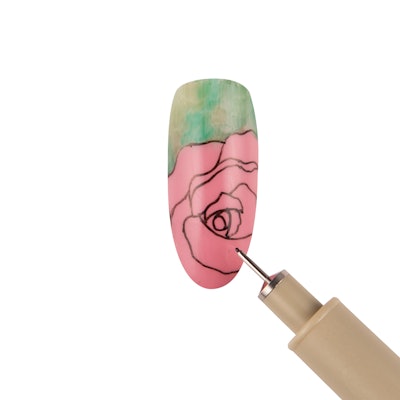
4. Use a black Pigma pen to draw the outline of a rose on the pink background. Then apply gel top coat and cure.
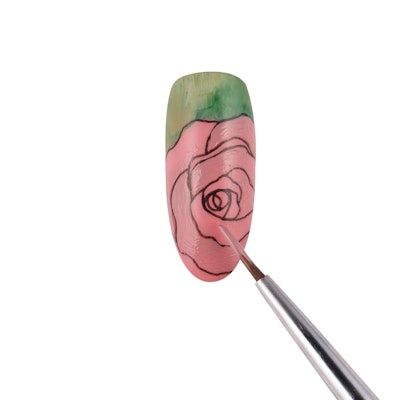
5. Use pink gel polish to add dimension to some of the petals. Cure.
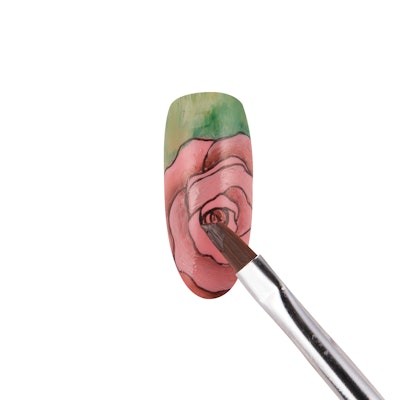
6. Continue shading around the edges of the petals with dark pink gel polish or gel paint.
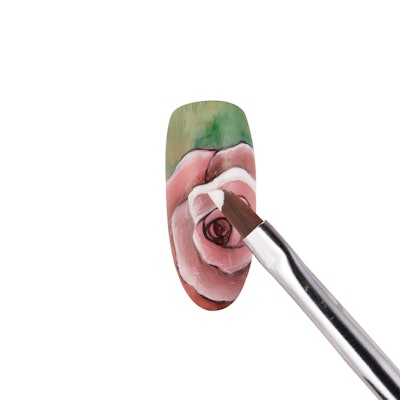
7. Add highlights to the tips of the petals with white gel paint and cure. Apply another layer of gel top coat and cure.
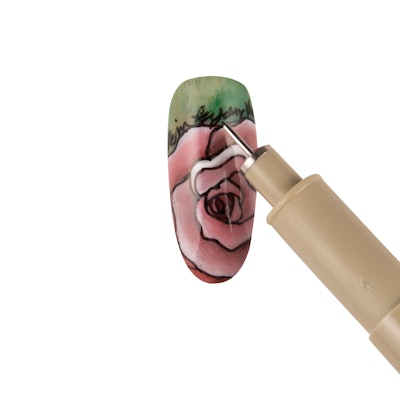
8. Continue with the Pigma pen to darken and smooth lines, and to create more detail on the petals and leaf. Finish with gel top coat, and cure.
What do you think of this hand-painted petal tutorial? Let us know in the comments below!

This step-by-step was executed by Kyongha Kim, director, Sontopnara Nail Art Design Institute
[Images: As seen in NAILHOLIC; Photos: Taeheon Kwon, Hyuntak Lee; Editor: Sun Hyun]
This article was fist published in the February 2018 of NAILPRO


