Special occasions, like weddings, call for beautiful nails, but some clients are wary of entering a long-term relationship with extensions. If traditional gel and acrylic options are off the table, what’s a tech to do? We asked two veteran techs with plenty of experience in short-term solutions: Los Angeles-based Michelle Saunders and New York City-based Pattie Yankee. Both can be found on the sets of magazine editorials and commercials photo shoots as well as backstage at fashion shows where gorgeous long nails are required—and quick and easy, damage-free removal is also a must.
For a truly short-term engagement, Saunders uses a preformed, full-coverage tip attached with double-stick adhesive tabs. This will last a day with care, but Saunders recommends backup tips and tape in case a nail pops off. The last thing a bride wants is a nail flying off while cutting the cake on her special day, so for wearability that lasts up to a week, Saunders attaches a half-tip with nail glue, followed by a silk wrap and then gel polish.
Temporary extensions are also fun for younger clients who are just “dying” to have long nails, says Yankee, noting, “Ninety-eight percent of them want the nails off the next day to go about their normal activities!” For both middle school dances and celebrity house calls, Yankee premeasures tips and then creates beautifully embellished full sets that can be applied quickly and easily with nail adhesive. For up to two weeks of wear (think: wedding weekend and a week-long honeymoon), opt for full-coverage extensions.
Keep in mind, temporary doesn’t necessarily mean cheap. Both Yankee and Saunders charge nearly as much as they would for a traditional full set for these short-term solutions. In fact, temporary extensions can be quite profitable given the short time a client spends in the chair, although it’s important to consider time spent designing the nails on your own. Be sure to give clients a rundown of do’s and don’ts for the best outcome (be gentle with tips, stay away from solvents, etc.) and schedule a follow-up appointment for removal to avoid any damage to the natural nail. Here, step-by-step directions for crafting the perfect temporary tips for any client and occasion.
Predesigned, Full-Coverage Tips by Pattie Yankee
Predesign Appointment:
1. Meet with the client to establish her desired length and design. Fit all 10 nails with the appropriate size of full-coverage nail tips and schedule an application appointment. (Note: If the client isn’t a regular, you may want to charge
a deposit.)
2. To easily keep the tips in place for polishing and nail art, attach a piece of double-sided foam sticky tape onto a flat surface. Stick the bare tips to the other side of the tape with enough room between them to work.
3. Buff the surface of the tips with a 400-grit buffer block. Remove dust with a dry lint-free wipe.
4. Polish and embellish the tips per the client’s instructions. Store them in a labeled case to keep them clean and to stay organized.
Application Appointment:
1. Prep the nails and make sure to push back and prep the cuticle area for extensions.
2. Lightly remove the surface shine from the nail plate with a 400-grit buffing block. Then, remove any dust with 99- percent alcohol and a lint-free wipe.
3. Lay out the pre-polished nails in size order for easy application.
4. Place a thick viscosity, gel-like adhesive in the cuticle area of the tip. Use caution not to overload the tip with adhesive or it will flood the cuticle when you apply it to the nail.
5. Place the tip at a 45-degree angle to the cuticle area of the natural nail and lower it slowly onto the nail plate. Hold each nail for 5 to 10 seconds until the adhesive is set.
6. Remove any excess glue from under the free edge. Complete a final shaping, if necessary.
Tip and Silk Wrap, Plus Gel Polish by Michelle Saunders
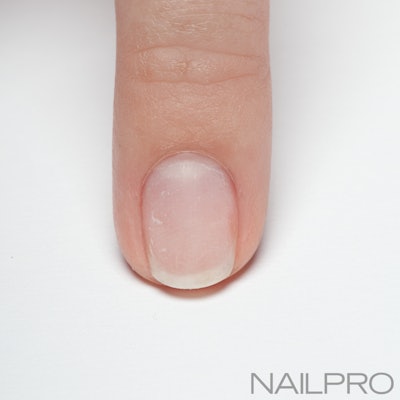
1. Prepare the nails with a full manicure. Then, gently buff the nails with a white buffer block.

2. Clean the surface with 99-percent alcohol or nail prep and fit a tip to the free edge of the nail. Be sure to fit the tip precisely from sidewall to sidewall. Then, apply a thin line of glue to the edge of the tip and, holding the free edge of the tip, carefully adhere the tip to the nail. Hold the tip in place until the glue dries, approximately 5 to 10 seconds.
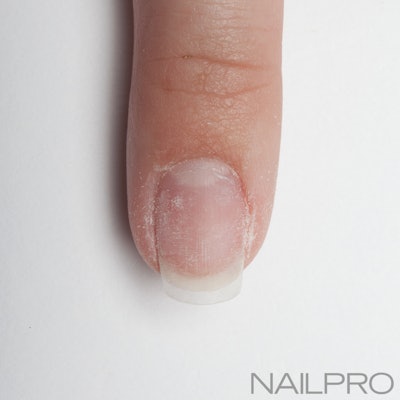
3. Cut the tip to a natural length and shape with a file. Then, gently file the line of demarcation with a 180/180-grit file to blend. Do not remove the dust.
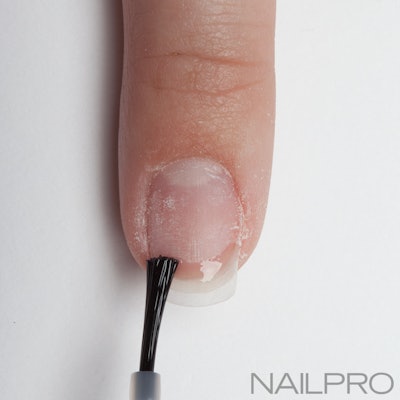
4. Apply nail glue along the line of demarcation. The remaining dust on nail will help fill in the seam.
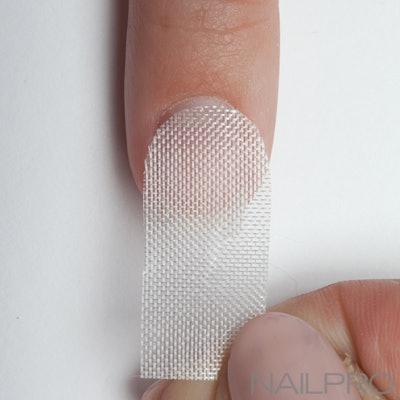
5. Buff the nail with a white buffer block and remove the dust with alcohol and a lint-free wipe. Then, fit a piece of silk to the entire nail, leaving a slight gap near the cuticle.
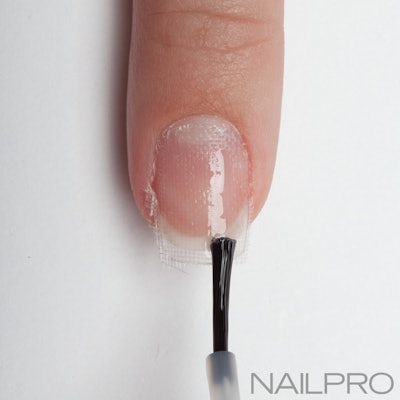
6. To attach the silk, evenly apply resin or nail glue to the nail.
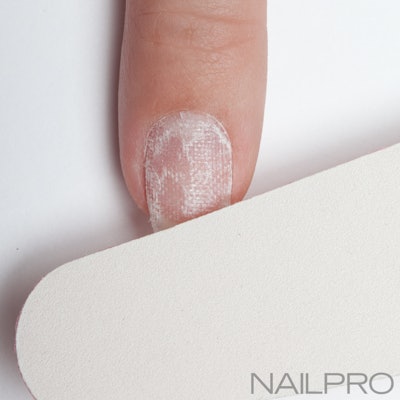
7. File and buff the silk wrap until the nail and edges are smooth.
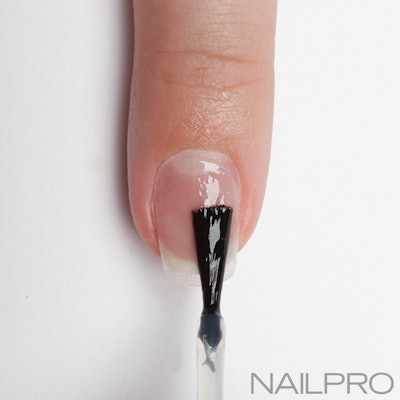
8. Apply gel primer, followed by gel polish base coat and cure. Then, apply gel polish top coat and cure.
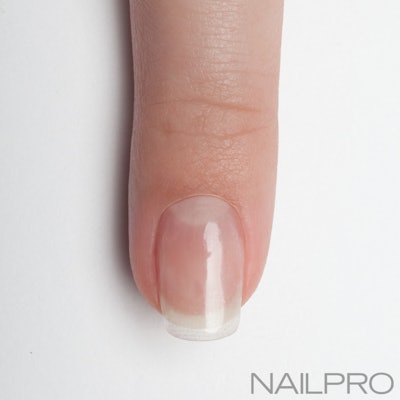
9. Remove the tacky residue with alcohol. Now that the length is established, the nails can be designed however the client wishes.
-Leslie Henry is a business development executive, licensed nail technician and the blogger behind workplaypolish.com.
[Images: photos: Armando Sanchez]
photo: Thinkstock/istock


