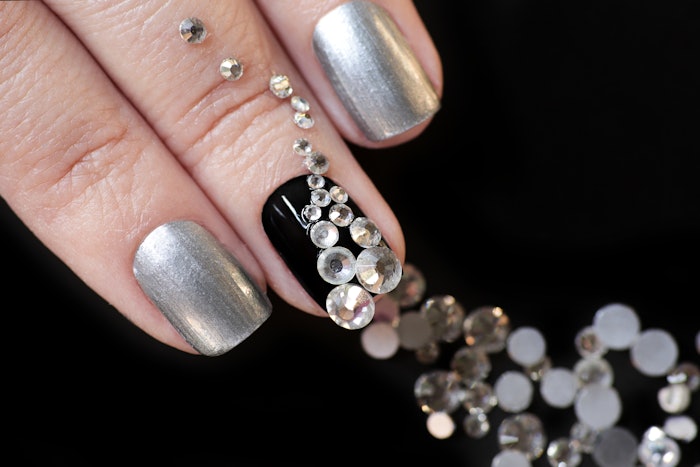
Experts share their tips and tricks for maximum brilliance and bling that won’t budge using nail polish, glue and gel
With hard-to-ignore sparkle, statement gems are a walking advertisement for your salon and an easy upsell because they’re fast, easy and you don’t have to be particularly artistic to accomplish good results, says veteran nail artist Gina Silvestro. A client who requests this add-on is no shrinking violet, so it’s important that this glitzy look shines and stays put.
Every successful statement gem application starts with the right embellishment. Acrylic gems are the least expensive and come in a range of colors and shapes, but are not very durable, lack in luster and may not work well with gel or acrylic. Glass or synthetic crystals are typically more sparkly and durable, but come with added cost. For extra-large gems, look for a slight curve on the bottom, says Van Nuys, California-based nail artist Yvett Garcia. “When they’re too big and flat, they tend to snag on things too much.” For this reason, Silvestro recommends limiting the size of flat-backed stones to 8mm or less.
Though most techs have their favorite attachment technique, the best method may depend on the situation, including the type of gems used, the product currently on the nail and required durability. Gems get their brilliance from light reflecting off the facets, so regardless of attachment method, anything on top of the stone will dull the shine.
Applying gems with nail polish
Attaching gems with nail polish is only advisable for short-term use, as nail polish doesn’t have the same staying power as more heavy-duty adhesives. Still, it still can be the right choice for a client who returns frequently for regular manicures or wants to try out some bling before committing to anything more. Before beginning the service, make sure clients know that stones can fall off fairly quickly. After applying top coat, allow the nail to dry slightly. Then, press the gem into the top coat when the surface is wet enough to set it, but not too wet that the gem slides or smudges, says Garcia. Once attached, do not apply more top coat. Instead, use a small nail art brush to carefully apply additional top coat around the base of each gem, if required.
Applying gems with glue or resin
Nail glue is a strong adhesive that sets quickly, but it must be used carefully since it can corrode the top of some gems and damage stones’ silver backing over time. If gluing gems over regular nail polish, make sure the top coat is 100-percent dry first, says Garcia. If using glue over gel polish, cure the nails, then lightly buff the shine from the design area prior to application for better adhesion, Silvestro advises. Choose a quick-set glue and use only what is necessary. Always apply glue to the nail (not the gem) and place the stone on the nail using a moistened cuticle stick or wax-tipped tool for maximum control. Additional glue can be placed at the base of each stone for more strength.
Gel application
This method is strong enough to adhere even the largest stones. And since gel doesn’t harm glass or synthetic crystal, the gems can be soaked off, saved and reapplied at future appointments. No special surface preparation is needed. Simply apply gel and crystals directly over the cured color or set acrylic.
Applying gems with gel is a two-step process, says Silvestro. First, use a thick, stiff gel to set the gem in place and ask your client to pivot her hand from side to side while it’s curing under the lamp. “This allows the light to cure the gel in between the crystals,” she explains. Next, carefully secure the crystal using a medium-thin viscosity gel to cap the edges. “Think of it like a ‘gel prong,’ which will hold the gem in place in the way that a prong holds a diamond on a ring,” she says. “The gel needs to come up onto the girdle of the stone to really secure it.”
Don’t be afraid to experiment. Many techs use a combination of gel and resin to apply gems. Garcia adheres larger stones with a thick hard gel, then uses resin to fill in the gaps after curing. Other techs first adhere gems with resin and then use gel to fill in the gaps. The important point is ensuring that large stones are secured to the nail’s surface around the entire perimeter of each gem’s base.
Placement Matters
“Closer to the cuticle is the best placement for crystals because the nail plate doesn’t flex there, so it’s a more stable surface,” says veteran nail artist Gina Silvestro. Don’t get too close to the cuticle though, cautions Van Nuys, California-based nail artist Yvett Garcia. “It will make it harder to seal the gaps without touching the skin, and when the nail grows out the gem will easily snag on things.” If placing gems on natural nails, stick with an arrangement of smaller stones. If a large stone is placed at the stress point where the natural nail may bend, there’s a good chance it will pop off, says Silvestro.
HOW TO
 Photography by Jason Bennett
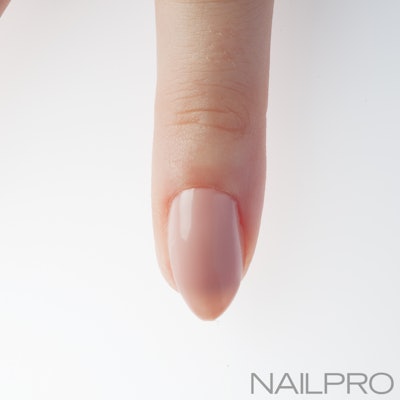
1. Prep the nail and then apply two coats of gel polish, curing after each.
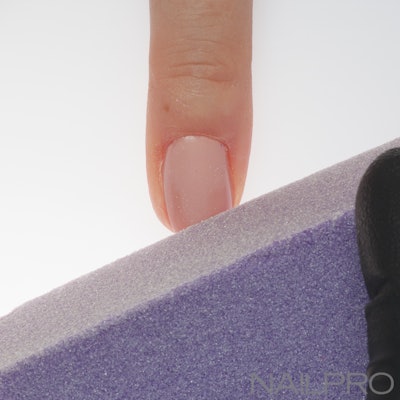
2. Use a lint-free wipe soaked with cleanser to remove the tacky layer, but do not apply top coat. Lightly buff the base of the nail.
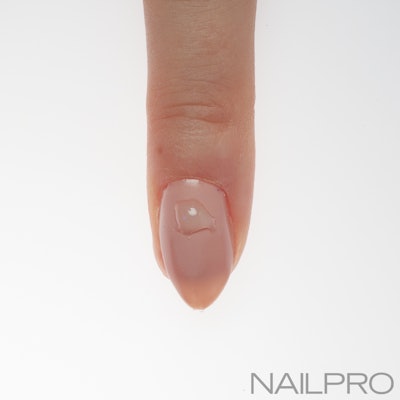
3. Place a dab of gel adhesive on the buffed area of the nail.
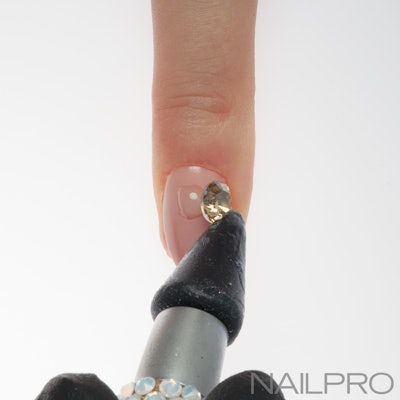
4. Using a pointed wax pen, pick up a large pointed-back gem, then place it on the gel adhesive at an angle. Repeat this step for additional gems, then cure the nail.
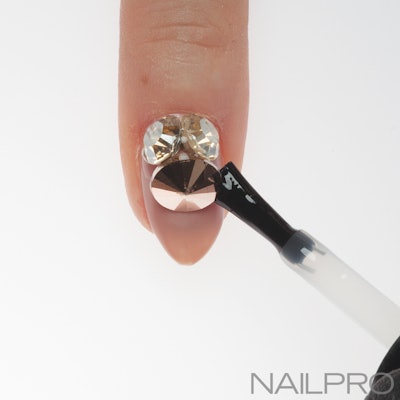
5. Apply resin between and around the gaps of the larger gems. For better adhesion, spray gems with an aerosol nail drying spray.
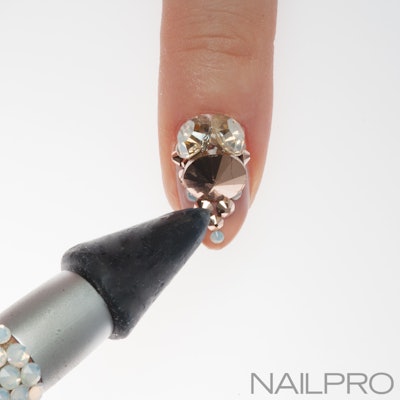
This article, written by Sigourney Nuñez, was first published in the November 2017 issue of Nailpro. Watch the video below to see this step-by-step in action.
Follow Nailpro on Instagram and subscribe to our free daily newsletter to receive the latest news for nail professionals.


