The road to flawless nail art can be riddled with barricades. avoid roadblocks with these expert troubleshooting tips.
Being able to execute nail art designs takes time and skill, which is why you can charge more for these services. But what happens if something goes wrong? No one wants to take time away from new clients to deal with someone who comes back to the salon with botched nail art needing a fix. To help combat some of the more common service breakdowns, we’ve enlisted a few seasoned nail artists to provide their best application advice. With these techniques, your nail art looks will last long after your clients leave the salon.
The Problem: Imprecise Line Art
The Solution: Hand-painted nail art is definitely the most time-consuming nail art service—particularly when it involves painting fine lines—but it can also be the most rewarding. For one, you get to show off your creative chops. For another, you can charge accordingly depending on what your client is asking for. Like most skills, practice makes perfect, and when it comes to painting fine lines, practicing hand-painting techniques allows you to streamline your services because you’ve worked out all of the kinks before the client sits in your chair.
1: Place gel paint on a tile or work surface. Drag a striping brush through the paint, leaving a small bead at the end of the brush.
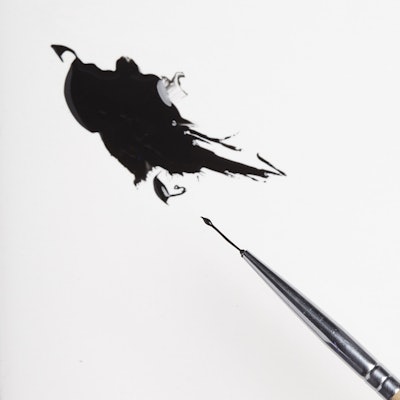
2: Continue dragging the brush through the gel paint until the tip of the brush comes to a point.
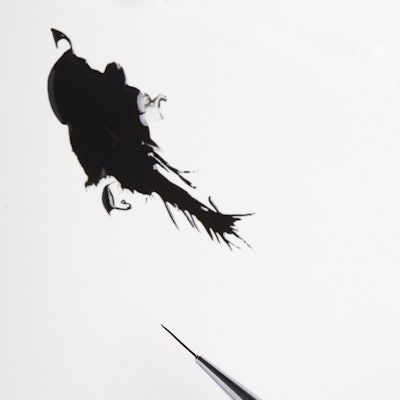
3: Practice painting lines on the tile, applying different amounts of pressure to each stroke. Test opacity, line size and fading techniques. 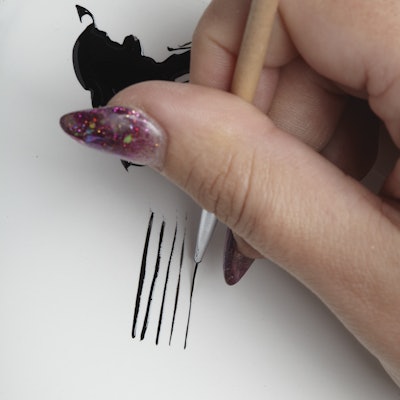
The Problem: Lifting Striping Tape
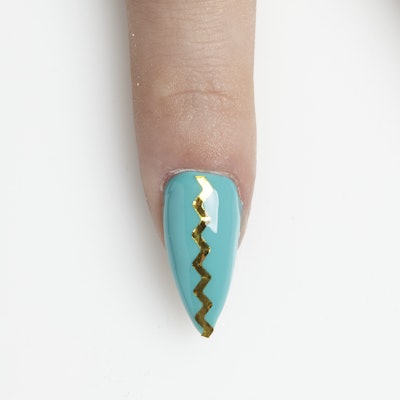
The Solution: Striping tape can be used to create a multitude of geometric shapes and designs, but your hard work will be all for naught if it lifts off of the nail. Giving your striping tape an extra bit of security is a good way to ensure that it doesn’t lose its adhesive. “When working with striping tape, make sure you leave a small gap around the edge of the nail,” advises nail tech Bel Townsend (@sohotrightnail). “That way you can fully encapsulate the tape.”
1: Before removing the striping tape from the roll, measure the tape alongside the nail so you know how much to cut.
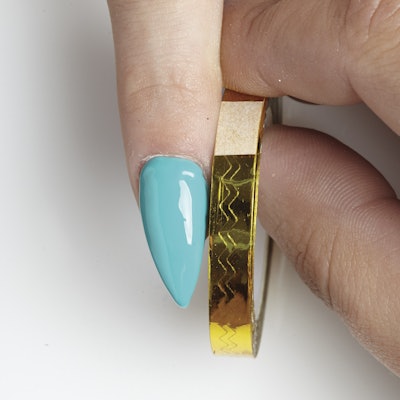
2: Place the tape on the nail and use a silicone brush to press it down securely.
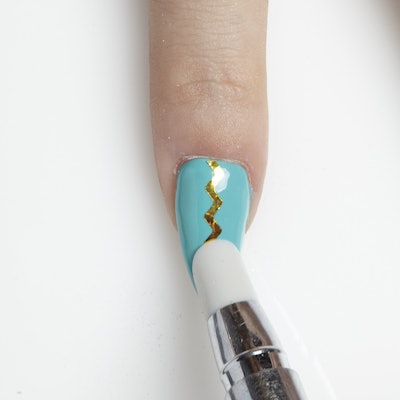
3: To encapsulate the striping tape, apply one coat of builder gel and cure. Finish with gel top coat.
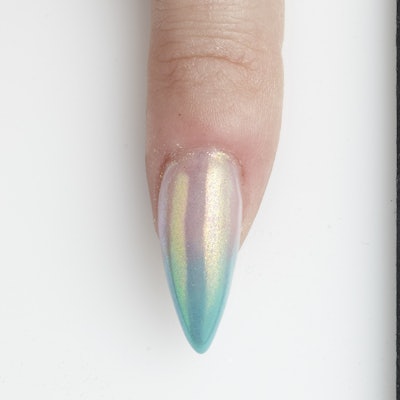
The Problem: Chipping Chrome
The Solution: The technique for applying chrome can look easy enough, but when chrome chips, the process to fix it is anything but simple. Laying down a good foundation makes all the difference for long-term wear. “Chrome is very sensitive,” explains Los Angeles-based nail artist Sabella Snyder (@sweetbcreations). “Make sure your top coat application is even and smooth. If you apply chrome on top of a lumpy surface, it’s more likely to chip than when applied to a smooth nail plate.”
1: Apply a thin application of no-wipe top coat and cure.
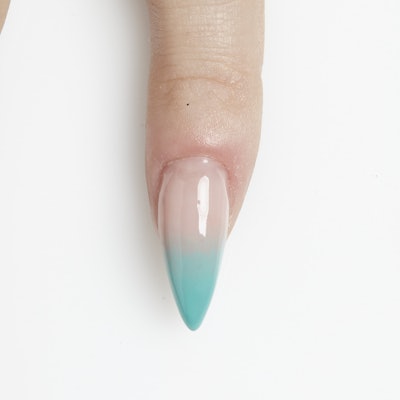
2: Apply chrome pigment to the nail using an eye shadow applicator or silicone brush that holds very little chrome pigment. This will help you avoid lumpy application, which can result in chipping. Apply another coat of no-wipe gel top coat and cure to seal the chrome.
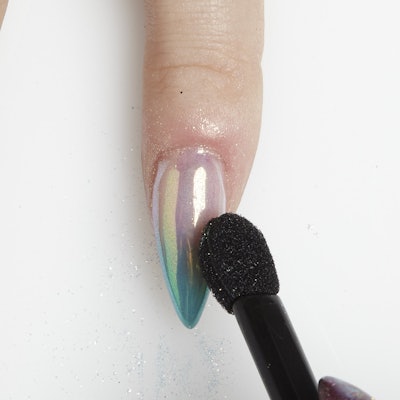
3: Finish with a layer of traditional gel top coat and cure.
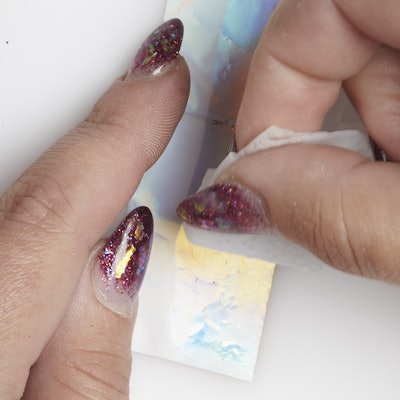
Bonus Tip! Have foil that doesn’t transfer? Try wiping the back of the foil with alcohol for better adhesion!
Recreate the look with these must-have products!
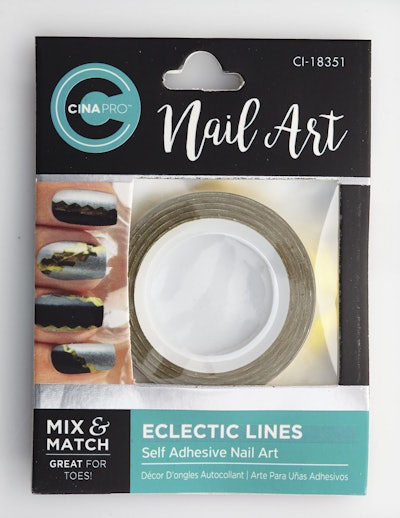
CinaPro Eclectic Lines Nail Art
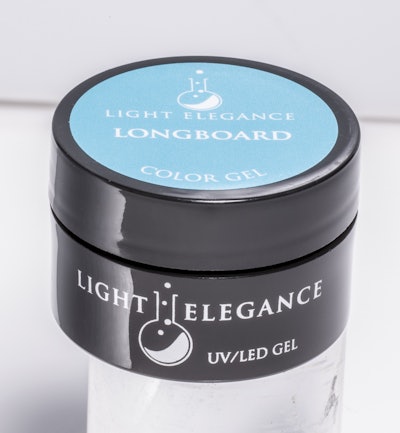
Light Elegance Color Gel in Longboard
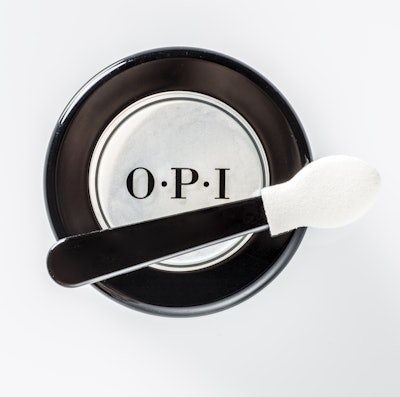
OPI Chrome Effects in Blue “Plate” Special
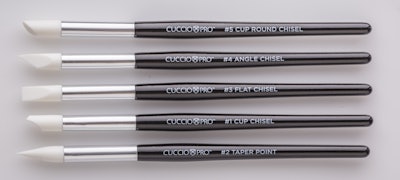
Cuccio Pro Silicone Tip Non-Bristled Brush Set

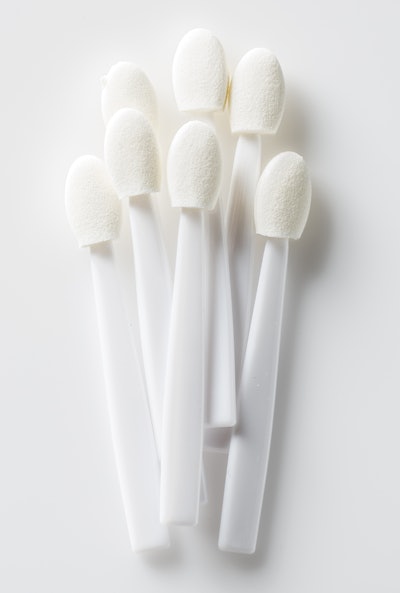
Wildflowers 100 Eye Shadow Applicators
Are these nail art tips helpful? Let us know in the comments below!
-Dina Ciccarelli
This article was first published in the July 2018 issue of NAILPRO


