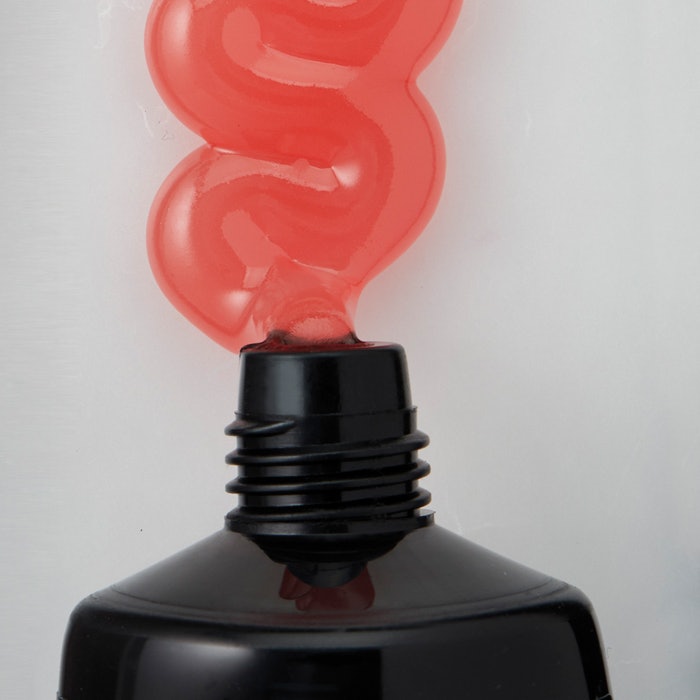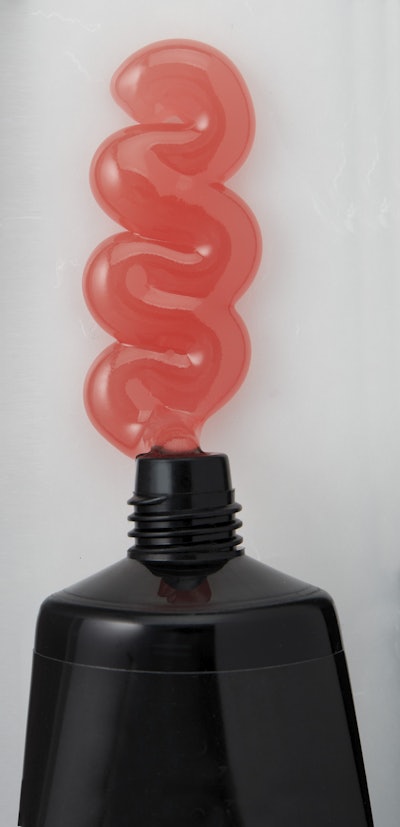
As a kind of gel-acrylic hybrid, “tube” gels can offer techs the best of both worlds. but what are these new formulations all about? Here, experts answer your most pressing questions.
Tube gels—also called high-viscosity gels—have stormed onto the scene in the last year or so, with an increasing number of manufacturers (and techs) singing their praises. “Dipping a bit of gel into acrylic has been done for decades in Asia, especially in 3-D competitions,” says Hillary Fry, salon and session manicurist at Scenario Hair Design in Shorewood, Wisconsin, providing a similar application. However, most experts wouldn’t recommend that practice for everyday use, as it can lead to product breakdown. Tube gels are far more sophisticated than that, explains Vu Nguyen, educator for Gelish. “Today’s product has an incredible shelf life, very stable pigments that hold their color through many different conditions and amazing control that a veteran or newbie can adjust to very easily.” Still unsure about how this technology works and who it’s best for? Read on for everything you need to know and our Tube Gel products we’re talking about!
 tube gel
What Are Tube Gels?
Tube gels, true to their name, are squeezed directly out of a tube instead of dipped from a pot, and require curing with a UV or LED light. MaeLing Parrish, U.S. dean of education for Gelish, notes that while each brand is specially formulated, tube gels are “a blend of technology from oligomers and polymers called a tri-polymer,” resulting in an application that is simple and controlled. “There’s less filing than with traditional acrylics, and they provide a much quicker sculpted or overlay nail,” says Nancy Hinojosa, brand manager of ibd. “They’re less intimidating than other nail enhancements.” Merrick Fisher, celebrity manicurist at Merricures in Beverly Hills, California, agrees that ease of use is a key differentiator—especially for beginners or students. “If you haven’t gotten the hang of creating liquid-powder ratios, or if you don’t like the sticky, runny mess of gels, these are a perfect alternative,” he explains. “Unlike acrylic, there are no strong odors, and unlike gel, there are no heat spikes.”
 Artistic Nail Design Putty System
 ibd Beauty Control Gel
 Joya Mia Onyx Acryl Gel
 Application, Curing and Removal
Thanks to their stay-put high viscosity, tube gels can be applied straight from the tube onto all five nails before sculpting, according to Lily Jacobs, nail lead at Rizzieri Salon & Spa in Moorestown and Voorhees, New Jersey. “Dip a gel brush into [the system’s] liquid to maneuver the gel into place; you can take as much time as you need without the product running into the cuticles or sidewalls,” she says. “However, the product may lift if too much fluid is used; you only need enough to wet the brush so that the gel doesn’t stick to the brush.”Fry, who prefers isopropyl alcohol for better glide (although using the manufacturer recommended liquid is best, and avoid acetone at all costs, as it causes product breakdown), agrees that tube gels, despite their advantages, are far from “idiot-proof”; using these formulations for durable results requires some practice. For example, without self-leveling, they need to be sculpted, and you may need to touch up certain areas as a final step. “Tube gels are best applied with the patting motion of acrylic,” Fry says. “Extra care needs to be taken to level around the cuticle area, and there may be more of a need to file it flush.” You can apply these high-viscosity gels over a tip or sculpt using a form. Fisher recommends starting with the cuticle area first, then moving from side to side, sculpting the apex, working your way toward the free edge. “Once you’re happy with the shape, flash cure for about 10 to 15 seconds and pinch the C-curve, and then do a full cure,” he advises. As with most traditional enhancements, nails built with tube gels can be refilled after two to three weeks of wear. “The technique is very similar to filling liquid and powder or hard gel,” says Parrish. Once the nail has been prepped, “squeeze, slice and roll PolyGel to fill the cuticle area and rebuild the apex, if necessary.” If and when you do need to remove them, “product should be gently filed off first,” says Hinojosa, “and any remaining gel can be soaked off.” Using acetone and the cotton/foil method, the remaining product will soak off in 15 to 20 minutes. However, when removing, take note that not all brands use the same process. For example, Gelish PolyGel is not meant to be soaked off, explains Parrish. “The idea is to leave a very thin layer remaining on the nail that will then grow out.” Removing the entire product with a file can lead to damage of the natural nail.
 Entity Studio One Contouring Gel
 Christrio Sculpture Gel
  Gel II 4D Gel
 Who Are Tube Gels Best For?
Fisher suggests tube gels to clients seeking an alternative to traditional gels—for example, if they’ve experienced lifting issues with traditional gels—but clients who are tough on their hands and nails might have to stick with conventional acrylics. Fry likes tube gels for overlays and has experienced success with longer nails, but not for stiletto shapes, as undercuring and strength issues may occur. Jacobs, meanwhile, believes the product is great for nail techs who have experience with acrylics but haven’t yet mastered gels. Hinojosa points out that tube gels are ideal for clients on the go, due to a shorter application time (about 30 minutes saved for sculpted nails versus hard gel). “The fast and easy application, workability and long-lasting results are perfect for all clients, and beginner techs and seasoned professionals alike,” concludes Erin Eng, education director for Trinity Beauty in Los Angeles. “Don’t forget to take advantage of online training or advanced workshops to hone your skills.”
 Gelish PolyGel
  Luxapolish Matrix Sculpting Gel
  Tammy Taylor Sculpt
  Artisan FlexGel
-Tracy Morin
What do you think about integrating Tube Gel services into your service menu? Let us know in the comments below!
[This article was originally published in the July 2018 issue of NAILPRO]


