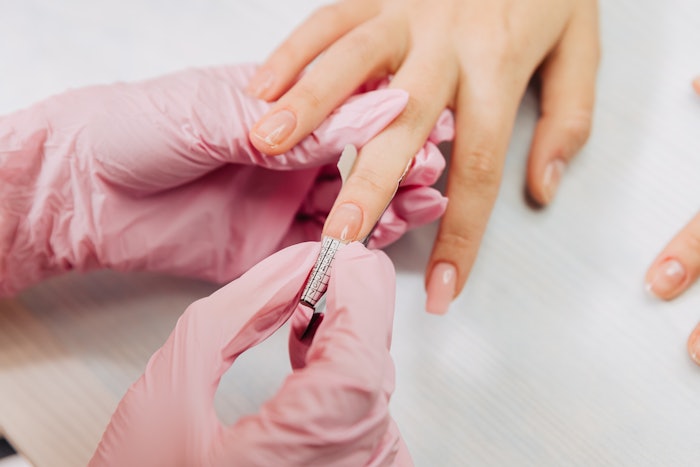
The apex of the nail is where the magic happens.
When applying enhancements, the apex is created by building the thickest amount of product over the nail’s stress area. This area, typically located between the middle of the nail bed and the natural-nail free edge (depending on the length of the enhancement), is where breaks most often occur.
The top of the arch begins at the apex, or the highest point of the nail. From the apex, product should then gradually taper in an arc (the body of the arch) to a thin layer at the tip (the lower arch). Product should also transition smoothly from the apex toward the cuticle and from the apex to the sidewalls. When done correctly, product at the perimeter can be credit card thin and flexible without comprising strength.
Shaping and filing this transition correctly is just as important as accurate apex placement. An unbalanced curve or a flat, steep slope can look awkward. It’s also important to be mindful of the nail’s lateral structure, or the sides of the enhancement, as they extend from the nail grooves beyond the finger. A compromised lateral structure can weaken the strength provided by even the best-built arch. The enhancement should always extend straight out from the natural nail sidewalls before taking on the desired tip shape.
Here, how to create the perfect arch with gel:
How-To:
- Prep the nail for traditional gel application. Apply a form and, using builder gel, apply a thin layer to the nail. Flash cure for 10 to 30 seconds, depending on the gel used.
- Using a sheer white builder gel, sculpt the extension, and cure. Then, brush a thin coat of clear builder gel over the entire nail surface and extension, but do not cure. The uncured gel will help the next ball of gel level more easily.
- Pick up a ball of builder gel. Gently roll the gel off the brush and onto the nail where you want the apex (over the stress area). The stress area is usually one-half to two-thirds way between the cuticle and natural-nail free edge. For longer extensions, move the apex forward slightly toward the tip to add extra strength. Note: Remember to adjust the location of the apex when the client returns for a fill, as this thicker portion of product will move toward the tip as the nail grows.
- Using the very edge or corner of the brush, lightly guide the gel from side to side and front to back to even out the thickness and perfect the shape. As much as possible, keep the brush in contact with the gel as you work, gently floating and directing the product toward the perimeter. Another bead of gel may be required at the tip.
- Observe the nail to check that the apex is the highest point of the enhancement from all views. If you’re unable to achieve the desired shape, flash cure, and repeat steps 3 and 4.
- Fully cure, remove the form and cleanse the gel. File the lateral structure, so that it extends straight out from the sidewalls, and perfect the tip’s shape.
- Then, file the nail’s surface until it is balanced from side to side and front to back. The product should transition smoothly from the apex to the tip, cuticle and sidewalls. Note: Draw the file upwards, from the sides of the nail toward the center, to help achieve a consistent convex shape from the cuticle to the tip.
What the video below to see the step-by-step in action:
-Leslie Henry is a business development executive, licensed nail tech and the blogger behind workplaypolish.com
[Nails by Melanie Visser]
This article was originally published by Nailpro in 2017.


