For a brand new way to create enhancements, try Gelish PolyGel. Formulated to be strong and lightweight, the product is odorless, monomer- and 7-free and produces no airborne dust. Available in six shades.
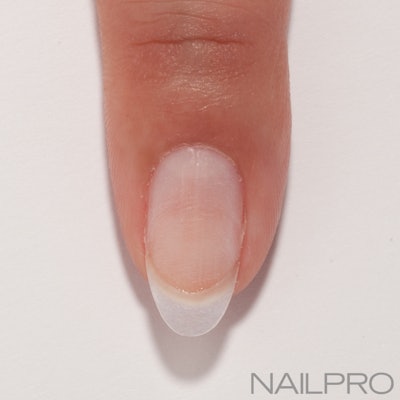
1. Prep the nail and apply a tip. Apply one coat of pH Bond to the natural nail only. Then, apply one coat of ProBond acid free nail primer to the natural nail only.
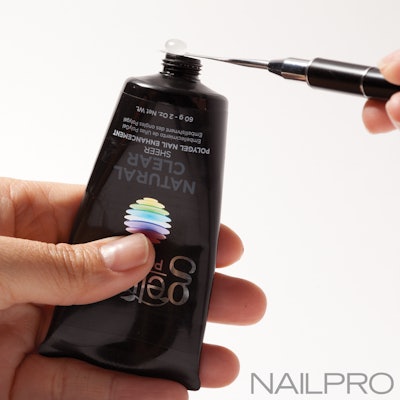
2. Squeeze the tube of Natural Clear PolyGel to release the product and slice off the desired amount with the flat edge of the PolyTool.
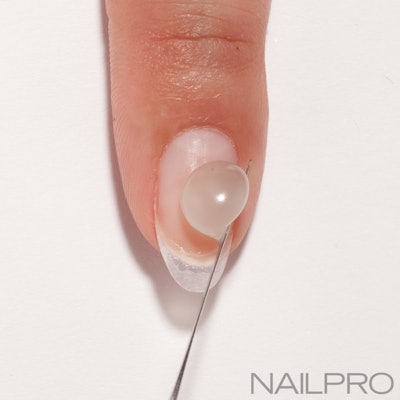
3. Use the PolyTool to roll the product onto the nail.
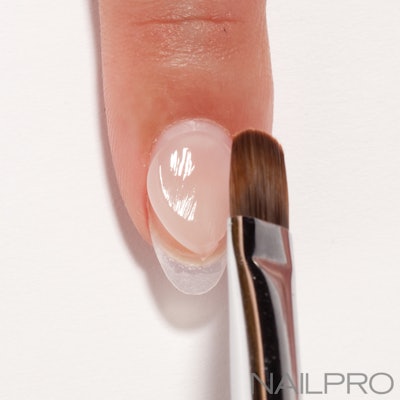
4. Switch to the brush side of the PolyTool. Dip the brush into the Slip Solution, then shape the nail by lightly patting the PolyGel product. Keeping the brush close to the surface, continue until the nail and tip are covered. Cure the nail for 30 seconds in an LED lamp.
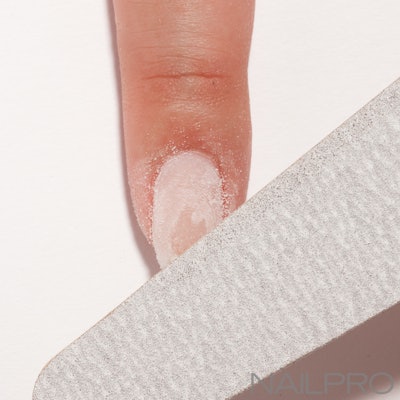
5. To smooth the surface, lightly file the nail with a 180-grit file. Finish shaping with a 180-grit buffer.
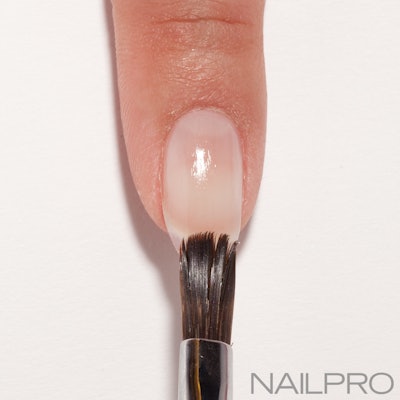
6. Cleanse the nail. Apply one coat of gel base coat and cure for 5 seconds. Then, wipe a clean gel brush over the surface of the nail to remove any excess base coat; this will cause the surface to become slightly tacky and allow the polish to adhere better.
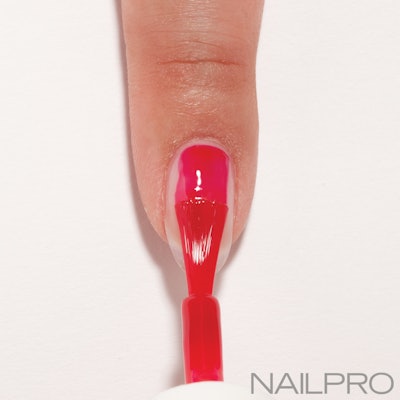
7. Apply two coats of gel polish, curing after each.
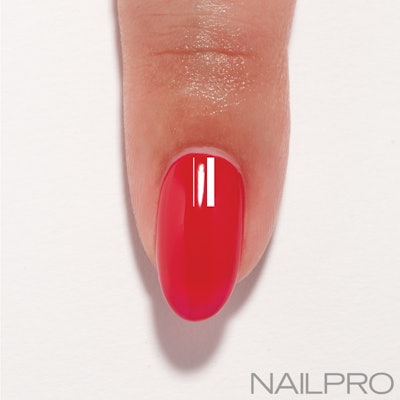
8. To finish, apply gel top coat and cure.
See the step-by-step in action in the video below!
What are your thought on PolyGel? Let us know in the comments below!
This article was first published in the June 2017 issue of NAILPRO
[Images: Photography by Jason Bennett]
VIDEO:
How To Use PolyGel By Gelish


