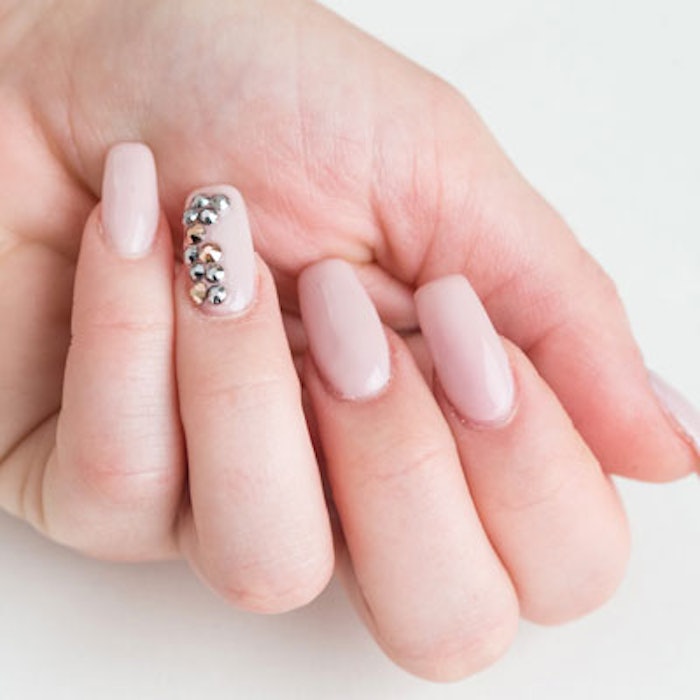
Take your nail art game to the next level with Swarovski crystals. With millions of styles to choose from, the nail design possibilities are virtually endless! Here, a tutorial on how to use Swarovski crystals with both nail glue and gel polish.
How to Apply Swarovski Crystals
If #blingnails are your MO and diamonds your best friend, you’re going to want to take a look at Swarovski crystals, a collection of sparkling, dazzling nail art accents that can elevate any look to couture status.
Learn how to apply this product with both nail glue and gel polish in the tutorials below.
Using Nail Glue
Step 1
On polished nail, add a small amount of nail glue where you want to place the crystal.
 Once your base dries, apply a small amount of nail glue to where your crystal will go.
Step 2
Pick up the Swarovski crystal with a wax stick or tweezers and apply to the glue on the nail. Continue to apply glue and crystals to create the design of your choice.
 Pick up your Swarovski crystals with a wax stick or tweezers.
 Continue placing the gems to create your desired design.
Step 3
Use a thin detailing brush to apply a small amount of top coat around the base of the crystals to seal.
 Seal the crystals with top coat.
Using Gel Polish
Step 1
After applying the gel color of your choice, apply the gel top coat, but do not cure.
 Apply your gel top coat but do not cure.
Step 2
Pick up crystals with a wax stick or tweezers and apply to the uncured top coat in the pattern of your choice.
 Apply the crystals with a wax stick or tweezers.
Step 3
Cure the nail under the UV light to set the top coat and crystals.
 Cure the nail to seal the crystals.
Step 4
Use a thin detailing brush to apply a small amount of top coat around the base of the crystals to seal. Cure under the UV light.
 Add a small amount of top coat to the base of the crystals to seal.
 Cure once more and you’re finished!
With Swarovski crystals, it’s as easy as 1,2,3! What designs will you create today? Show us your Swarovski nail art by hashtagging #NailProdigy and #Swarovski.
Images courtesy of Swarovski.


