Marbled and stone nails are an exploding trend in nail art right now. Follow along as Meegan of @sheroxxnailz shows how to do this cracked stone manicure with acrylic.
Step 1: Prepare a tip or an acrylic extension with your first thin layer of clear acrylic. Then apply a bead of each color (clear, pastel pink, matte glitter sky blue) as quickly as you can so that you can swirl the 3 colors together. While moving the acrylic into place be careful not to overwork the design and accidentally ruin the marble effect.
Step 2: Apply a thin layer of clear acrylic to protect the glitter used. If doing this on a client, pinch the extension.
Step 3: File the nail into shape. Clean away any dust.
Step 4: Use a striper brush to apply the cracked effect in your stone, draw directly over the acrylic with black gel nail art paint. Cure for 2 min.
Step 5: After the design has cured for 2 min, apply silver nail art foil to the black gel accents. Flash cure for 30 seconds.
Step 6: Use a silicone paint shaper to remove some bits of foil so they look more “cracked.” You can also clean up any foil that has gotten on the marble design.
Step 7: Apply a “non tacky layer” top coat to the nail, but only on the acrylic and NOT the gel/foil accent. Flash cure for 30 seconds.
Step 8: Now apply a second layer of top coat over the entire nail as normal and cure for 2 full min.
Step 9: Remove the nail from the light and inspect your design. At this point you can be finished OR
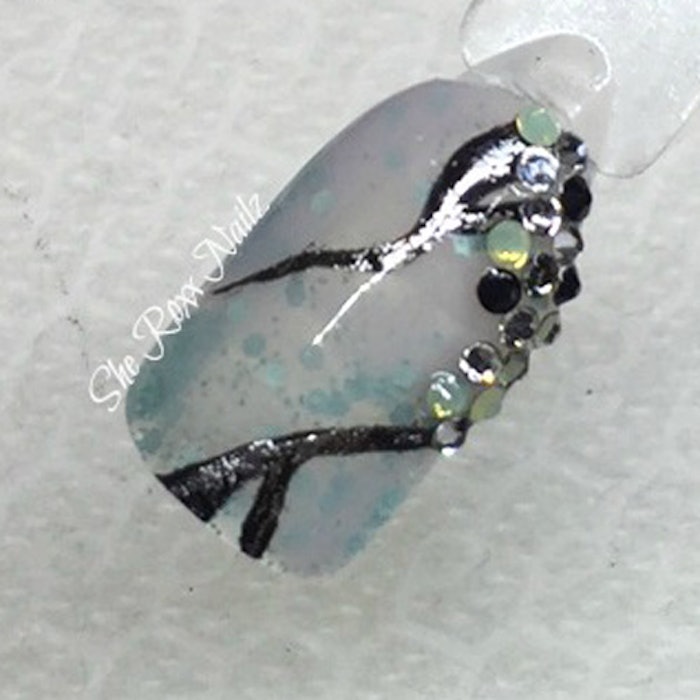
Step 10: You can decide to add even more flare and put on some Swarovski crystals!
The possibilities are endless, here are some more examples of marbled acrylic nail art designs.