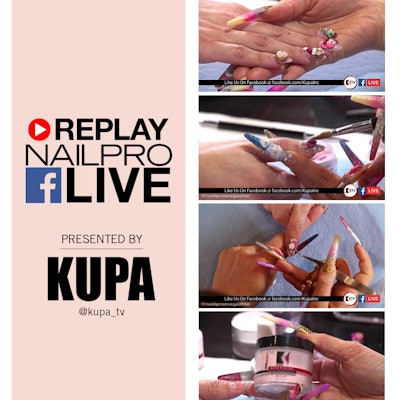
NAILPRO recently hung out with Kupa’s Mie Kitabayashi and Elaine Watson for a DipFinity demonstration that’s perfect for the holidays. In the step-by-step below, Kitabayashi shares her technique on how to use dip powders and a UV/LED-curable adhesive to encapsulate festive glitter on the nails.
1. Prep the nails using the Kupa Mani Prep Tool and perform the Revolutions Per Manicure technique.
2. Apply Dehydrator.
3. Prep your disposable trays with enough dip powder for the client. Apply a thin coat of Kupa UV/LED-curable Adhesive, flip the nail and dip into the powder and dust off excess powder. Continue to add two layers to add durability to the nails and cure for 60 seconds in an LED lamp.
4. To begin the encapsulation process, apply a coat of Adhesive. While the layer is still wet, add pieces of confetti glitter using a dry brush. Because Adhesive needs to be cured, you can take your time to perfect the look before going in the lamp. Flash cure in an LED lamp.
5. Cover the full nail with Adhesive, flip and dip the nail into Clear dip powder. Cure for 60 seconds in an LED lamp.
6. Dust off the excess powder. Use the Phantom e-file and a medium sanding band at 5,000 RPM to finish file the enhancement. Wipe with alcohol to remove debris.
7. Finish the encapsulate look with Gel Top and cure.
Watch the Facebook Live video below to watch this step-by-step in action and get a bonus tutorial on how to create 3-D nail art.
What are your thoughts on this dipping technique to encapsulate nail art? Let us know in the comments below!
-Sigourney Nuñez

