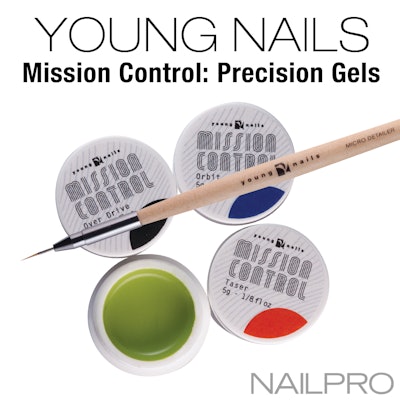
Create intricate nail art designs using Young Nails Mission Control: Precision Gel. These highly opaque precision art gels apply easily, allow for full-coverage detailed application and cure quickly with no tacky layer.
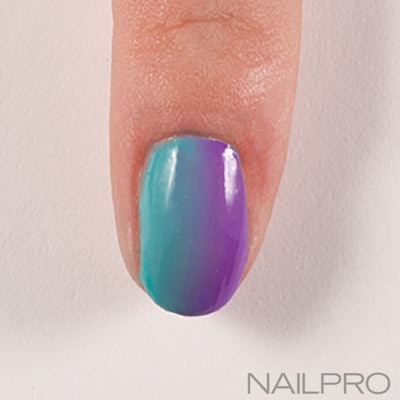
1. Prep the nail with Protein Bond, then apply base coat and cure. Using Orbit (blue) and Mega Jam (magenta), create a vertical ombré. Cure.
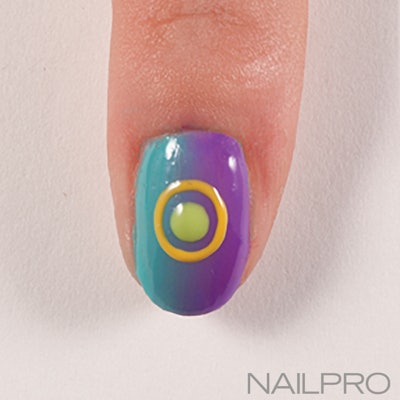
2. Use a Young Nails Striper Brush to paint a dot of lime Clash in the middle of the nail. Do not cure. Use yellow Solar to paint a thin circle around the dot. Flash cure for three seconds.
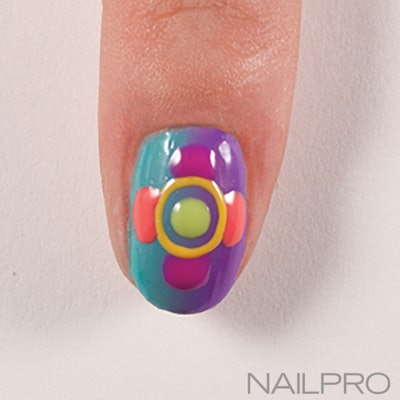
3. Use Mega Jam to paint a half circle on the top and bottom of the outer circle. Do not cure. Then, paint half circles on either side of the circle with Molten. Flash cure for three seconds.
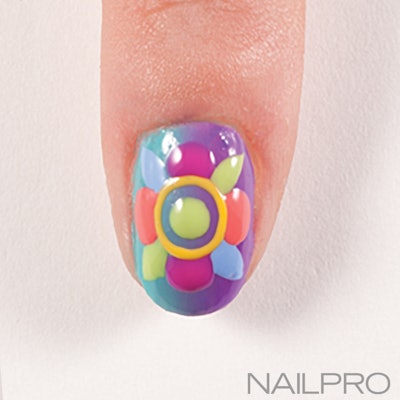
4. Mix together Orbit and Fizz to create a light blue shade, and use that to paint petals between the half circles. Paint two more petals with Clash. Flash cure for three seconds.
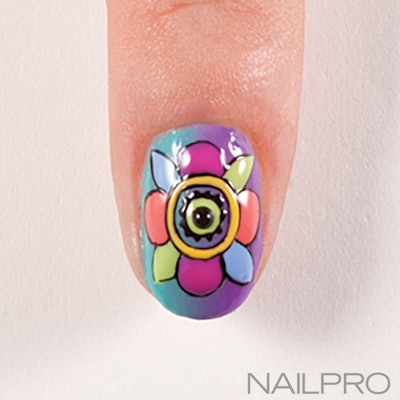
5. Use black Over Drive to add a dot to the center. Then outline the design and add details around the center circle with the Young Nails Micro Detailer Brush. Flash cure for three seconds.
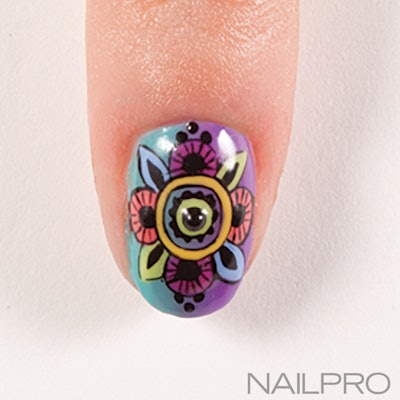
6. Continue with Over Drive to add details to the design. Flash cure for five seconds. Finish with Gloss Top Coat and cure for two minutes.
What do you think of Young Nails Mission Control? Let us know in the comments below!
-Dina Ciccarelli
[Photography by Jason Bennett]
This article was originally published in the January 2018 issue of NAILPRO.


