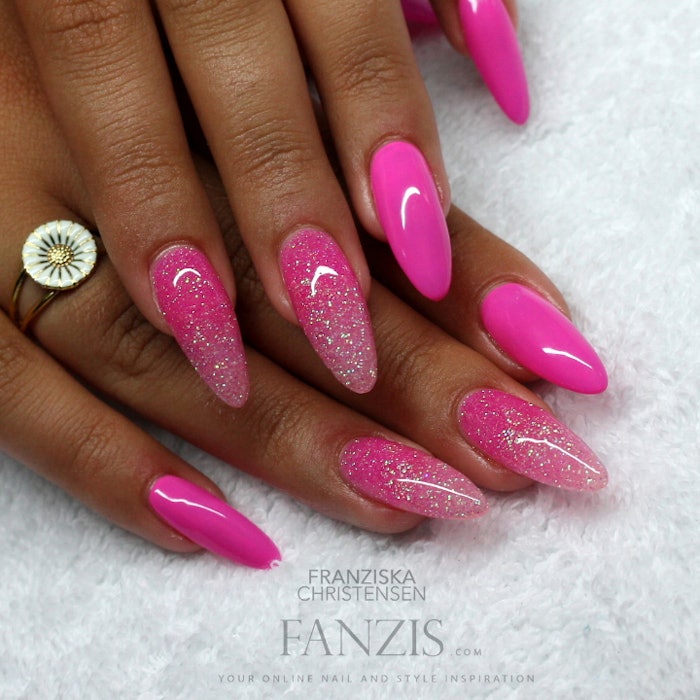

Franziska Christensen used pretty glitters to create this pink gradient! Follow along as she shows you how.

2. Apply bonder and let it air-dry. Place the forms and build one thin layer of gel over the entire nail and build the tip. The layer should not be thinner than what you are still be able to file when creating the shape. Cure in the lamp.
3. When done with all ten nails, clean the sticky layer off, and file to the desired shape. Buff the nails just a little.
4. Decide what nails you would like to be of glitter, and which ones you would like with gel polish.
5. For the nails you would like to be plain color, build the apex in clear gel, as normal.
6. For the glitter nails with gradient, take your first glitter color (loose glitter mixed with clear gel) and place it as on pictured (box 5). Fade it out in the middle of the nail, and cure in lamp. Make sure to get the glitter layer thin, but not too thin (so that it still gives coverage).
7. Take the next glitter color and do the same as step 6, just from the opposite direction. Cure in lamp.
8. On the glitter nails, build the last part of apex with clear builder gel and cure in the lamp.
9. Clear, file, and buff the nails to get the sharp and exact angles and lines. Make sure you don’t file down into the glitter.
10. Remove all dust and clean the nails.
11. Finish the glitter nails with a shiny gel top coat, and do the other nails with a gel polish color as normal. Voila!

See Franziska Christensen online:
Her site: fanzis.com
Her Facebook page: facebook.com/neglelounge
[Images: Franziska Christensen]


