Unlike traditional acrylic overlays, which can be filled, acrylic dip over natural nails is usually removed completely at each and every appointment—and that means more opportunities for natural nail damage through improper removal. Since acrylic dip’s popularity shows no signs of stopping, techs can expect to spend more and more of their time on this arguably risky (and let’s admit it, not very fun) task. Ensure that you stay on schedule and your client’s nails stay healthy with these expert tips for safe, effective acrylic dip removal.
1. Break and Thin

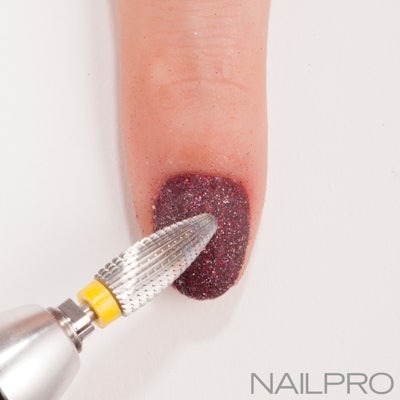
Like most removal processes, the first thing you must do is break the top coat seal and then thin the product. Katie Lee, education coordinator for Young Nails, prefers to use an e-file with a coarse safety bit because product can be removed faster without damaging the natural nail. If you’re not an e-file user, a medium/coarse-grit file will also do the trick. How much product should be filed off? “The thinner you get the product, the faster it soaks off,” says Yvonne Vuong, LeChat educator. “Just be careful because too much filing in one area can cause the nail to get hot.”
2. Soak

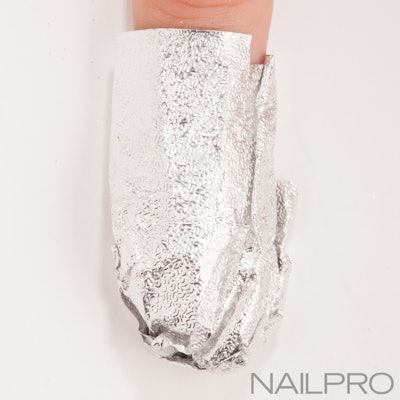
Next, soak the remaining product in acetone. Nails can be immersed in a bowl of solvent, or solvent-soaked cotton balls can be placed on each nail. Solvents work most effectively when warm, so place a bowl of acetone over another bowl of hot water or wrap each finger in foil (to take advantage of your client’s body heat). Soak time varies depending on the product and the thickness of it, but expect it to take anywhere from 5 to 15 minutes for the product to break down. Vuong puts a lot of focus on safely thinning the product during Step 1. “If the product doesn’t soak off in five minutes, that means I didn’t file it thin enough before soaking,” she says.
3. Remove

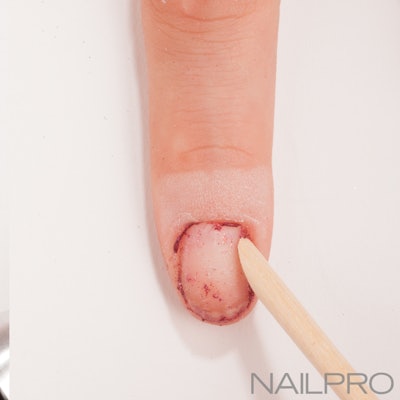
After soaking, use light pressure to slide the cotton ball down the nail or wipe the surface with a lint free pad, working from the cuticle area to the free edge, says Vuong. Lee then recommends using an orangewood stick to gently push off any remaining soft product. If the product is still thick and not soft enough to gently push, file it down once more before soaking again, says Vuong. Never use metal implements to force product off.
4. Clean and Prep

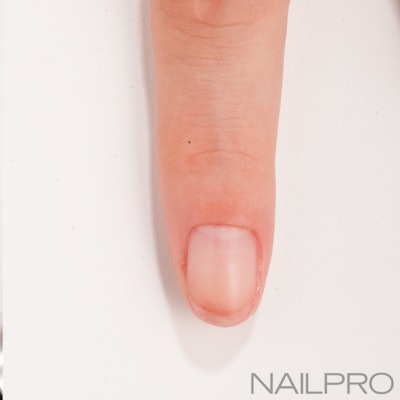
What little product remains can usually be buffed off with a fine-grit file (if not, go back to Step 2). Small, stubborn spots may also be “scrubbed” with a cotton ball soaked in acetone. If acrylic dip will be immediately reapplied, don’t use any oils until the service is complete, says Lee.
What’s your best tip for removing acrylic dip? Let us know in the comments below!
-Leslie Henry is a business development executive, licensed nail technician and the blogger behind workplaypolish.com.
[Photography by Jason Bennett]
This article was originally published in the December 2017 issue of NAILPRO Magazine.
READ MORE:
3 Ways to Convince Clients to Try Acrylic Dip Nails


