The classic pink-and-white is a service constant. For clients who love this timeless style, routine nail appointments are a must. Once the natural nail grows out, it’s important to rebalance both the structure and the look of the enhancement. Here, step-by step directions for performing a backfill with acrylic.
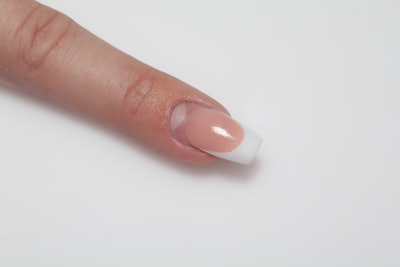
1. Prep the nail for an acrylic backfill. Push the cuticle back and remove any dead skin. Then, take away the shine of the natural nail with a buffer.
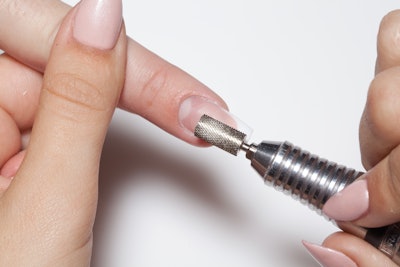
2. Using an e-file and a standard medium bit, remove the shine of the enhancement as well as any lifting, and file to the client’s desired length. Then, using a hand file, refine the shape of the sidewalls and free edge.
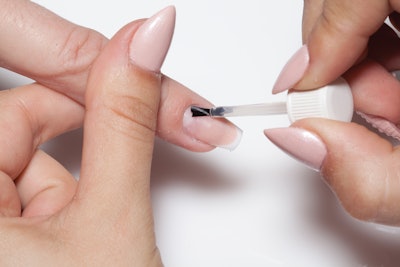
3. To help the acrylic bond and adhere to the nail, apply one coat of dehydrator, followed by one coat of primer, to the entire nail.
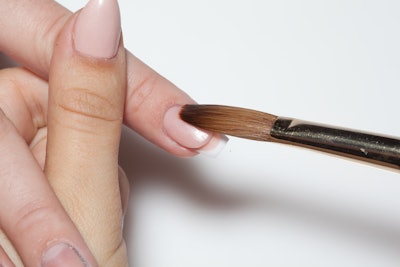
4. Using a reverse technique, the pink acrylic is applied first. Apply a bead of cover pink to the nail, cover the natural nail and create a new smile line. Wait for the acrylic to fully cure before moving to Step 5.
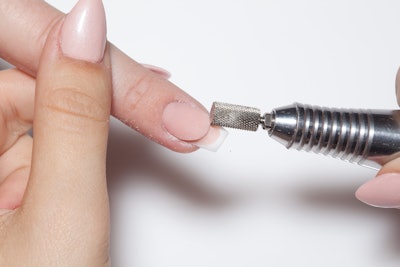
5. Refine the smile line with an e-file and a standard medium bit. (Note: Use zone 1 of your bit to cut into the smile line.) Then, use a 100/180-grit hand file to sharpen the smile line, making sure that the edges are even.
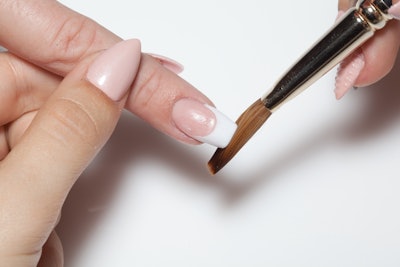
6. Next, apply a bead of white acrylic to create the free edge.
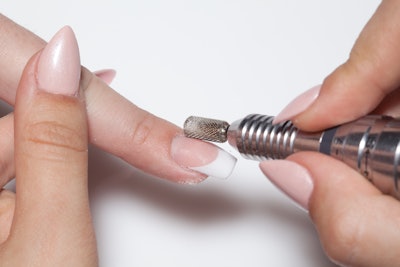
7. Once the acrylic is cured, refine the surface of the nail with an e-file, starting at the cuticle and working your way to the free edge. Be sure to bevel the product near the cuticle to be flush with the natural nail.
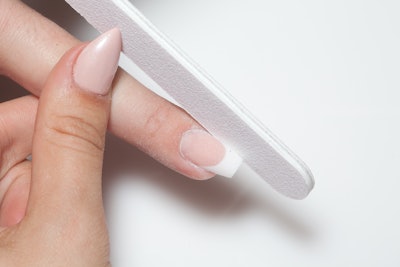
8. Then, use a hand file to shape the sidewalls and free edge, and to go over the surface of the nail a second time. The nail should graduate from thinness to thickness to thinness evenly, from cuticle to free edge and from sidewall to sidewall.
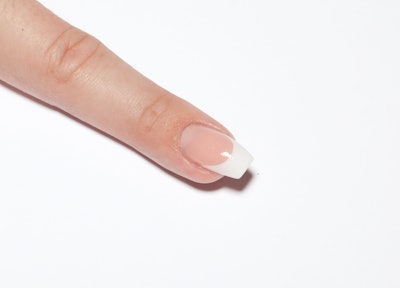
9. Buff the entire nail and wipe off any dust. To finish your acrylic backfill, apply top coat.
What’s your best advice for performing an acrylic backfill? Let us know in the comments below!
[Images: photography by Armando Sanchez, nails by Katelyn Armstrong]
This article was first published in the March 2017 issue of NAILPRO
READ MORE:


