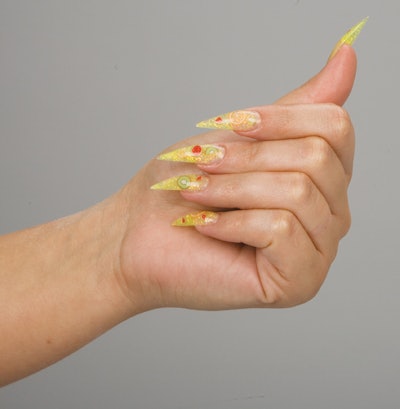
Once clients try stiletto nails once, it seems they never go back to square. Even those who find stilettos too pointy often decide to stick to almond. The extended tips are edgy, sharp, and fun to decorate due to their length, so it’s worth it to give them a try. Since they’re not huge yet in the United States, you can create a niche for yourself as an in-vogue nail stylist.
Step 1: Sanitize hands and prep nails as usual for enhancements. If you need to extend the nail plate, you should do that first, and then begin your tip.
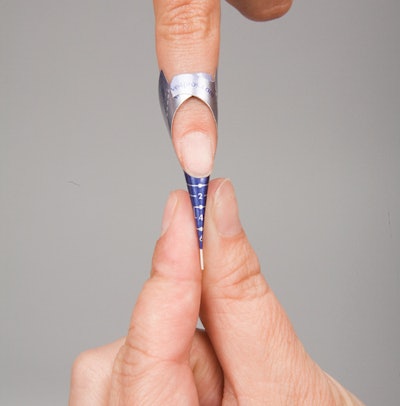
Step 2: Apply forms and pinch the tips to extreme points.
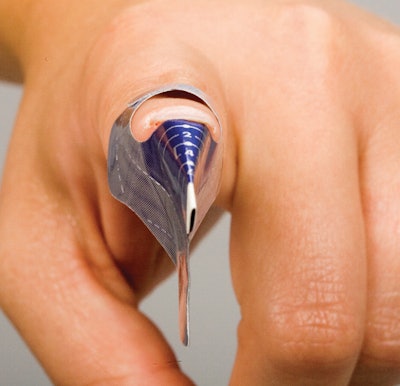
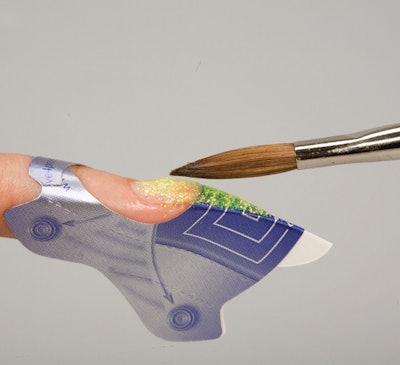
Step 3: Build your nail by looking down the barrel and watching the side profile as you form your product into a pointed shape. When visualizing your finished stilettos, picture them as sleek, sharp, and straight. Extra thickness in the wrong area will not capture the right effect, so concentrate on keeping the nails thin.
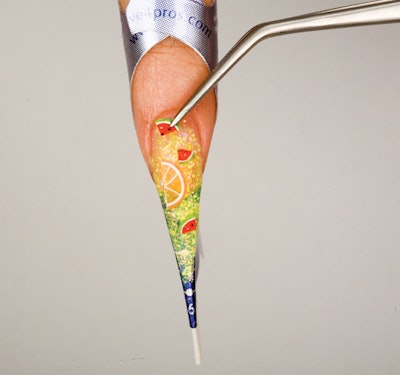
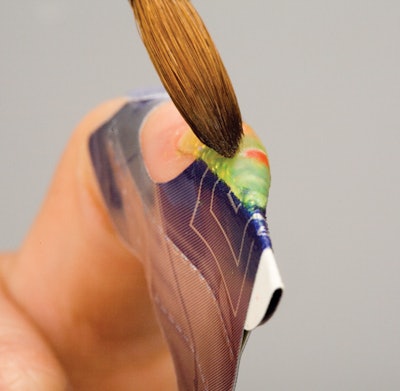
Note: When inlaying objects, they must be thin because encasing is required – you don’t want to end up with bulky stilettos.
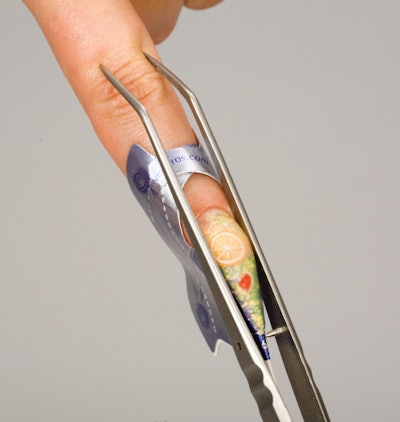
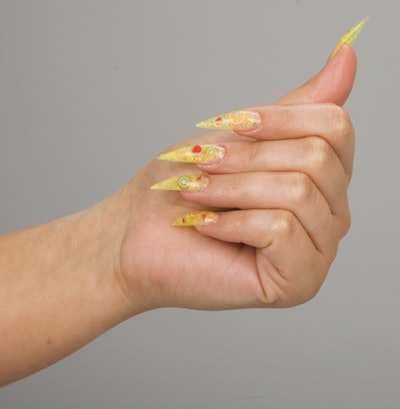
Step 4: File nails using the method of your choice. You will find that there’s a lot less filing required with stilettos because less product is used and most of your shaping occurs while sculpting.
Step 5: Buff the nails to a high shine and use your favorite UV top coat or finishing gel. Apply oil to the cuticles.
Note: If you’re sculpting stiletto nails using gel, make sure to cure the nails after you build each layer.


