’Tis the season to shine, and nothing sparkles quite like glitter. From chunky shapes to dazzling dust, glitter in any form is sure to get clients’ nails noticed this holiday season. “Every client has her favorite shade,” says editorial nail artist Miss Pop. “When you match that color to a glitter, it gives the shade a unique sparkle that lets your client see her old favorite in a new light.”
Whether you’re working with loose glitter or traditional polish, gel, acrylic or dip packed with sparkle, glitter can be easily incorporated into virtually any service. So what are you waiting for? Give your clients the gift of glam with these 20 tinseled tips and tricks for using glitter and some lust-worthy products.
20 Ways to Up Your Glitter Game

1. Feed Hungry Glitters: Dense glitter polishes can hog top coat— leaving nails with a gritty texture that not all clients appreciate. Achieve a smooth surface by applying a volumizing top coat that’s designed to deliver a plump, gel-like finish without curing.
2. Fill-In Flawlessly: The key to filling a glittered gel enhancement is to ensure that the new product blends seamlessly with the existing gel. How? Lay a shallow “pillow” of clear gel near the cuticle and pull the product over the rest of the nail and cure. Then, use a separate brush to gently tap various glitters into the dispersion layer, carefully recreating the glitter density and color distribution on the rest of the nail. Cure quickly to set, then coat with another layer of clear gel for a smooth finish.
3. Go Incognito: Have a client who’s a little shy when it comes to bling? Offer some covert glam instead. Build a thin, clear extension, followed by a coat of glittered product on the free edge. Coat the entire nail with a solid opaque shade, completely covering the glitter. Once cured and shaped, add shiny top coat to the underside of the nails and the hidden glitter will emerge.
4. Make it Metal: Going for a total glitter look? A solid metallic base color will mimic glitter’s reflective finish—filling in any particle gaps on the nail plate and allowing you to create a perfect curve at the cuticle, get close to the sidewalls and seal the tip—with no impact on sparkle.
RELATED: Avoid Common Dipping Powder Issues with These Troubleshooting Tips
5. Dip A Grade-A Gradient: Acrylic dip systems come in a variety of glittery finishes and make achieving glitter gradients a snap. Follow the manufacturer’s instructions and coat the entire nail in a base color. Then, using the included brush, apply a coat of the base component starting at the free edge, feathering it slightly onto the rest of the nail. Dip the nail partway into a glittery shade, remove excess powder with a brush, and top with a full coat of clear dip, followed by activator and top coat.

6. Run From Runs: Not just any loose glitter will do! “I can’t stress enough the importance of using cosmetic-grade glitter,” says Miss Pop. Not only is it critical for health purposes, but cosmetic-grade glitters are more colorfast. “Color can run off craft glitters in top coat,” she explains.
7. Sharpen Your Smile: To achieve an ultrasharp smile line when sculpting a set of glitter-tipped gel nails, use the reverse application method. After building a thin extension with clear gel, remove the form and create the nail bed up to the smile line with opaque gel, and then flash cure. After curing, apply the glitter gel carefully to the tip, slowly pushing it up to (but not over) the opaque ledge. Cure again, and then finish with a final coat of clear gel to reinforce the apex and encapsulate the gel.
8. Store It Artfully: Loose glitter is often sold in plastic bags—an inconvenient and frustrating storage solution. Immediately transfer loose glitters or your own custom glitter mixes into small, capped jars for secure storage and transport. Glue magnets to the bottom of each jar and attach your glitter collection to a metal wall panel for easy access and instant wall art!
RELATED: Our Readers Submitted Festive Nail Art Designs Just in Time for the Holidays
9. Make a Jelly Sandwich: Creating a glittered jelly look on natural nails is as easy as making a sandwich. Apply one to two coats of translucent jelly polish, followed by a single coat of less dense glitter polish with a clear base. Finally, apply one more coat of the jelly color. Instantly the glitter appears suspended in a smooth, squishy finish.
10. Perfect Placement: Though time consuming, intricate designs created with individually placed glitters are impressive. Make placement less maddening with specialty tools created specifically to pick up small sequins and glitters, or improvise your own by adding a bead of hot glue to the end of a pointed orangewood stick.

11. Remove It Right: Why is glitter so difficult to remove? Flat glitter particles adhere snugly to the nail plate, keeping solvent out. Give remover time to seep underneath the glitter by placing an acetone-soaked cotton pad over the nail and allowing it to soak. Make removal even speedier by taking advantage of your client’s body heat. Just wrap the fingertips in foil or finger caps. Or, for quick, soak-free removal, start the mani with a peel-off base coat.
RELATED: Holiday Gift Guide 2018 – Gifts Ideas for Every Nail Artist
12. Prep Ahead: Inspire clients to try a glittery mani by showing them some sample looks. Each holiday, Lee creates 12 glittery designs for her clients to choose from and displays them at her station. “It gives them an idea of what they may want for the holiday season, and I have everything I need prepared to do those nails,” she says.
13. Do the Dab: Skip the nail polish brush and use a cosmetic sponge to achieve full-coverage glitter nail polish. Apply the polish to the end of the sponge and dab it several times over the nail plate. The sponge absorbs some of the base polish, depositing pure glitter. A few coats may be necessary. For easy cleanup, use a liquid latex barrier around the nail bed before dabbing.
14. Mix It Up: Easily create custom glitter acrylic blends by combining two parts clear acrylic with one part glitter. Test your mix with monomer to ensure that it forms a bead correctly and add additional acrylic if required. Place a small bead of your creation on the top of the jar so you can easily identify the contents later.
15. Clean Up: Miss Pop uses painter’s tape to easily remove wayward sparkle beyond the nail plate. “I roll a piece of blue painter’s tape around my own finger and use it to gently press the skin around the client’s nail,” she says. She recommends pressing on the cuticle last—when the tape is less sticky—as this area can be more sensitive for clients. For sensitive hands that are prone to redness, wait until the manicure is completely dry, and then use a brush to gently remove extra glitter instead.

16. Encapsulate Sparkle: Be sure to encapsulate glitter when creating enhancements. Start with a thin foundation of regular gel or acrylic, and then apply glitter. “Use the existing product to secure the glitter in place, but ensure that the acrylic is completely dry or the gel is totally cured before moving on,” says Suzie Moskal, founder of Suzie’s Nail Career Education. “Finally, apply a thin, final structure layer over the entire nail, making sure everything is encased and adding more clear product to ensure the apex and nail is thick enough where needed.”
17. Sugar An Accent: “Sugaring an accent nail is a lot of fun for the holidays and adds a lot of bling to the nail,” says Katie Lee, education coordinator for Young Nails. Simply sprinkle finely milled glitter onto no-wipe gel top coat and cure. That’s it! This sweet finish requires no additional topcoat.
18. Create a Gemstone: Specialty gem gels create realistic opalescent effects while pure glitter gel can be used to simulate precious gems, like rubies, sapphires and emeralds. The technique is super easy: First, create a gem-shaped outline on the nail with gel polish (a metallic gold or silver is an excellent choice). Then, pick up a bead of glitter gel with a dotting tool and place it within the shape—being careful
not to cover your outline—and cure. Finish with a coat of clear gel.
19. Skip the Scrubbing: If you find yourself and your station coated in glitter after a service, don’t despair. A sticky lint roller or Play-Doh will easily pick up loose glitter on surfaces. For hands and hair, apply some lotion or olive oil, then wash and rinse as normal.
20. Go Beyond the Nail: Don’t forget to think outside the nail plate! To continue the sparkle from the nail onto the surrounding hand, Miss Pop uses spirit gum, an adhesive traditionally used to attach theatrical prosthetics, to create a design on the skin. She then presses loose glitter into the sticky finish. The spirit gum offers a durable hold, but is easily removed with an inexpensive spirit gum remover that you can offer clients as a part of the service. And the best part? After removing the glitter from skin, the manicure remains flawless.
–by Leslie Henry
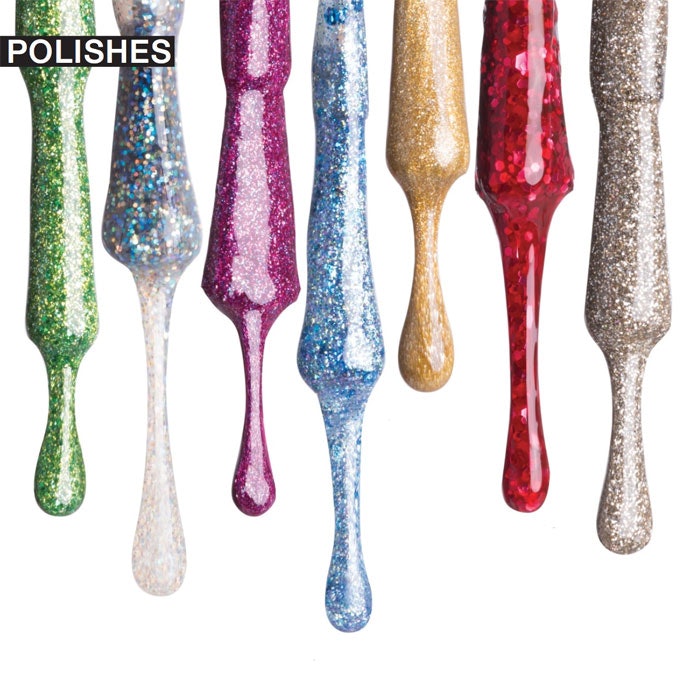
[Images: Courtesy of Brooks Ayola]


