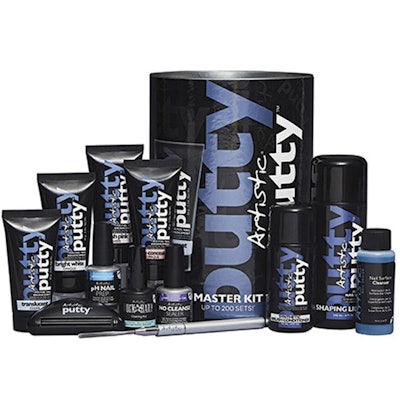
Give clients flawless extensions with the Artistic Nail Design Putty Nail Enhancement System formulated with PolyGel technology. The Master Kit includes everything you need to create natural-looking nail enhancements that are cured under an LED or UV light. Artistic Putty is available in four colors, so you can create custom overlays or sculpted extensions for any client.
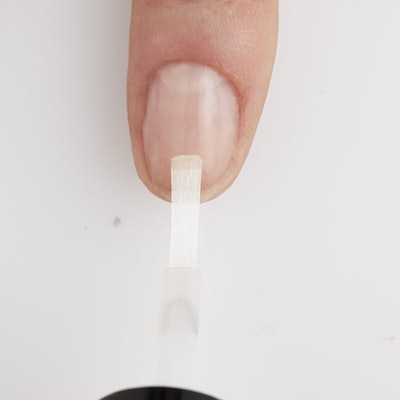
Step 1: Lightly buff the surface of the nail to remove any shine. Apply one coat of Opening Act Non-Acid Primer.
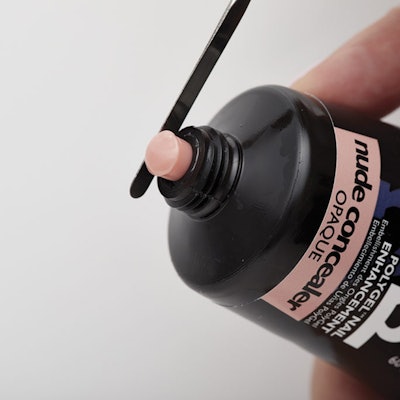
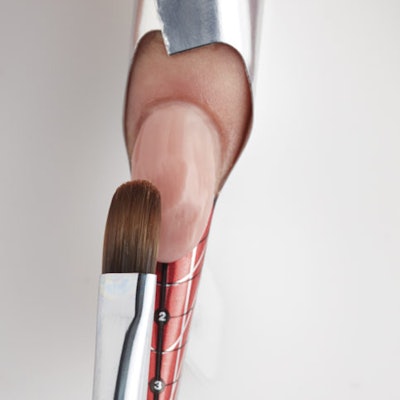
Step 2: Apply a form to the nail. Squeeze the Putty out of the tube, cut it with the Putty Pro Tool and place the product on the nail.
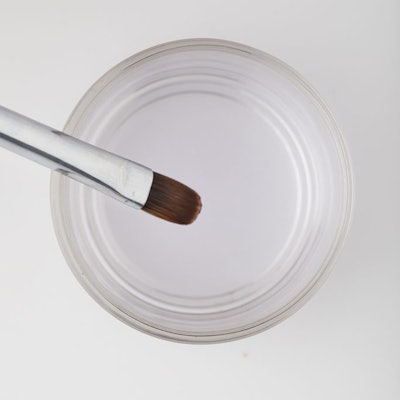
Step 3: Dip the brush side of the Putty Pro Tool into a dappen dish containing a small amount of Shaping Liquid. Remove excess liquid on the side of the dish.
Step 4: Begin where the free edge meets the form. Using the brush to work the product onto the nail, sculpt the extension and then move the product up the nail to cover the entire nail plate. Cure for 30 seconds under an LED light, or cure for 60 seconds if using Bright White or Soft White.
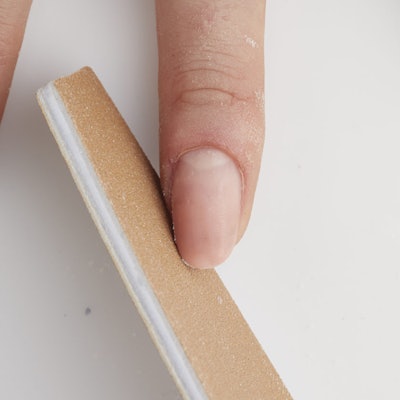
Step 5: Use a 180-grit file to refine the surface of the nail. Remove any dust from the nails once finished.
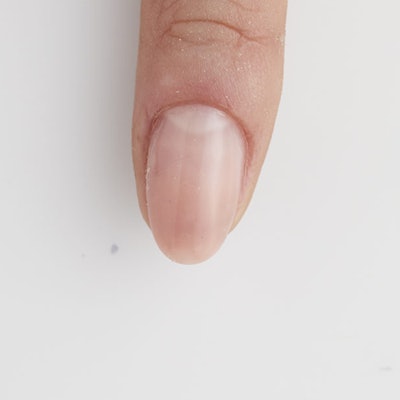
Step 6: Seal with a thin coat of No Cleanse Sealer Top Coat and cure.
Related: Learn everything there is to know about Tube Gels
-Dina Ciccarelli
This article was originally published in August 2018 issue of NAILPRO


