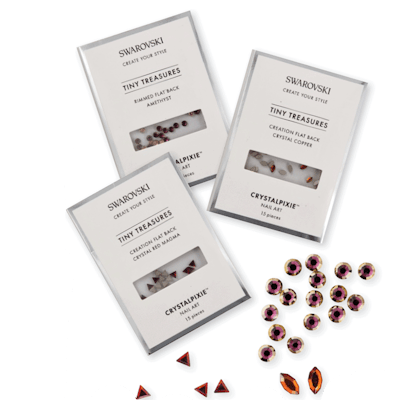
The newest addition to the Swarovski Crystalpixie line: Tiny Treasures. Inside each packet you’ll find a selection of crystals to inspire your nail creations. From flat backs to tiny caviar balls to pendants with jump rings for nail piercings, the stones in the Tiny Treasures collection are larger than the original Crystalpixie gems and can be mixed and matched for endless design possibilities.
RELATED: A Dazzling Portfolio of Crystal-Covered Nails
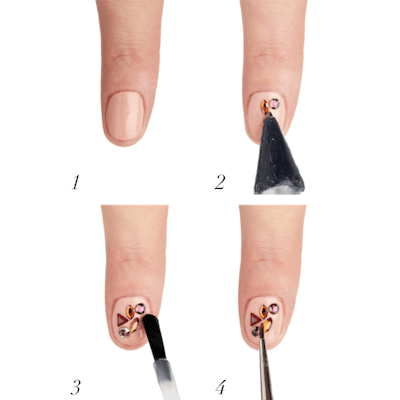
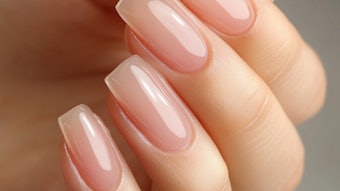
1) Apply base gel plus two coats of light pink gel polish, curing after each.
2) Apply high-viscosity gem gel or stone resin onto the inhibition layer of the nail. Use a Crystal Katana to pick up each gem and gently press it into the resin in the desired design. Allow the glue to dry or cure as directed.
3) Apply gel top coat to the entire nail; avoid covering the crystals.
4) Then, use a detail brush to apply gel top coat between each crystal, and cure.
–by Angelina Lewis
This story first appeared in the January issue of Nailpro magazine. To receive the magazine, click here to subscribe.
[Images: Armando Sanchez]
