Rianna Basurto, marketing specialist at Bellacures, shares three summer nail design tutorials.
Courtesy of Bellacures
Summer is fast approaching, which means it time to start digging into nail trends for the new season!
If you're stuck on where to find inspo, look no further! Rianna Basurto, marketing specialist at Bellacures, shares three summer nail design tutorials below that will have your clients looking cool for the summer.
Multi-Colored Dot French
What better way to flaunt your sun kissed summer glow, than with a bright white polish?!
 Multi-Colored Dot FrenchCourtesy of Bellacures
- To achieve this look, complete cuticle care, and begin shaping the nails into a squared oval shape, also known as “squoval." This squared edge with a rounded top is a universally flattering nail shape that will leave you with the perfect base to begin this manicure.
- Begin painting the nails with two coats of your favorite white polish, while allowing dry time in between each coat.
- To add in our pops of color, take a dotting tool, and dip it into your bright polishes one at a time, alternating colors in between each nail.
- When you have the color on your tool, lightly dot the edges of your nail bed, leaving a small space between each dot. Continue this process until you cross the entirety of your nails tips.
- Allow time for your polish to dry, and finish off the look with a top coat, and cuticle oil for maximum shine.
Orange Florals
Spice up your mani this summer, with a simple and fun floral design that is perfect for any occasion!
 Orange FloralsCourtesy of Bellacures
- Begin by completing cuticle care, and once again shaping the nails into a “squoval” shape.
- Next, apply two coats of bright orange polish of your choice, leaving the ring finger blank. Make sure you allow dry time in between coats.
- Next, take a dotting tool with the same orange polish, and dot five dots in a circle leaving very minimal space in between the dots. The design of the flowers is dependent on the amount of space on the nail bed and can vary depending on the individual.
- After you’ve placed the orange dots, take some black polish on the dotting tool, and place them in the center’s of the flower design.
- Finish off with a top coat to minimize the likelihood of chipping, and add some cuticle oil once dry to finish off the look!
Geometric Print
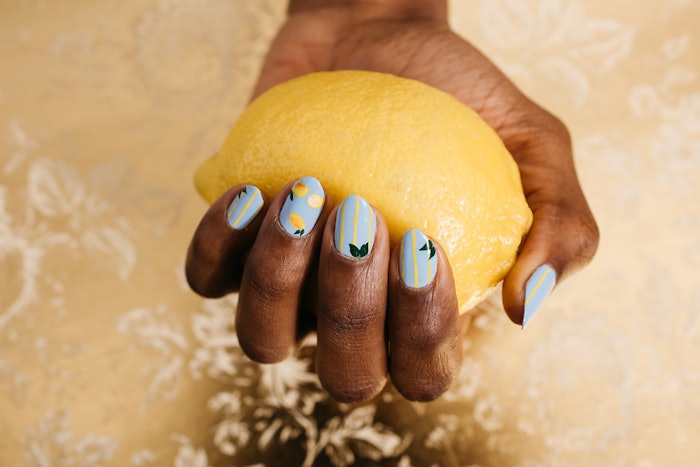
Cool down this summer with a mani that is reminiscent of lemonade, watermelon and summertime vibes!
 Geometric PrintCourtesy of Bellacures
- Begin by completing cuticle care, and shaping the nails into a squared shape.
- Next take a bright yellow pastel polish, and coat the nail bed with two even coats of polish, allowing time to dry in between coats.
- Once this has dried, take a thin brush with red polish, and lightly draw a few triangle shapes in different positions on each nail. These triangles can begin at the top, bottom or sides of the nail bed, whatever works best.
- After you have outlined your triangles, fill them in completely, ensuring there are no gaps within your outline.
- Once your design has dried, as always apply a top coat for maximum shine, and finish off with some cuticle oil!


