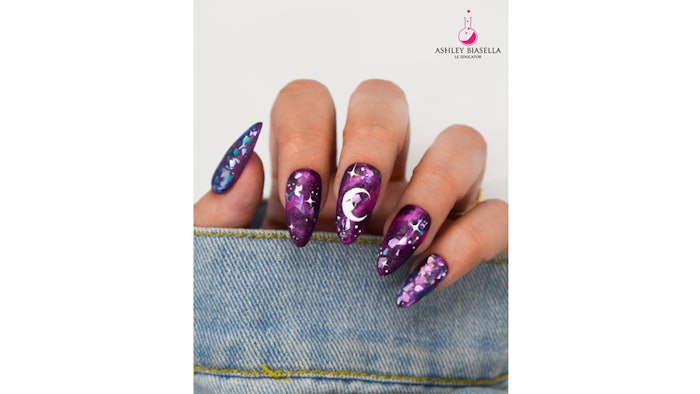
Ashley Biasella, nail artist and Light Elegance educator, shares her moon nail art tutorial.
Biasella's design was inspired Light Elegance's nail color collection, The WhoDunIt?
How-To:  Moon nail art step-by-stepCourtesy of @badash_nails
 Moon nail art step-by-stepCourtesy of @badash_nails
1. Apply one coat of dark purple polish, then cure.
2. Apply that same purple color, a pink or fuchsia color and a taupe color in random swirls. Don't cure just yet!
3. Blow through a straw or pipette to move the colors until you reach your desired effect. Cure.
4. Apply a lavender or teal color, then cure.
5. Apply a flat matte UV/LED top coat. Cure, cleanse and buff.
6. Apply small dots using a white gel paint and a swirly brush to create stars and a half moon.
7. Shade the moon using black gel paint.
8. Top with a super shiny or flat matte UV/LED top coat, then cure and cleanse.


