The pink-and-white French manicure has been a salon staple ever since Orly founder Jeff Pink introduced the look at the Paris fashion shows in 1978. As the demand for nail art has exploded in recent years, however, the service’s popularity has waned, dropping off of many salon menus all together … that is, until now. French manicures are popping up all over Instagram feeds lately, with celebrities and salon clients once again requesting the look.
There are a few key things, though, that are making today’s iteration of the French manicure different. “Definitely the shape of the nails has evolved—it’s more crisp and defined,” says celebrity nail artist Chaun Peth (@chaunlegend). “And creating a deeper smile line helps give French tips a more modern look, in my opinion.” Peth’s favorite nail shape to showcase a French? A narrow coffin. “I think it’s flattering on almost everyone,” he says.
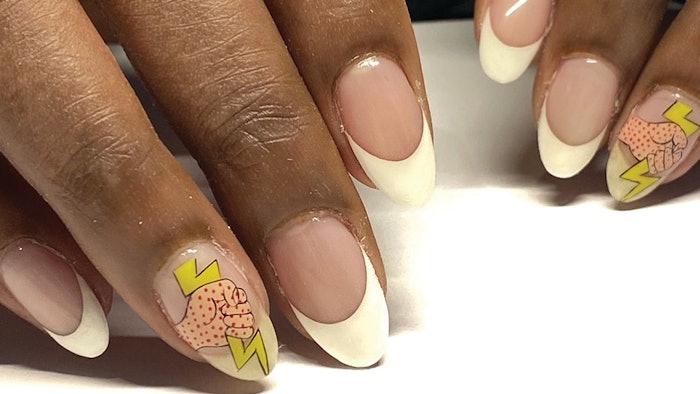
The color palette has expanded, too—anything goes: Neons, brights, glitters and even patterns are gracing smile lines, with nude, hued or sheer bases all a go. “Many of the French manicures I’ve sent down the runways at New York Fashion Week weren’t the traditional pink-and-whites I learned in beauty school,” says celebrity and editorial nail artist Miss Pop. “They still celebrate the white nail, but they’re much more flamboyant. I painted exaggerated smile lines, ombrés, negative space and bright colors to breathe new life into the classic design.”
Working With Gel Polish
While the classic French manicure has certainly evolved since its inception, creating a crisp smile line remains the key to achieving stellar results. And the beauty of using gel polish is that it doesn’t set until it hits the light, so you have plenty of time to work—something that’s particularly important when getting those even smile lines. If something isn’t working or you don’t like the way it looks, you can simply wipe it off and start over again.
When it comes to technique, everyone has their favorite method. “I like to outline the smile line first with a liner brush,” says Paola Ponce (@paolaponcenails), educator and nail artist specializing in Japanese gels. “Establishing that symmetry with a liner brush is super helpful. Then, I’ll fill in the rest with an angled brush.”
“I usually freehand my French tips with the brush straight from the gel polish bottle,” offers Peth. But for beginners, he too recommends working with a liner brush (the White Art Gel Liner from Presto is a favorite). “Then, use a cleanup brush with acetone to wipe away any excess,” says Peth.
Other approaches: “To get an elegant curve on my French, I start by painting up from the sidewalls in an arch with a striper brush,” says Miss Pop. “Then, I use a rounded stroke across the center to connect the curves.” At Vanity Projects Institute, an online education platform from Vanity Projects owner Rita Pinto, students are taught to create a guide: “Start by marking a midpoint; this allows for you to meet at the center from both corners, creating evenness throughout the manicure.”
Color Correction
The best way to freshen up your French is with color and a little imagination. Consider this: At a Prabal Gurung show, Miss Pop painted a thin, white exaggerated smile line over tinted Zoya Naked Manicure Perfector in Pink, Buff and Mauve. And at Oscar de la Renta, she created French-inspired looks with vibrant tips: a brush-blended ombré French using creamy orange Zoya Arizona, coral Sawyer and pink Laurel. In other words, when it comes to today’s French, anything goes.
While adding color is the best way to take a French from classic to modern, it can scare the more traditional client away. Start by sticking with a neutral base that complements your client’s skin tone. “Have shades on hand in sheer, medium-coverage and full coverage options in [a variety of shades],” suggests Ponce. Keeping the base neutral gives a more natural feel to the look, and then you can push the envelope with color as well as technique: Use bright white but with a highly arched smile line; use soft white and a faded smile line for a super natural look; or use any color under the sun to top off the design. “Go for glossy negative space,” suggests Miss Pop. “Or forgo the white and go big by grabbing five or 10 shades and do each nail tip in a different color!”
Step-by-Step Gel Polish Pink-and-Whites
Nail artist and educator Paola Ponce walks us through a simple French look using gel polish.
Step 1 Apply one to two coats of color. Cure. Wipe off any inhibition layer left behind.
Step 2 Outline the smile line with a liner brush. Then fill in the rest of the nail with an angled brush. Cure.
Step 3 Use a thicker viscosity top gel to very mildly fill in any grooves between the white and color that may have been created after painting the French. Cure.
For the must-have French manicure products, check out Nailpro's March/April digital magazine.


