Designed to work with Bio-Swift Gel, the new Bio Seaweed Gel Bio-Swift Nail Tips make easy work of creating nail extensions. The kit includes builder gel, a brush and 140 tips in 14 different sizes for a perfect fit for every client.
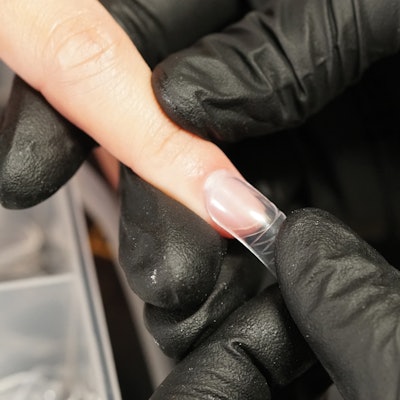
1. Prep the nail. Next, select a tip; be sure to choose a Bio-Swift Tip that is slightly larger than the natural nail.
 bio seaweed gel bio swift reverse nail forms
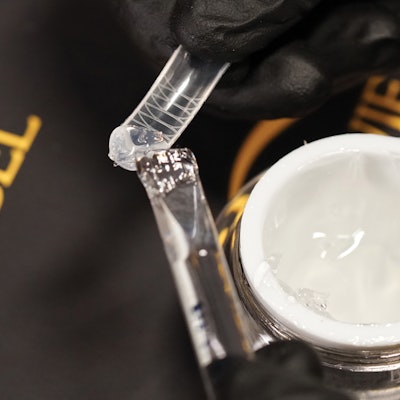
2. Using a spatula, apply two beads of Bio-Swift Builder to the Bio-Swift Tip.
 bio seaweed gel bio swift reverse nail forms
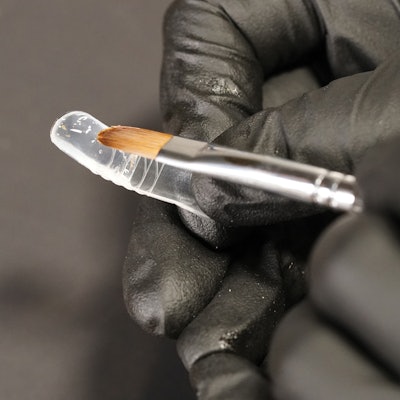
3. Use a brush to pull the product to the desired length, using the marks on the Bio-Swift Tip as a guide.
 bio seaweed gel bio swift reverse nail forms
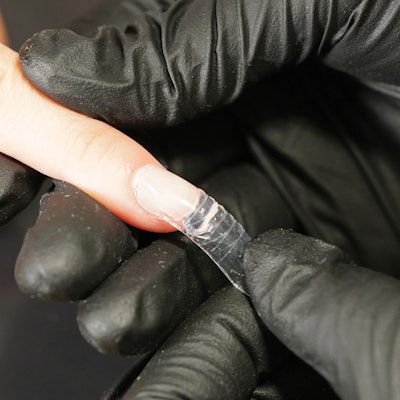
4. Attach the Bio-Swift Tip to the nail, starting at the cuticle. To avoid product flooding, place the tip slightly below the cuticle.
 bio seaweed gel bio swift reverse nail forms
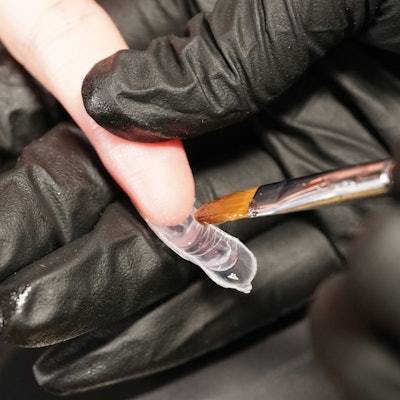
5. To ensure a smooth and even application, gently brush away any excess gel from underneath the Bio-Swift Tip.
 bio seaweed gel bio swift reverse nail forms
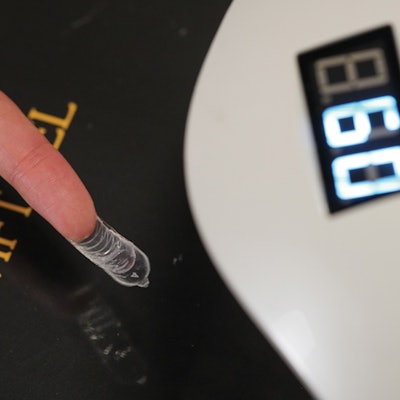
6. Cure for 60 seconds. Then, flip the hand over and cure again for 60 seconds.
 bio seaweed gel bio swift reverse nail forms
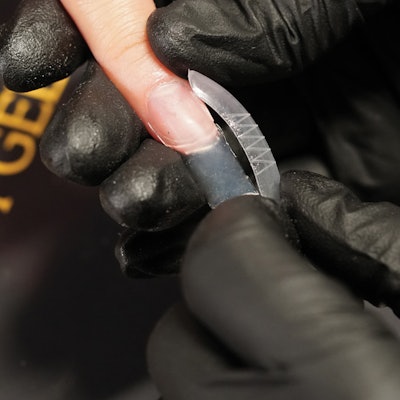
7. Gently remove the Bio-Swift Tip using a side-to-side motion. Clean the extension with alcohol, then shape and buff the nail. (Note: The surface does not need to be filed.)
 bio seaweed gel bio swift reverse nail forms
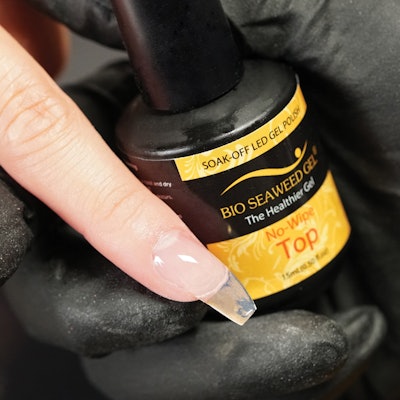
8. To finish, apply gel top coat and cure. Then, continue with the service.
What do you think of Bio Seaweed Gel Bio swift reverse nail forms? Let us know in the comments below!
-Dina Ciccarelli
[Photos: Courtesy of Bio Seaweed Gel]
