Create quick and strong extensions with the Aprés Gel-X Nail Extension System. The kit includes pH Bonder, Primer, Extend Gel and Top Gelcoat, as well as a brush, flashlight and 500 specially formulated gel tips. The enhancements last for up to three weeks and can be removed with a 15-minute soak.

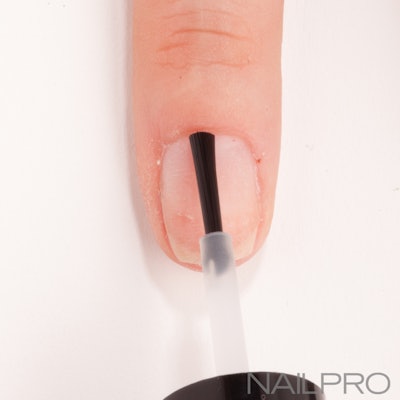
1. File and lightly buff the nail. Then, after fitting a tip to the nail, apply a thin coat of pH Bonder followed by Primer.

2. Using an e-file and a sanding band, lightly file the inside of the Gel-X tip, focusing only on the area that will be placed on the nail plate.

3. Apply a thin layer of Extend Gel over the nail plate. Cure for 30 seconds under an LED light or for one minute under a UV light.

4. Apply a small bead of Extend Gel on the filed area of the Gel-X tip. Make sure to cover the entire filed area.

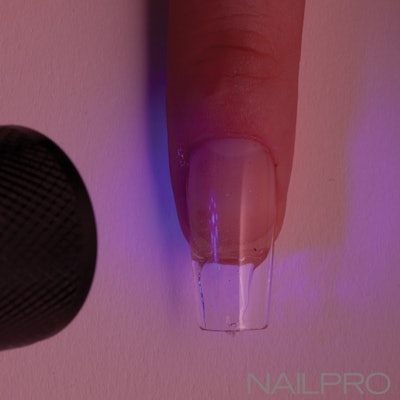
5. Place the tip on the nail, starting at the cuticle area. Push the tip down slightly towards the free edge to smooth out the Extend Gel. Use the flashlight to cure the tip for 10 seconds. (After applying all 10 tips, cure the whole hand for 30 seconds under an LED light or for one minute under a UV light.)

6. Once the gel has been cured, shape the nail with a hand file, and finish with gel color if desired.
Watch this step-by-step in action in the video below!
[Photography by Jason Bennett]


