‘Tis the season for all things aglitter. To satisfy your clients’ need for seasonal bling, we tapped the creative talents of celebrity nail artist Bel Fountain-Townsend. Here, her technique for trendy burnished glitter, glitter fade and chrome nails.
Burnished Glitter


- Clean and prep the nail. Apply one coat of gel polish and cure, leaving the tacky layer. Be sure to chose a polish color that matches as close as possible to the color of the glitter. Then, using a dry brush or sponge applicator, liberally pat glitter onto the nail, covering it completely.
- Firmly rub the glitter into the nail with a dry brush or your finger to “push” the glitter into the tacky layer.
- Remove the access glitter from the nail with a fluffy brush and use an orangewood stick to clean the edges. Then, to finish the look here, apply a layer of gel top coat. Or to continue, apply base gel and cure. Remove the tacky layer.
- Use tweezers to apply nail decals. To finish, apply gel top coat and cure.
Glitter Fade


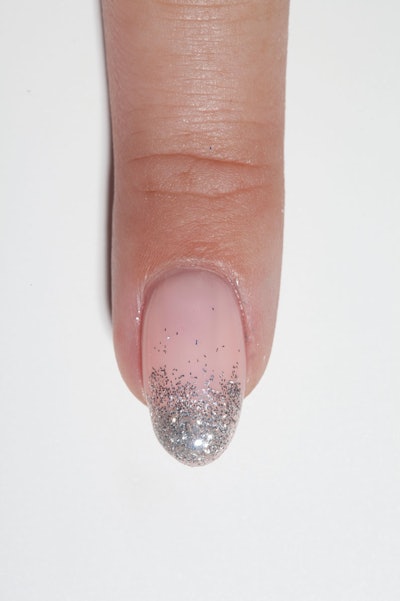

- Clean and prep the nail. Apply two coats of gel polish, curing after each.
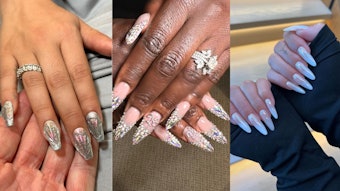
- On a clean, flat surface, mix together a 50/50 ratio of base gel and loose glitter.
- Using a #4 gel brush, evenly apply the gel and glitter mixture to the tip of the nail.
- To create a fade effect, use a fan or comb brush and, with a very light touch, place the brush at the base of the glitter mixture and feather it up the nail. Be sure to only place the brush at the base of the glitter mixture as you want the tip to have full coverage.
- When you’re satisfied with the fade effect, cure. Then, apply a layer of base gel and cure.
- To ensure a smooth surface, lightly buff the surface with a 180-grit buffer. For a simple fade effect, apply top coat and cure. Or, directly after buffing, apply a nail decal and striping tape. With a dot of gel, adhere a small stud, and cure. To finish, apply a single layer of gel top coat and cure.
Chrome Nails


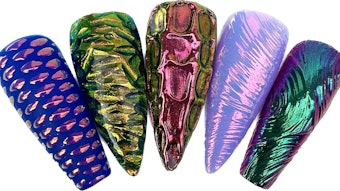
- Clean and prep the nail. The final color of the chrome depends on the base color. To achieve a rose gold effect, start with two coats of coral polish, curing after each.
- To ensure a smooth surface, gently buff the nail, then wipe it to remove any dust. Apply one coat of no-wipe top coat and cure it for 20 seconds or until there is no tacky layer but the top coat is not fully hardened. (Full curing may case lifting.) Then, use a sponge applicator to apply a very thin layer of chrome powder.
- When the nail is fully covered, remove any excess powder.
- Next, apply a thin layer of structure or building gel, being sure to cap the free edge. Cure. This will help prevent lifting.
- For a single chrome effect, don’t wipe after curing in Step 4. Simply apply gel top coat and cure. If you want to add embellishments, wipe the surface first. Then, use tweezers to apply a nail decal.
- To finish, apply gel top coat and cure.
[Images: Courtesy of Armando Sanchez]
