They’re some of the most important tools in your arsenal—but which brushes are best for the task at hand, and how can you prolong their performance? Check out these important tips and product picks.
Whether you’re applying gel, acrylic, polish or nail art, there’s a common denominator in virtually all of your services: brushes. “The brushes you use can make or break your outcome when doing nails,” stresses Vu Nguyen, nail artist and dean of education for Gelish based in Kansas City, Missouri. But what types should you select, and how can you keep them operating at peak performance over the long haul? Start brushing up on your know-how with these expert insights.
Bristle Basics
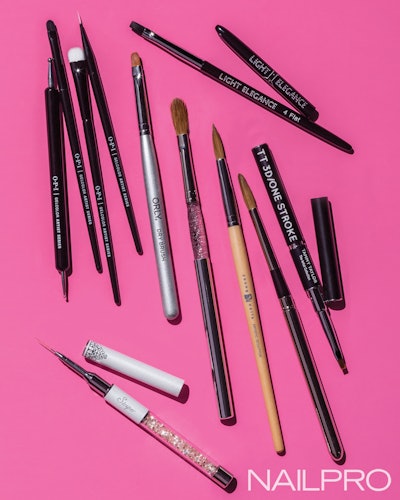
The bristles of nail brushes are made from natural animal hair (usually kolinsky or sable), synthetic fibers or a combination of both. Each tech has her own preferences when it comes to what works best and when. That’s why Nguyen advocates trying as many brushes for each application as possible to find the ones that work best for you.
Natural animal-hair brushes can outlast synthetics—and, if gel is accidentally cured into the bristles, it can be removed, notes Amy Becker, CEO and artistic director of Masterworks by Amy Becker in Cedarburg, Wisconsin, who prefers kolinsky for its performance and longevity. Nguyen also gravitates toward natural kolinsky bristles for acrylics, explaining that they hold enough monomer to create the correct product ratio, and, therefore, the best beading. Meanwhile, Nguyen selects synthetic for gels because they maintain shape and a wider synthetic model for fast lacquer application.
Again, however, much of it comes down to personal preference. “While I typically prefer sable brushes, synthetic brushes aren’t necessarily bad,” says Chelsea King, Los Angeles-based celebrity manicurist and blogger for chelseaqueen.com. “Sable frays less and lasts longer after dipping in gel, polish and acetone. For nail art, I use nicer brushes when doing line work for crisp results and save my cheaper brushes for filling in large spots.”
Size Matters
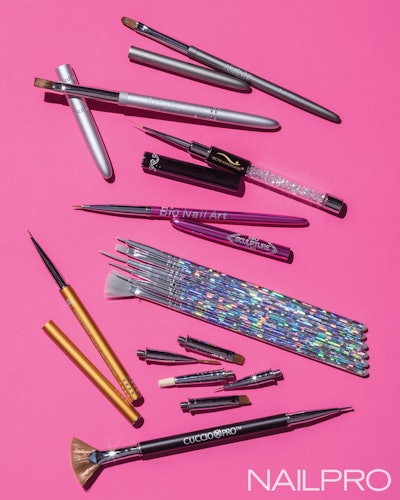
It’s best to stock a range of brush sizes to handle any task. King scouts craft stores to sample different sizes and shapes of brushes for nail art—often selecting a thin brush with bristles about the length of a fingernail for painting lines (the extra length adds control), and shorter bristles for painting details like flowers. For acrylic, she prefers a smaller brush, applying three beads of acrylic per nail. “I can control the product around the cuticle better and perfect my work to do less filing,” King explains. “But larger brush sizes definitely speed up application time.”
Nguyen also designates brushes for each job (full-coverage, blending, detailing or one-stroke) and for different product types, such as lacquer, gel and acrylic, but generally prefers smaller sizes. “I make sure the brush is not too big (larger than the nail itself), which helps with product control,” Nguyen notes. “Sometimes we think if we go big it’ll shorten our application time, and sometimes it does, but then we need to correct application issues or waste a ton of product.”
For gels, Becker keeps it simple: a #5 flat oval kolinsky brush. Any smaller, and a tech can’t pick up enough product to do a single nail application, which adds more service time and may introduce excess bubbles into the gel. “I prefer flat oval over square or round brushes because it mimics the shape of the cuticle area and offers better control. Plus, you can keep the gel on one side of the brush,” Becker says. She recommends keeping three separate brushes—one each for pink-and-whites, gel polishes and glitters—to avoid accidentally melding colors.
Cost Considerations
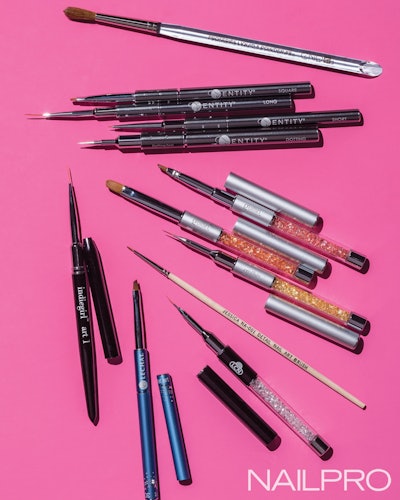
To save or splurge on your brush arsenal? That is the question. Though quality materials may justify a hefty price (think $50 or more for a high-end kolinsky), Nguyen believes that budget brushes are great for beginners who are still settling on their preferred sizes and bristle shapes, and King typically spends less than $5 on a nail art brush. “While having a good-quality brush is helpful, if you know how to use it, you can use any brush,” she says. “For years, I’ve used cheap brushes I found on Amazon ($2 for three!) and feel like they work better than most more expensive ones. They don’t even necessarily need to be nail-specific!”
That said, King splurges on gel brushes ($15 to $20) and acrylic brushes ($30 or more) for optimal results. “If you take care of your brushes, they can last for years,” she adds. “I replace my cheap art brushes every few months, but I’ve had gel and acrylic brushes for much longer.”
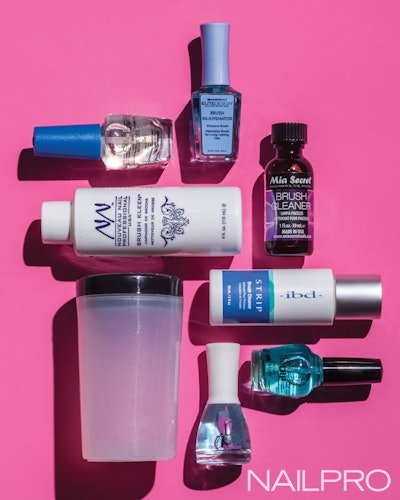
What’s your best brush secret? Let us know in the comments below!
Written by Tracy Morin • Photography by Brooks Ayola


