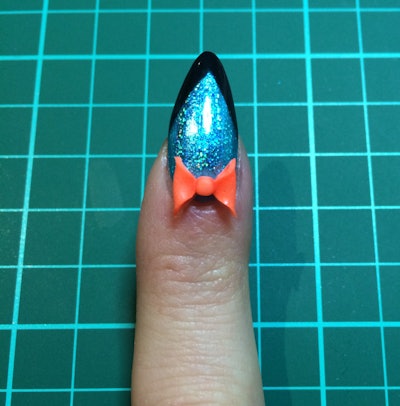
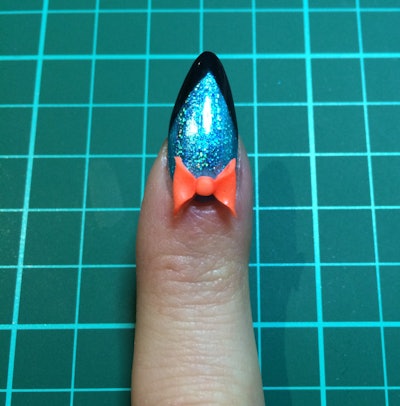
Knowing how to sculpt shapes from acrylic isn’t just a charming skill to have – it’s an essential part of being a tech. Wow clients with flowers and bows they can add onto their mani! Click through to see Sarah Elmaz of Get Buffed Nails show how to shape this orange 3-D bow.
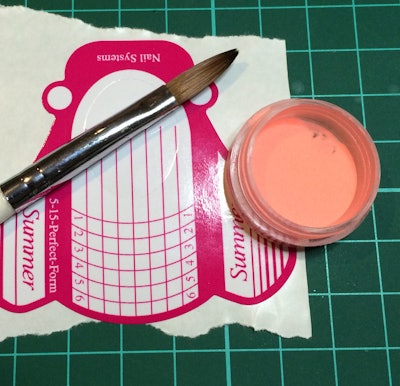
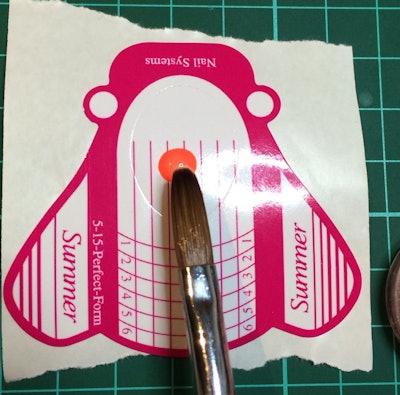
2. Pick up a small bead of acrylic, put onto form.
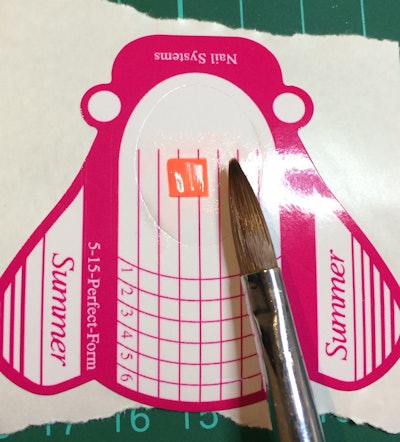
3. Wait for it to dry a little, then start to form it into a square.
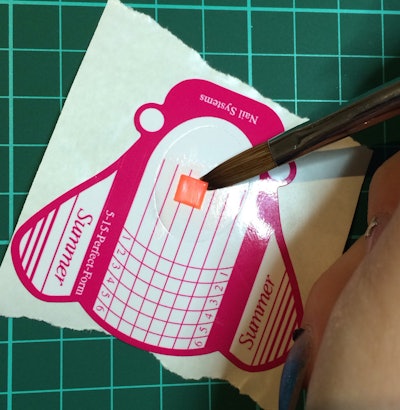
4. Wait until the shine dulls like this and gently start to lift one side
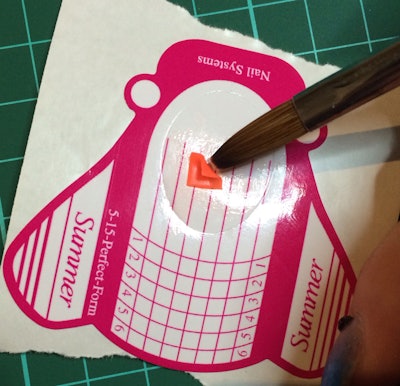
5. Fold it over to start creating one side of your bow
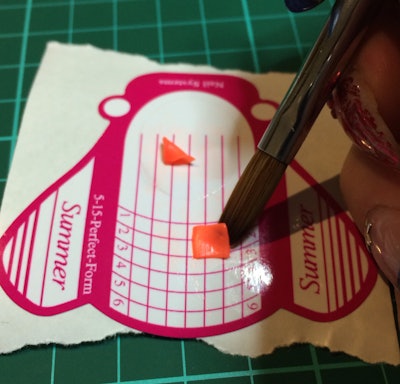
6. Press the two points together and plump up the sides if needed.
Then repeat for the other side.
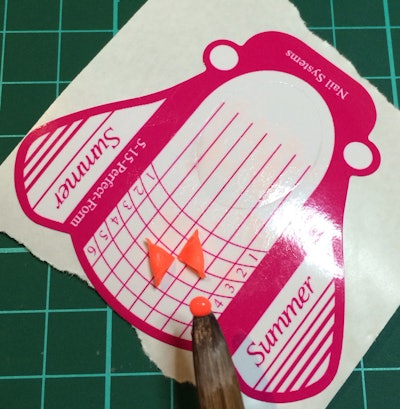
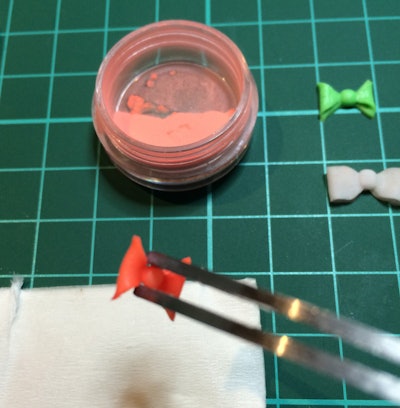
7. Once they have dried, put the two halves together, ready for the middle join.
Pick up a very small bead.
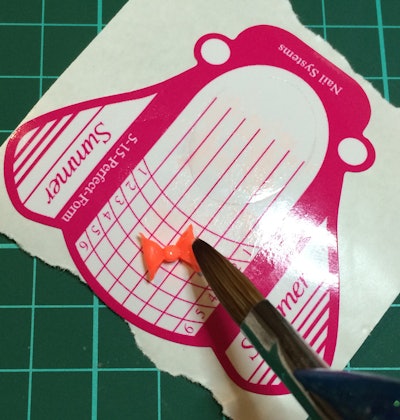
8. Add it to the center to join the two sides together. Work the bead into the desired position.
Find Sarah’s nails online:
Facebook: https://www.facebook.com/getbuffednails
Instagram: @getbuffednails
[Images: Sarah Elmaz]


