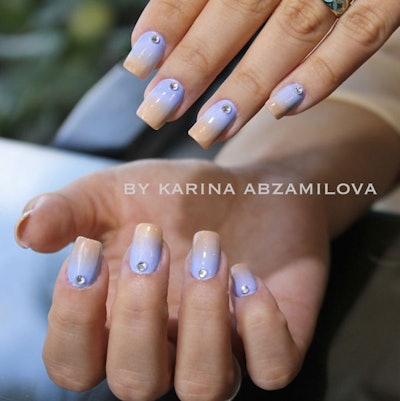
If your client is looking to try something a little different, but still somewhat subtle, it might be time to introduce her to the ombre nail design. Nail artist Karina Abzamilova shares how to create this eye-catching nail look.
Continue to page 2 to see the steps!
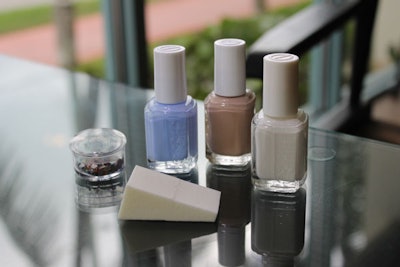
You’ll need:
-2 colors of nail polish. (Karina used “Bikini So Teeny” and “Brooch the Subject” from Essie)
-White nail polish (Karina recommends to use all the same brand of nail polishes.)
-Make-up sponge
-Base coat (if using on natural nails) and top coat
1. Apply base coat on cleaned and prepared nails (if using artificial nails base coat is not necessary.)
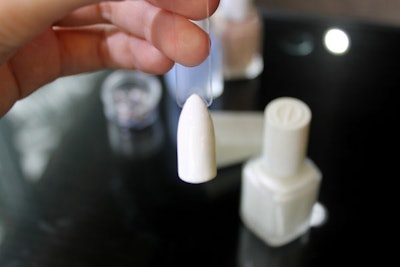
2. Apply 2 thin coats of the white nail polish to help the color pop-up and wait until it’s completely dry.
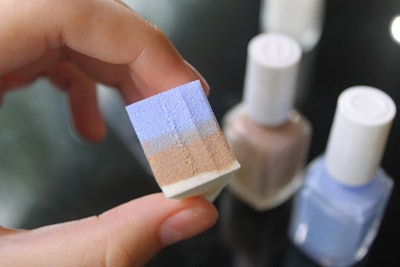
3. Take make-up sponge and brush on both of the nail polishes side-by-side to each other (Layers have to be pretty thick so that there is enough product for the whole nail.)
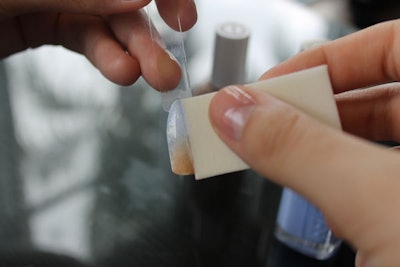
4. Using the sponge apply a color on nails. (Don’t press too hard.)
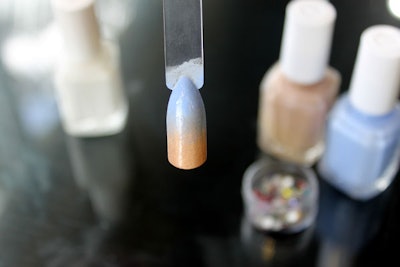
5. You may need to repeat sponging a couple time until you get the right shade of color (Let the nail polish dry for a minute between applying.) 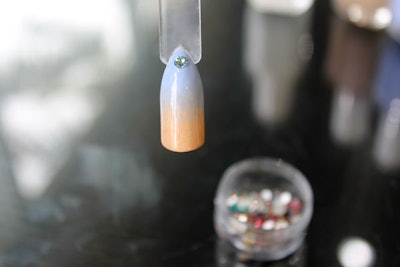
6. Apply a top coat and add crystal at the top of the nail (Karina use Swarovski crystals.)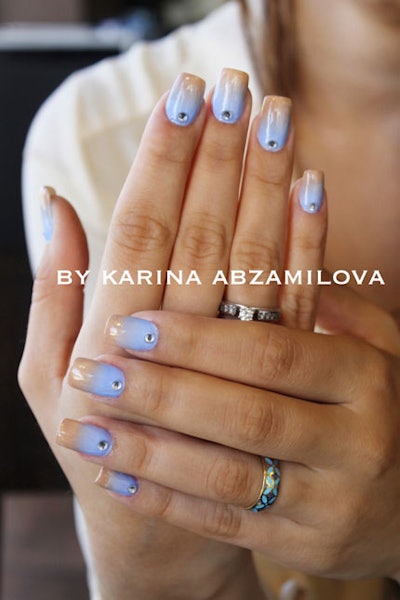
Check out nail artist Karina Abzamilova on Instagram: @nails_by_karina
[Images courtesy of Karina Abzamilova]


