Nail artist Simone Gilbert and Editor-in-Chief Stephanie Lavery guide you through the process of creating our boho-inspired August 2016 cover nails! Here, steps and products used.
How to Recreate Our August 2016 Cover Nails
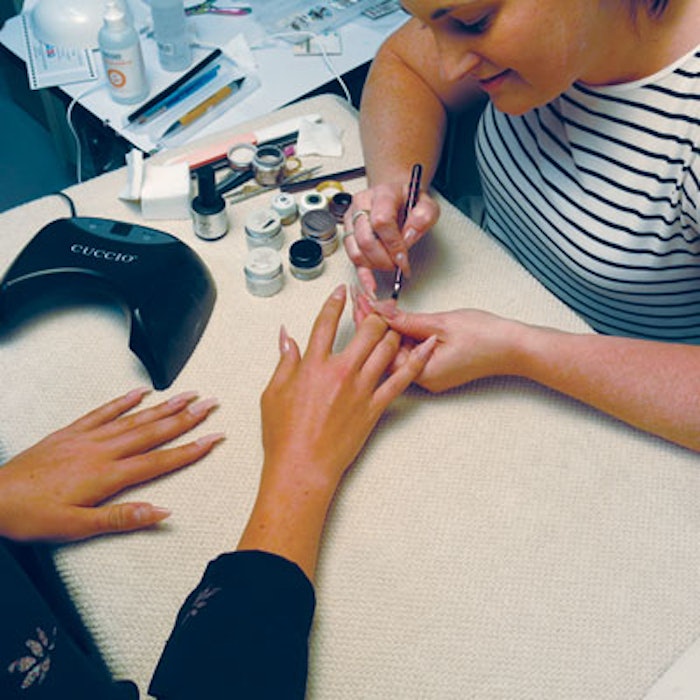
For our August 2016 cover, nail artist Simone Gilbert draw inspiration from her dreams, Japanese nail art and her chicken coop. Learn how to recreate our August cover nails below.
Extending the Nail
To extend the nail, start sculpting with hard gel. First, bring the extension over the form to get your rough shape. Once you have your rough shape, cure and then remove any lingering residue. After the nail’s been cleaned, shape the nail and then build out the extension. Simone has found that by following this process, she is able to use less product.
Once the nails are sculpted and shaped, start with a base layer of soak-off gel polish and then it’s time to get artsy!
Denim Nail
Apply navy blue gel polish as your base. With a thick, bristled art brush take white gel and dab it across the nail to create the effect of weathered denim. Once you’ve created this effect, cure the nail then top with a matte top coat.
To create the leather strip, use a fine art brush and paint a strip of dark brown (or whichever color you’d like your leather accent to be) gel polish horizontally onto the nail. Once your strip has been painted, take gel art powder and sprinkle it on top of the leather strip. The powder will give this a textured matte, velvety look, just like leather!
Marble Nails
Simone went with white marble requiring a white base layer. Top your white base layer with a layer of clear gel polish then take a liner brush and drag a few lines in a rough outline of how you want the finished nail to look. Then, take a gel application brush and both poke and drag the lines down the length of the nail. Continue this motion until you’re happy with the design, then cure and apply a matte top coat.
Animal Print Nails
Start with a base layer then, with brown gel polish, use an ace gel brush called a Pon Pon Brush (coarse, thick bristled brush designed for dabbing) to dab the color down the nail or in whichever direction you want it to go. Cure the nail then take the same brush and with a black gel polish, use it to apply spots to create your leopard print.
Navajo Nails
Although the Navajo nails use a decal, Simone started with a marble base. After your brush has been applied, take brown and white gel polish and run lines of it down your nail. Then take a gel aplication brush and drag it through the lines several times to get a gentle marbled effect. Once you’ve achieved your desired marble effect, finish with a glossy matte top coat and then apply your decals.
Pinky Nail
To create this one-of-a-kind nail, Simone used feathers straight from her chicken coop! Since we don’t all have chicken coops, you can purchase feathers from your local craft store. Once you have your feathers, layer them one on top of the other. Then, take a gemstone and a dreamcatcher charm, attached them to the feathers and apply the statement piece to a bit of chain.
Watch the full Behind the Nail Pro video below!


