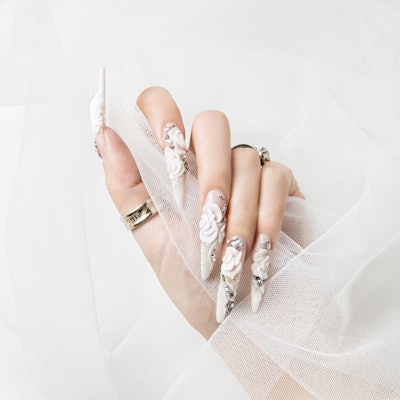
There is something wonderful about a traditional acrylic sculpted rose—but what makes it modern is using tone-on-tone. In this case, the white acrylic flowers provide a more subtle addition to the shimmering white nail base. Perfect for a wedding or just to showcase a winter white design, this set can remain minimal or over the top depending on how much hardware is added.
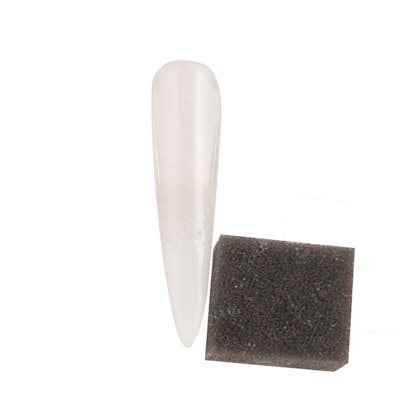
1. Apply white gel polish to a prepped nail. Gently pat the surface of the nail with a sponge to create texture, then cure.
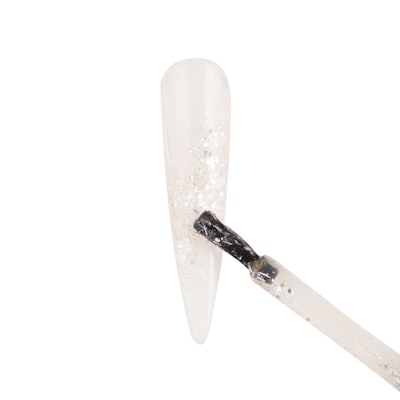
2. Randomly dot silver glitter gel on the nail and cure. Apply gel top coat and cure.
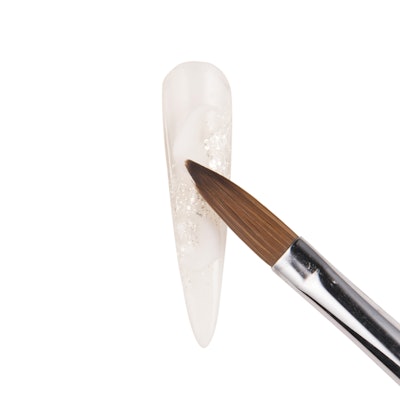
3. Begin building the rose directly on the nail plate with white acrylic. Make sure to use a fairly dry bead of acrylic so the product doesn’t run.
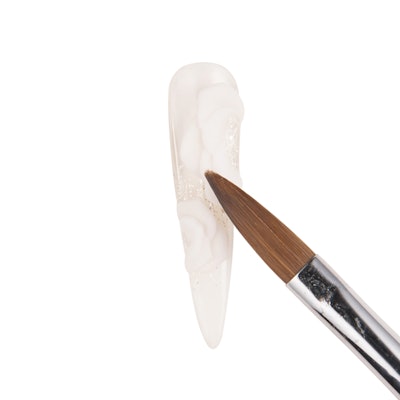
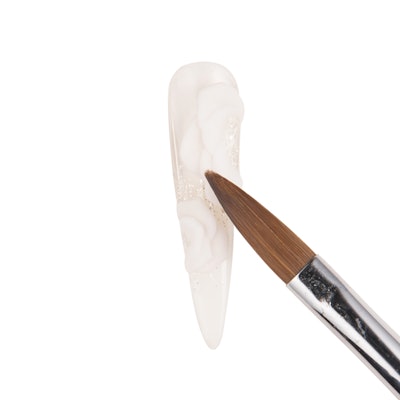
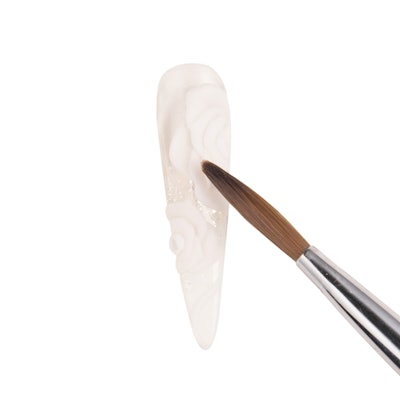
4. Continue adding overlapping beads of white acrylic and molding them into flower petals using the belly and tip of the brush.
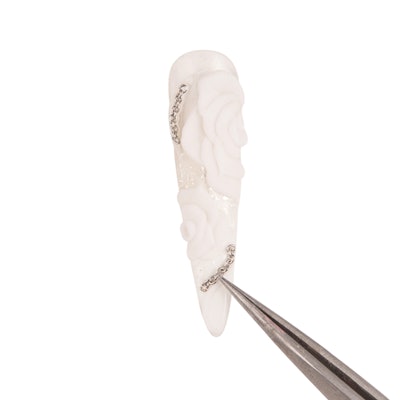
5. Apply silver chains, beads and stones around the flowers, adhering them with clear gel. Flash cure in between each addition, then cure completely.
What do you think of this acrylic petal tutorial? Let us know in the comments below!

[Images: As seen in NAILHOLIC; Photos: Taeheon Kwon, Hyuntak Lee; Editor: Sun Hyun]
This article was fist published in the February 2018 of NAILPRO

