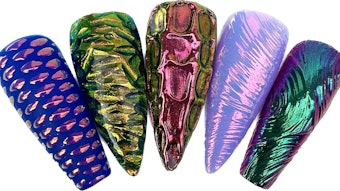
Festival season is upon us. Whether you have clients heading to Coachella, Burning Man or Lollapalooza, or even if they’re just looking to get into the spirit of these events, you want to make sure that you’re up on festival nail style. Here, Los Angeles-based nail artist Britney Tokyo —who always has her fair share of festival nail appointments lined up—demonstrates how to create an easy three-dimensional unicorn horn nail design that will surely make for an eye-catching accent. What’s more: Once festival season dies down, you can use the same technique to create a 3-D shell design, perfect for summer tips!
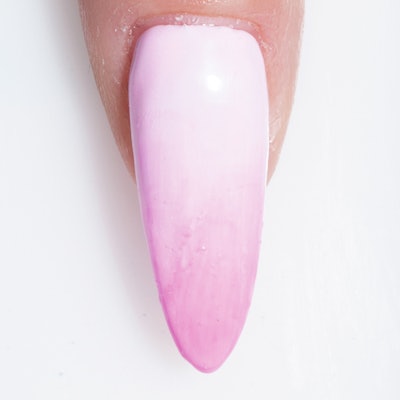
1) Prep the nail and apply one coat of light pink gel polish to the entire nail. Then, use a darker pink gel polish to create an
ombré effect at the free edge. Cure.
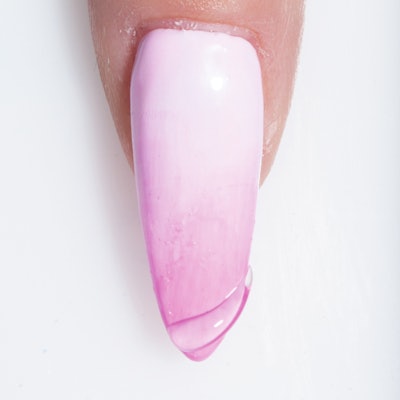
2) Starting at the free edge, use a liner brush to apply a thick diagonal line of clear sculpting gel across the nail. Cure for 15 seconds.
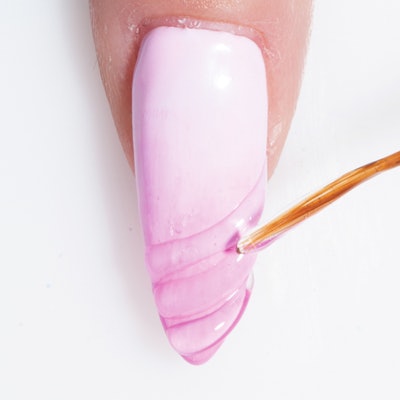
3) Continue applying lines diagonally up the nail toward the cuticle. Make sure that each stripe of gel is the same height and thickness, and leave an even space between each one. Flash cure for 15 seconds after every one to two applications.
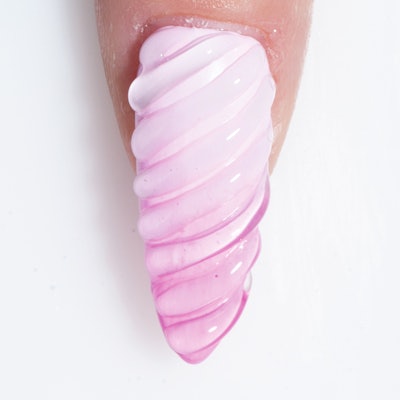
4) Cure. Then, apply a thin layer of no- wipe top coat to the nail. Be sure to apply the top coat between the lines of the horn. Cure for 30 seconds.
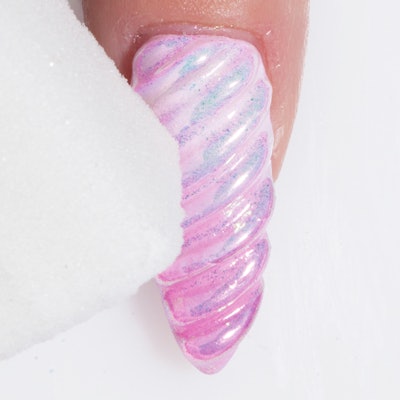
5) Dip a foam sponge into iridescent chrome powder. Then, dab the nail with the sponge until the entire surface is covered with pigment.
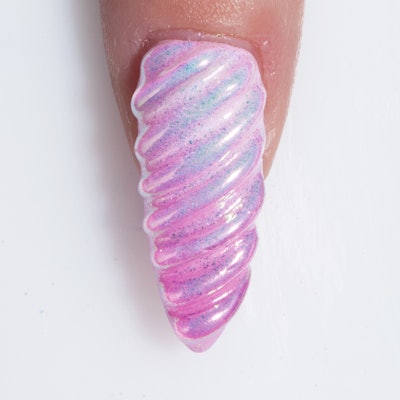
6) Apply no-wipe top coat and cure. Finish with cuticle oil.
[Images: Armando Sanchez]
